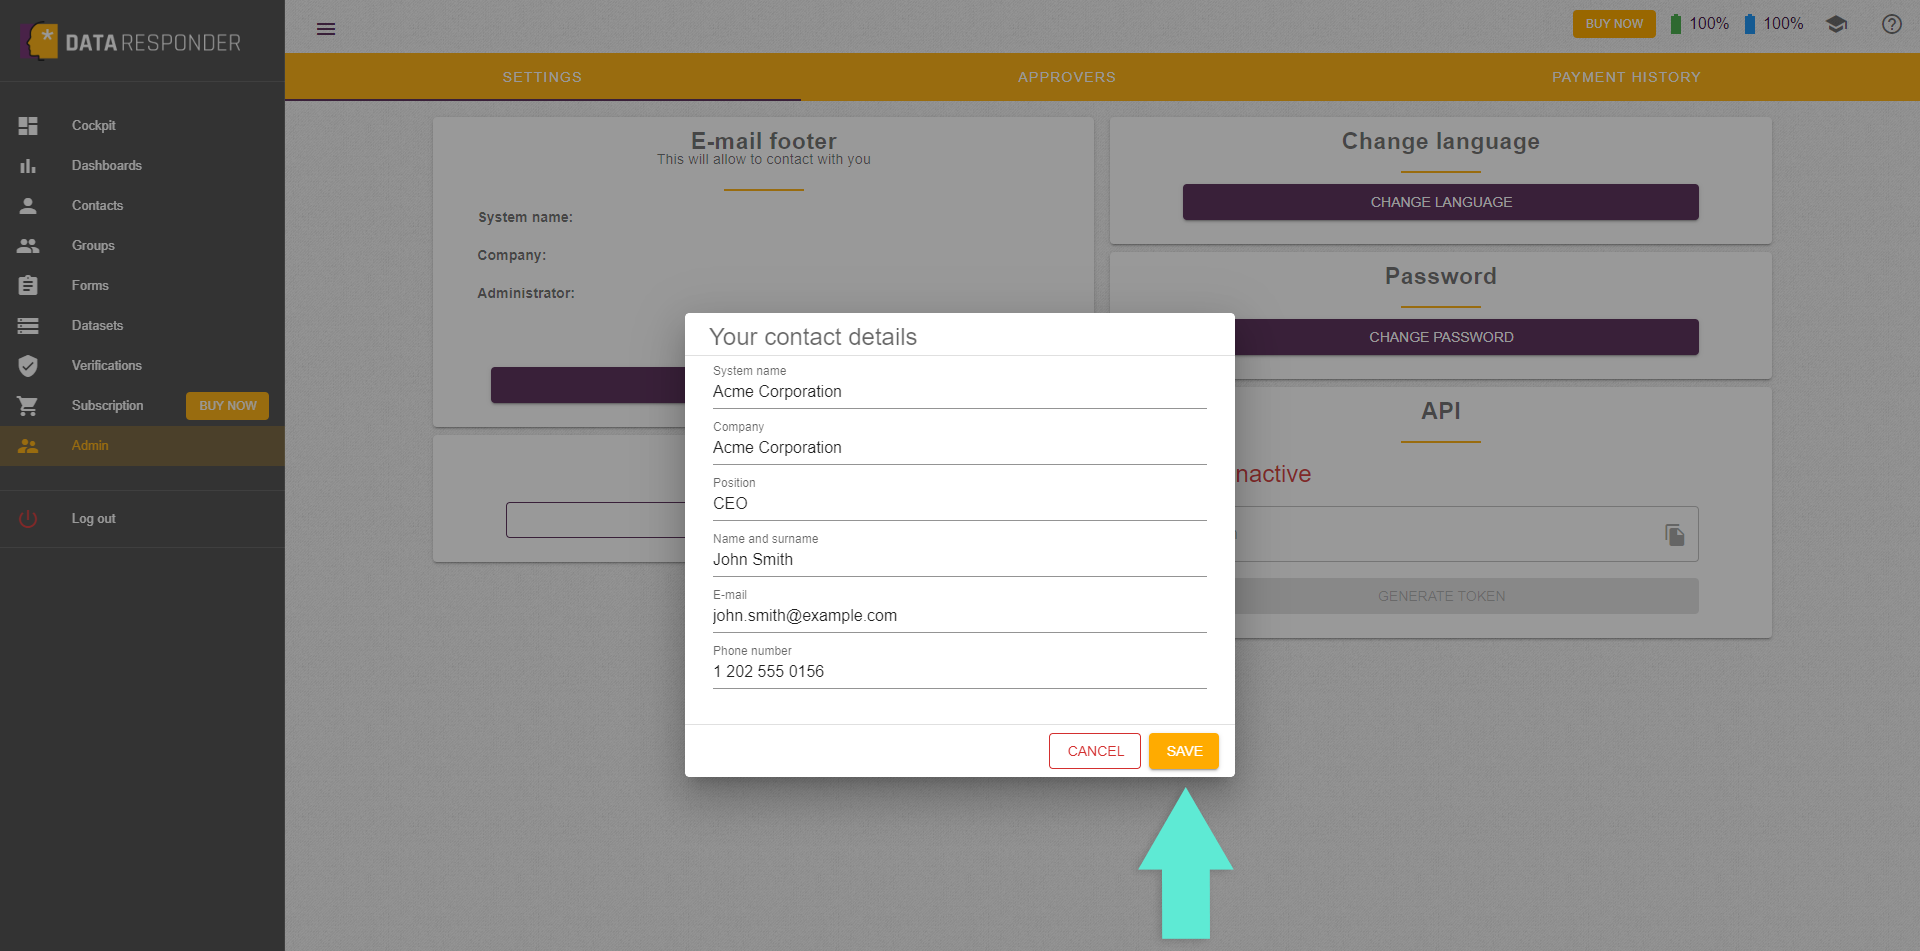
In this chapter, we'll guide you through configuring the basic admin settings, confirming your identity, and establishing credibility. This is crucial for working with your data providers. Let's dive in and get started!
1
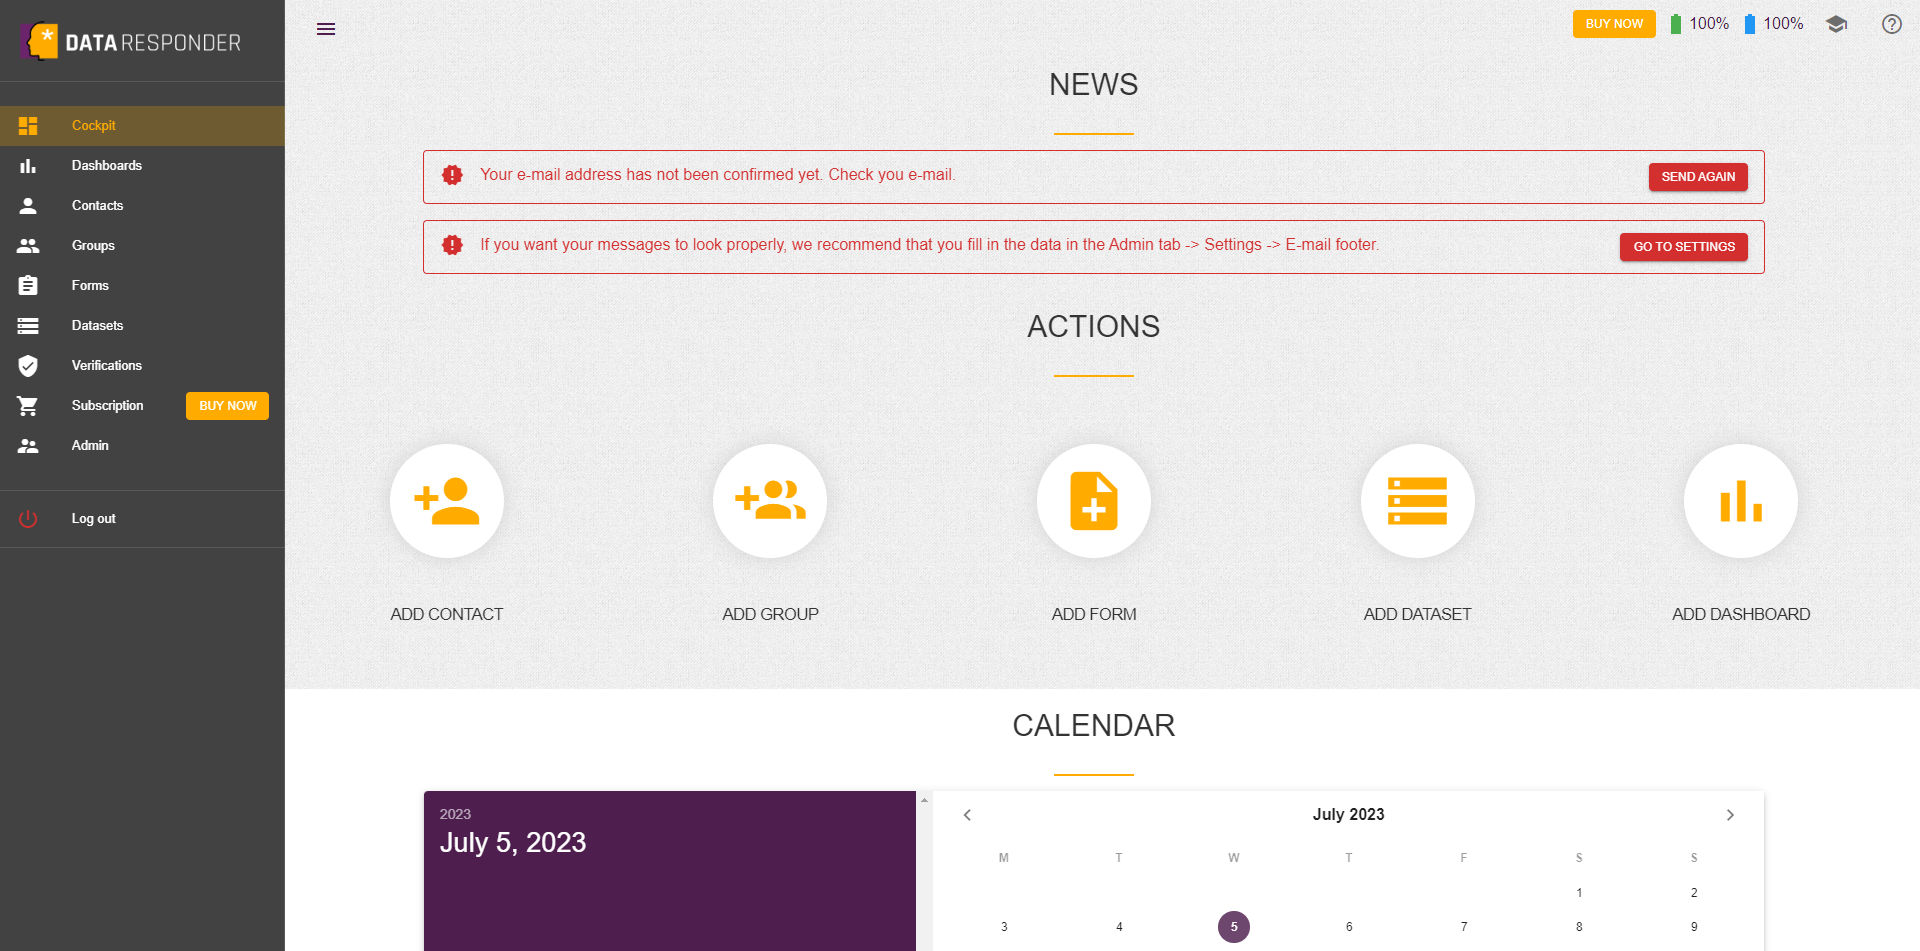
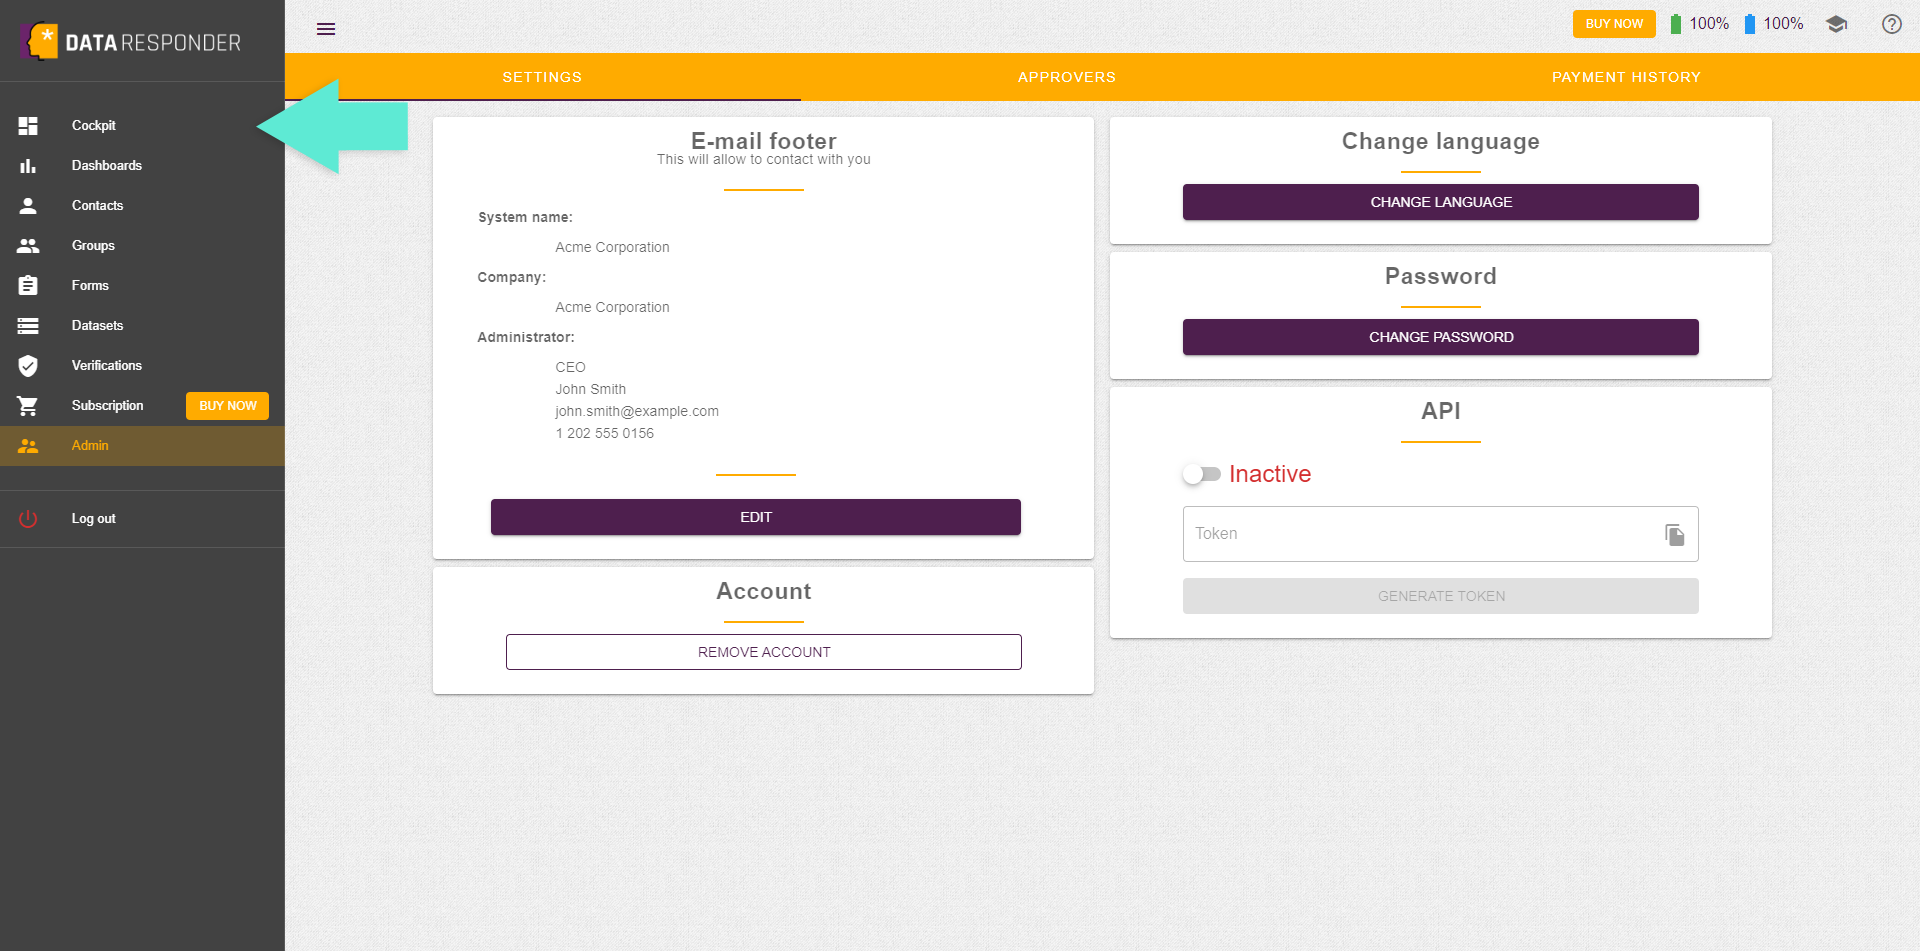
Assuming you have already signed up, you should have access to the Data Responder cockpit.
2
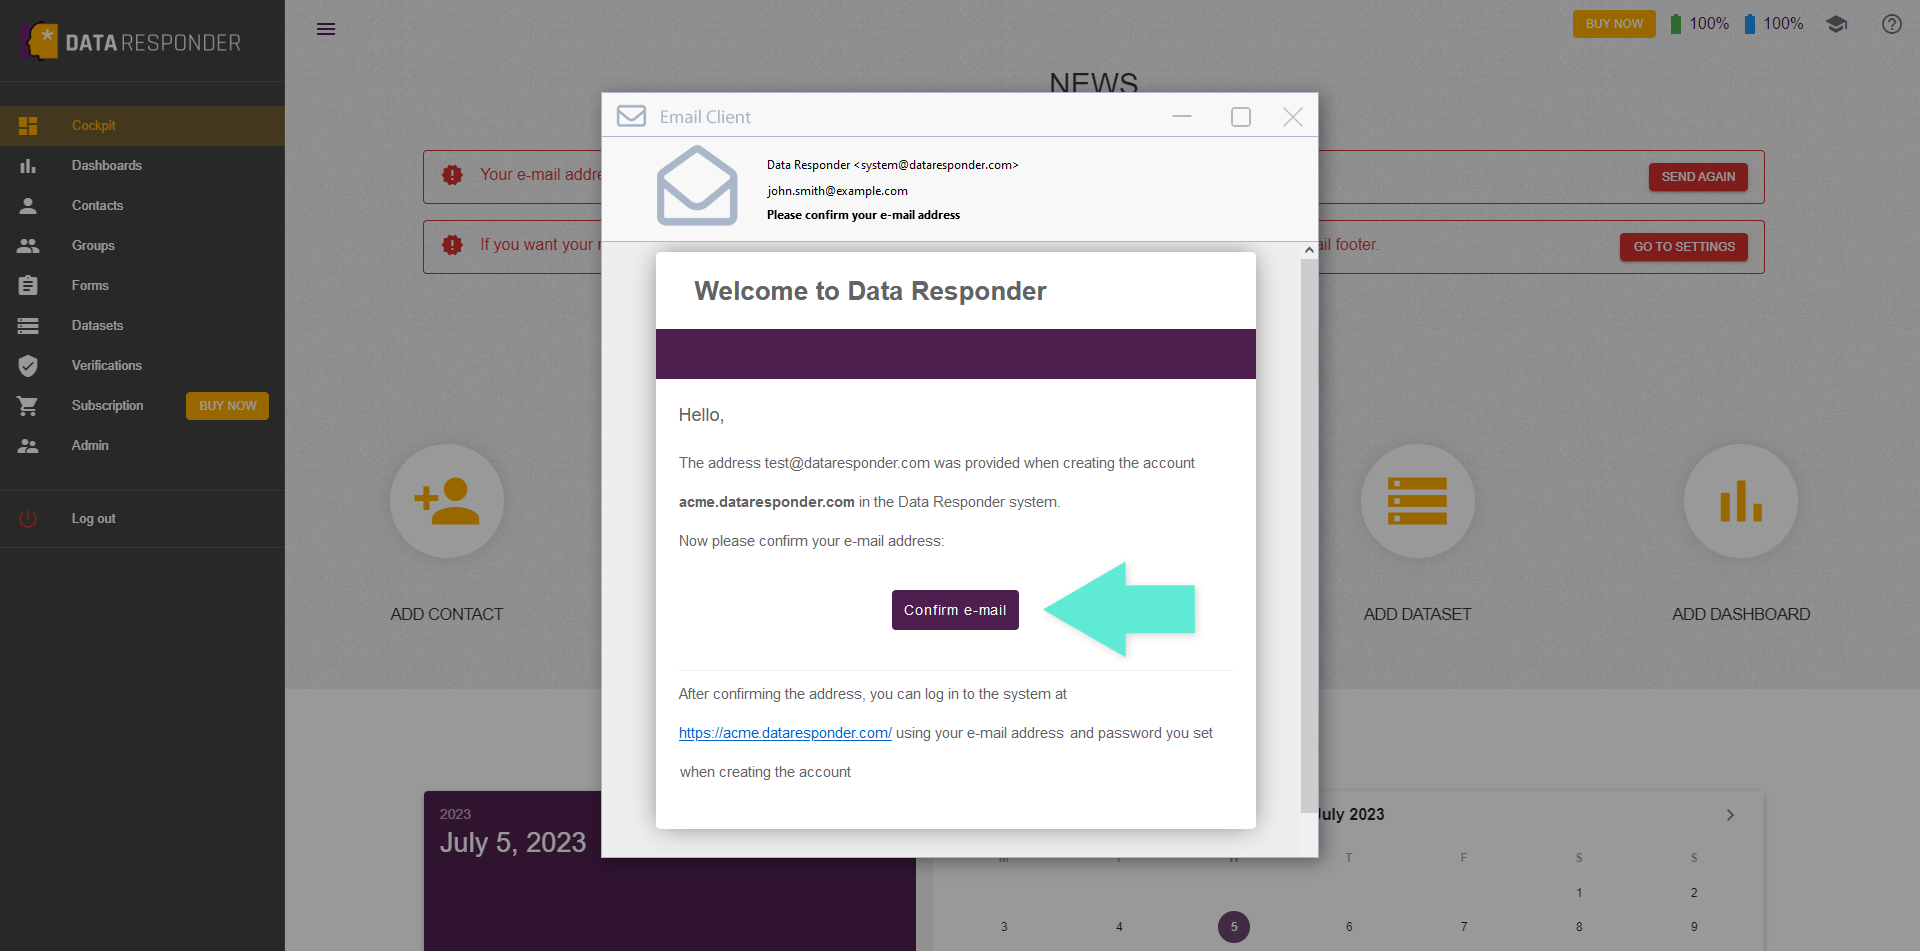
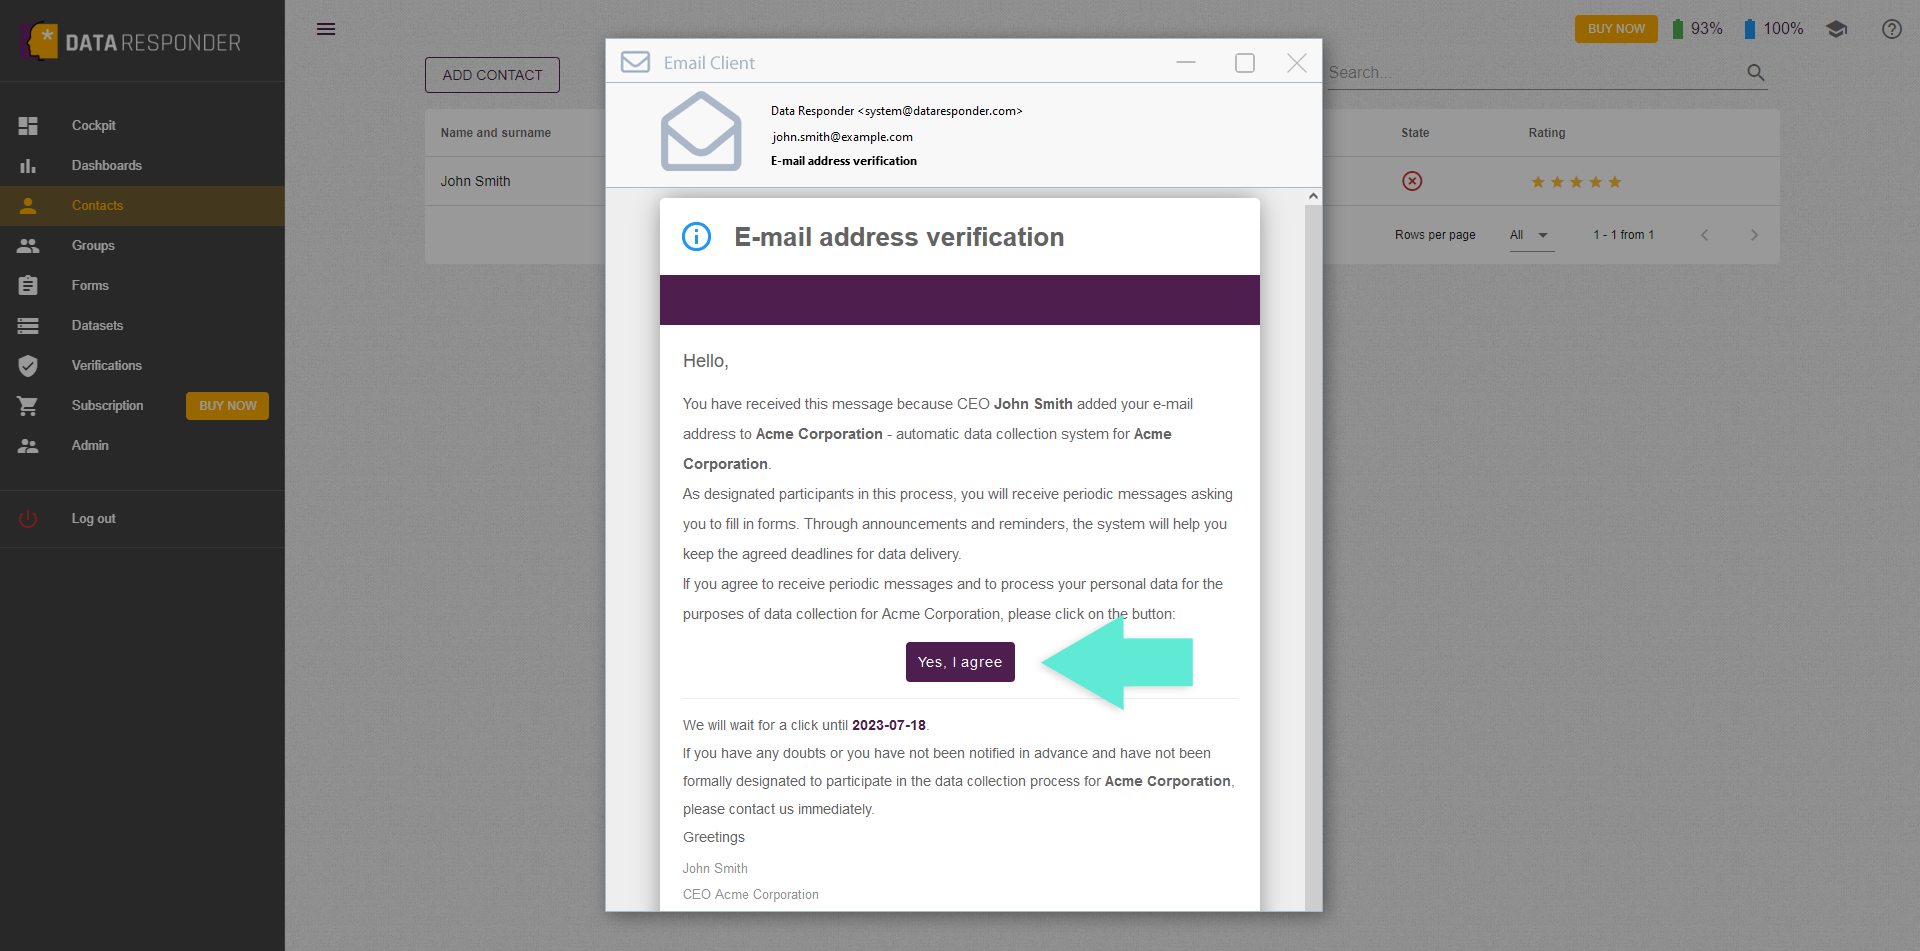
Begin by checking your email program for a confirmation email we've sent you. Click on the link provided to verify your identity.
3
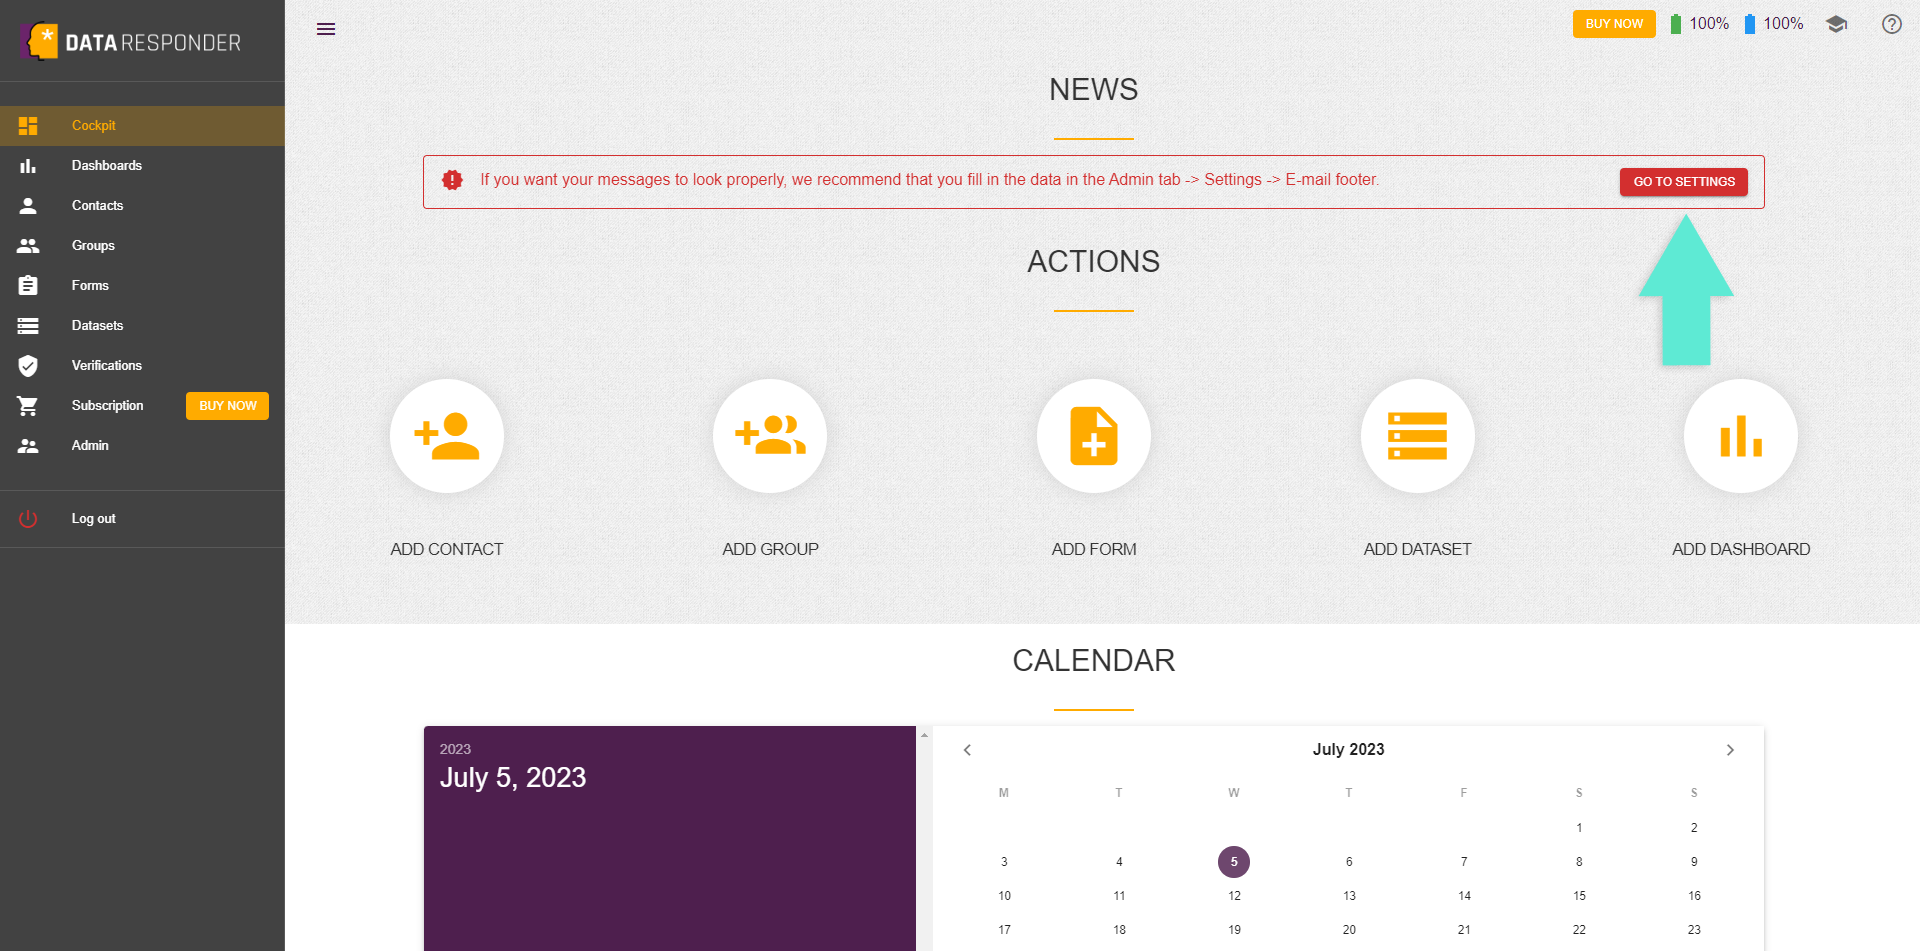
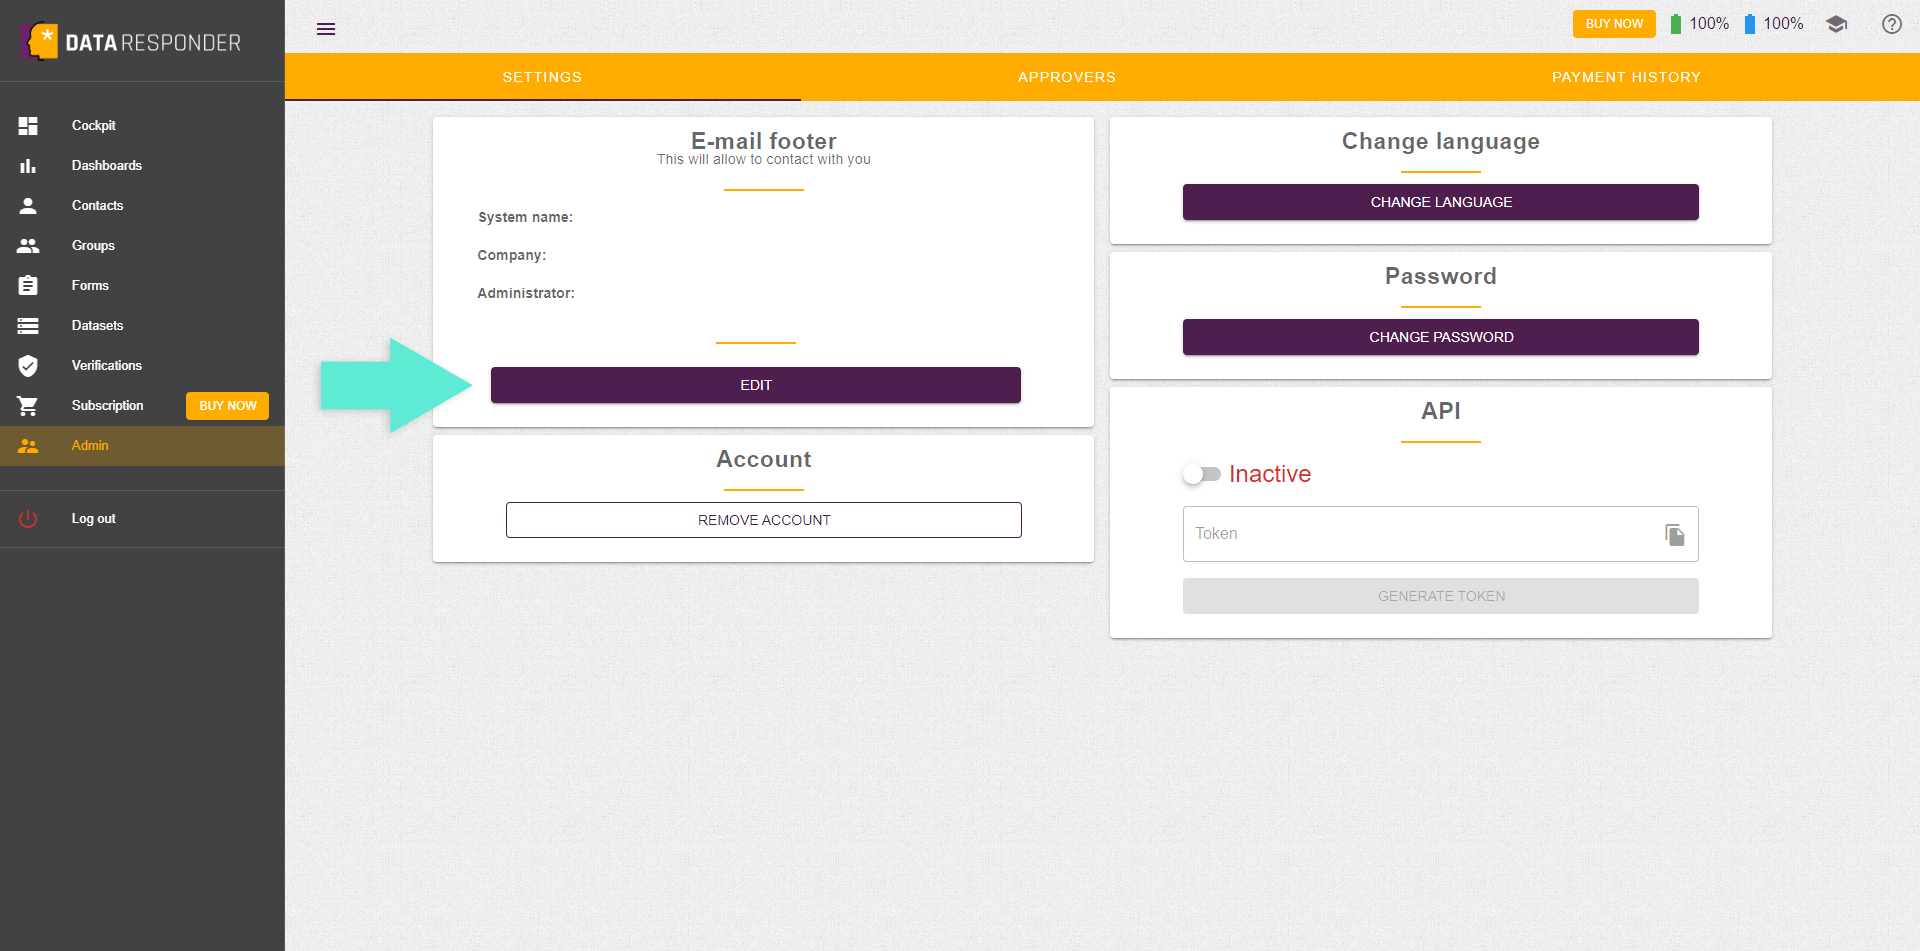
Complete the form with your personal and organizational data that you want to show for the credibility of each of your inquiry process.
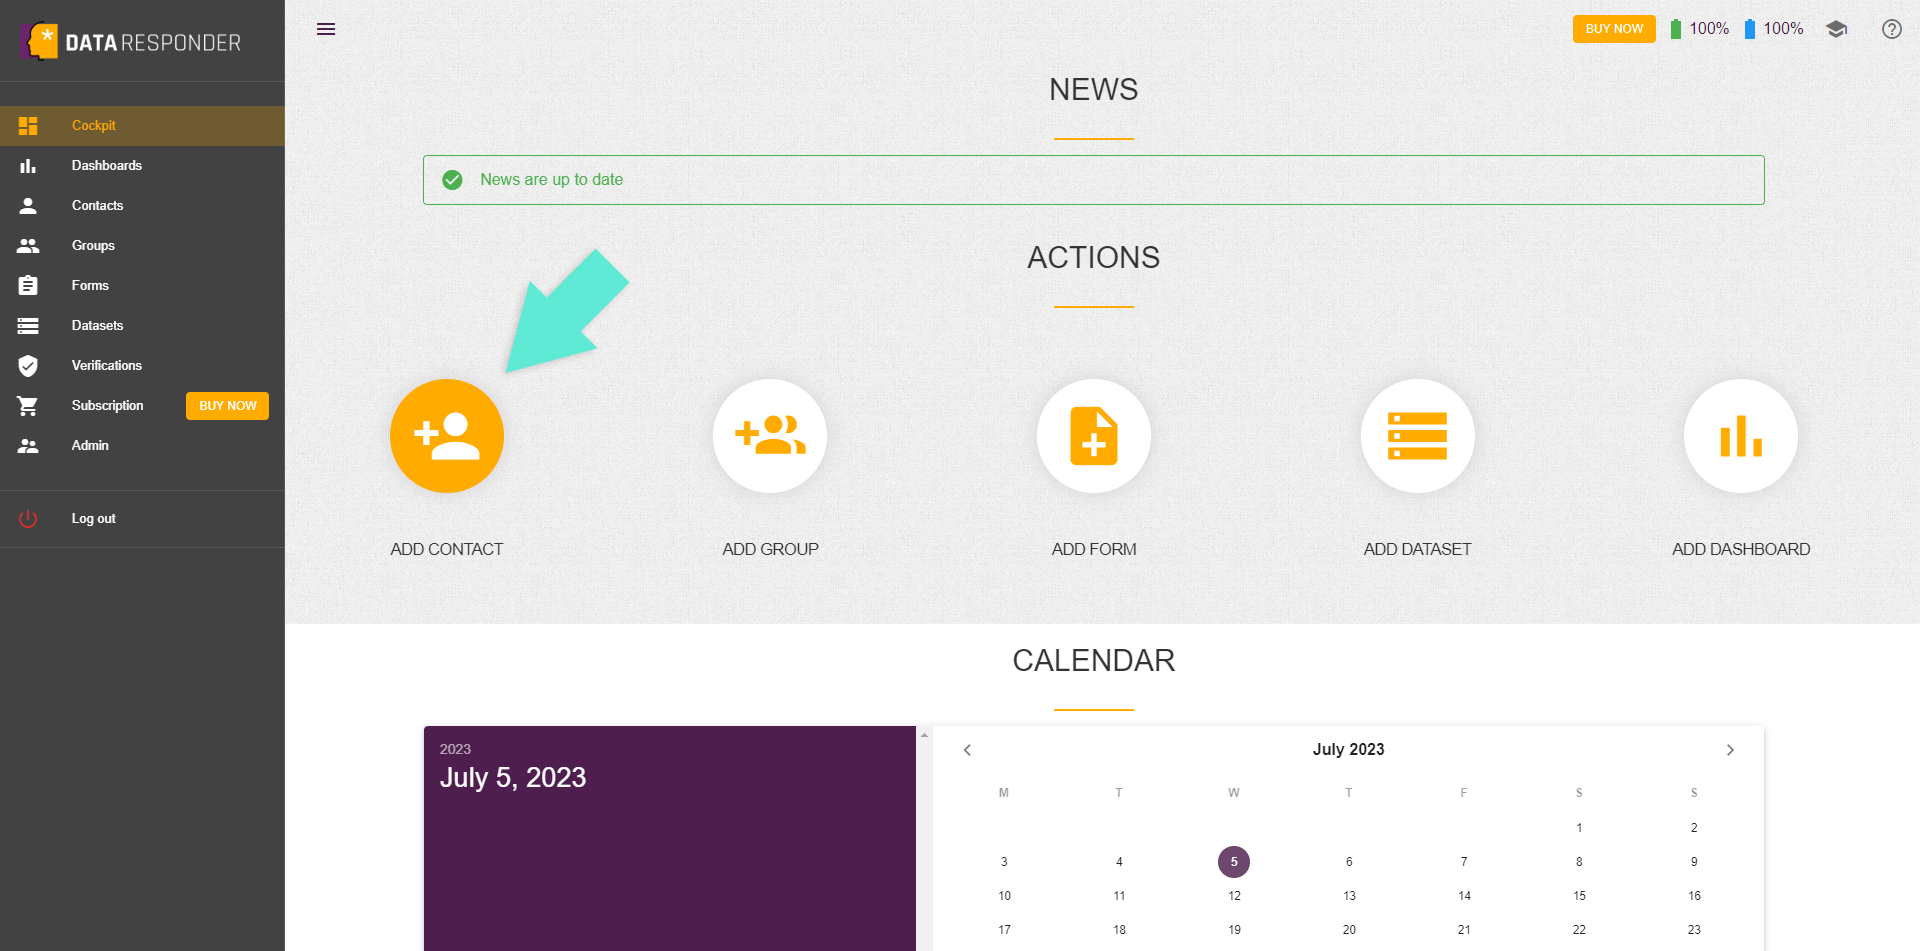
In this chapter, we'll show you how to add your first data provider. You can start by adding yourself as a data provider, giving you hands-on experience from the beginning!
1
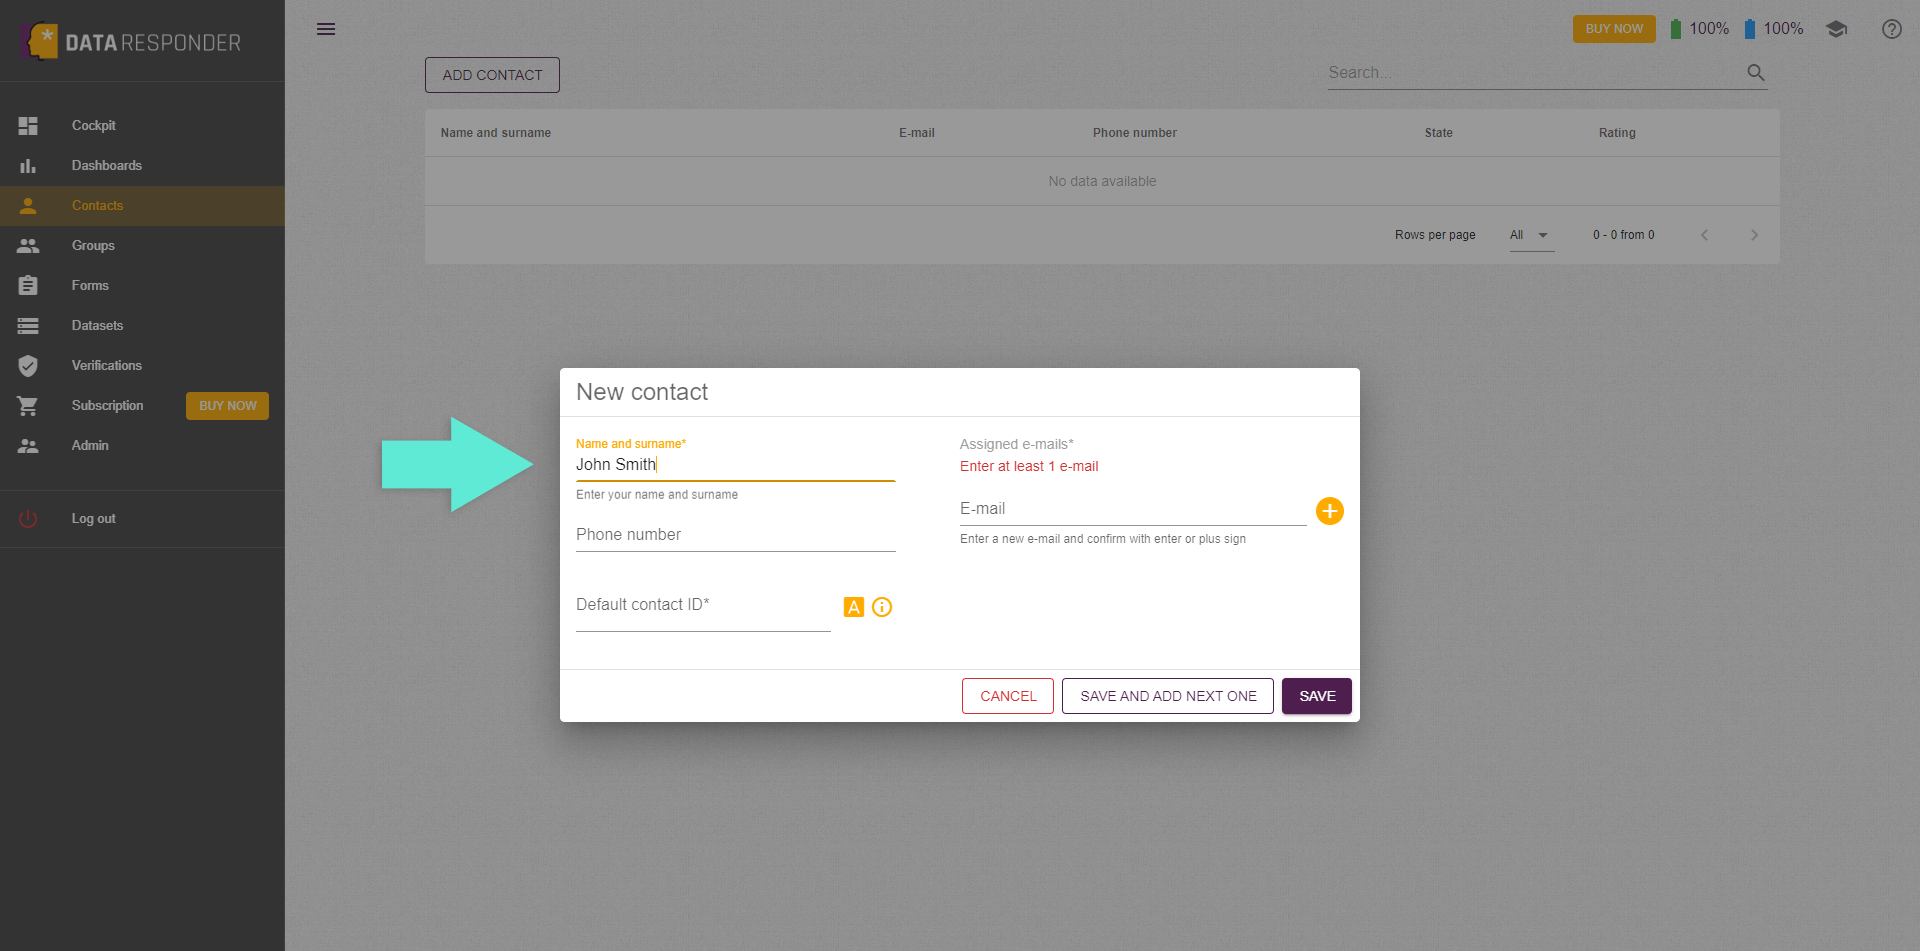
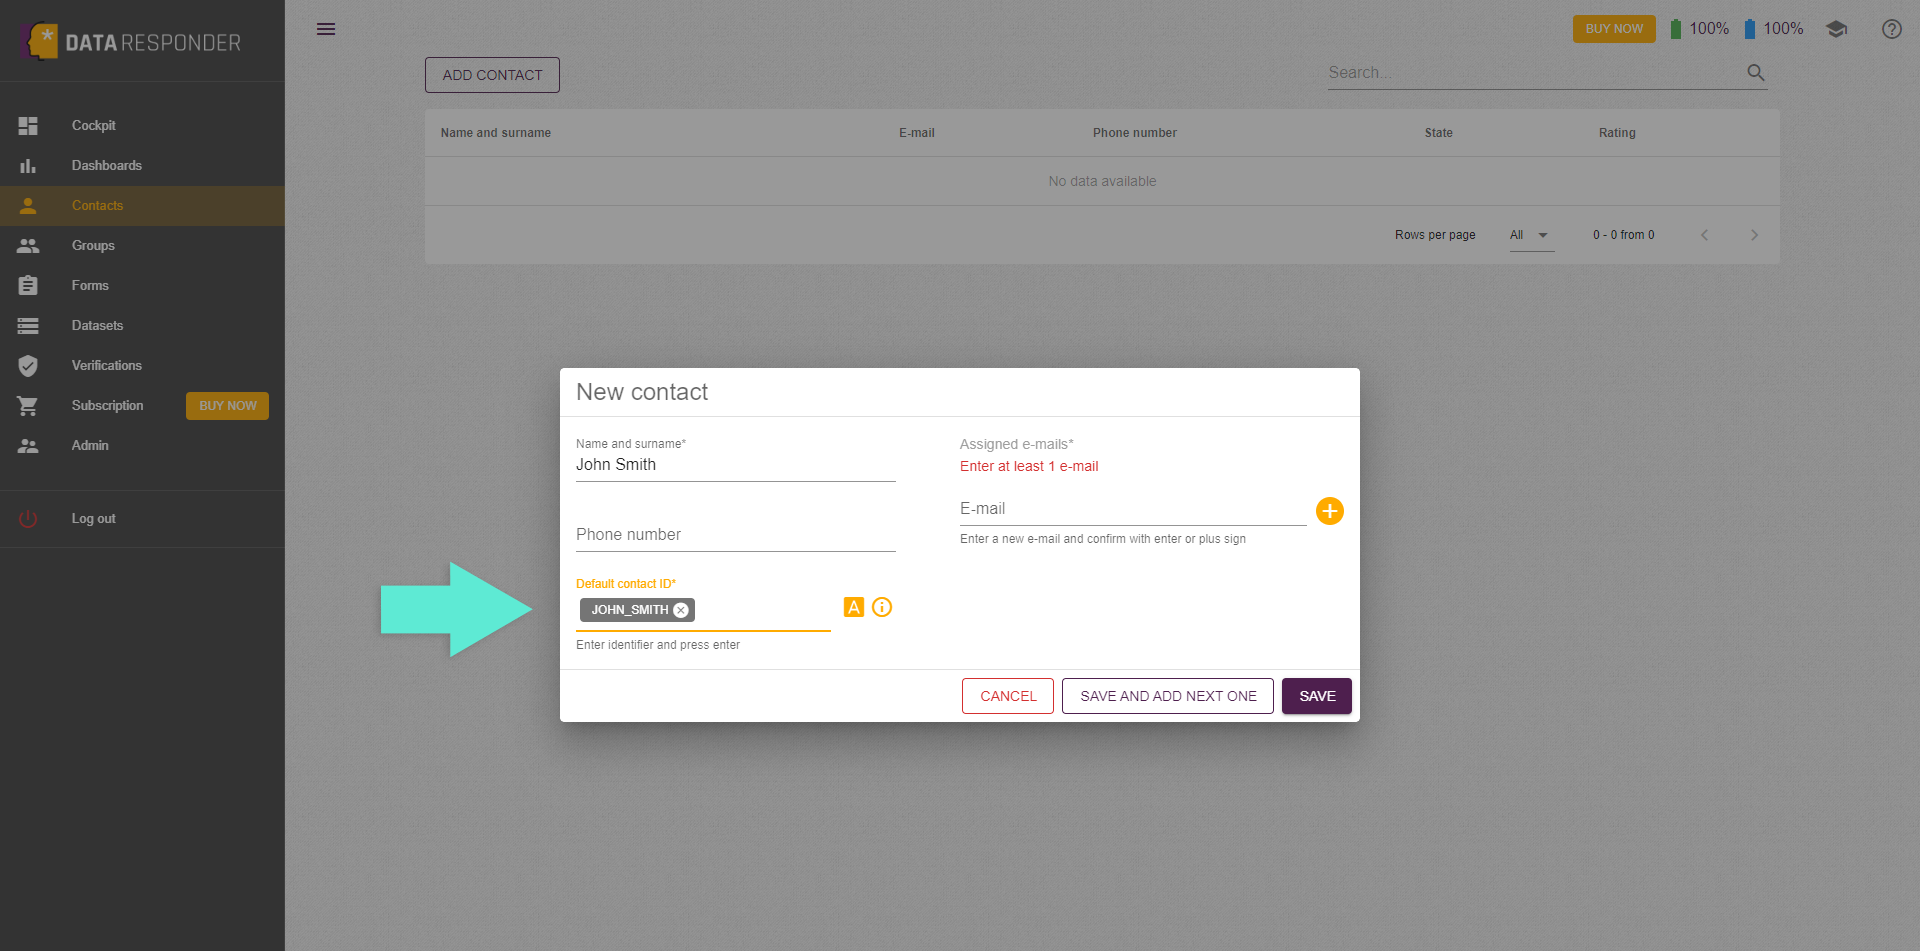
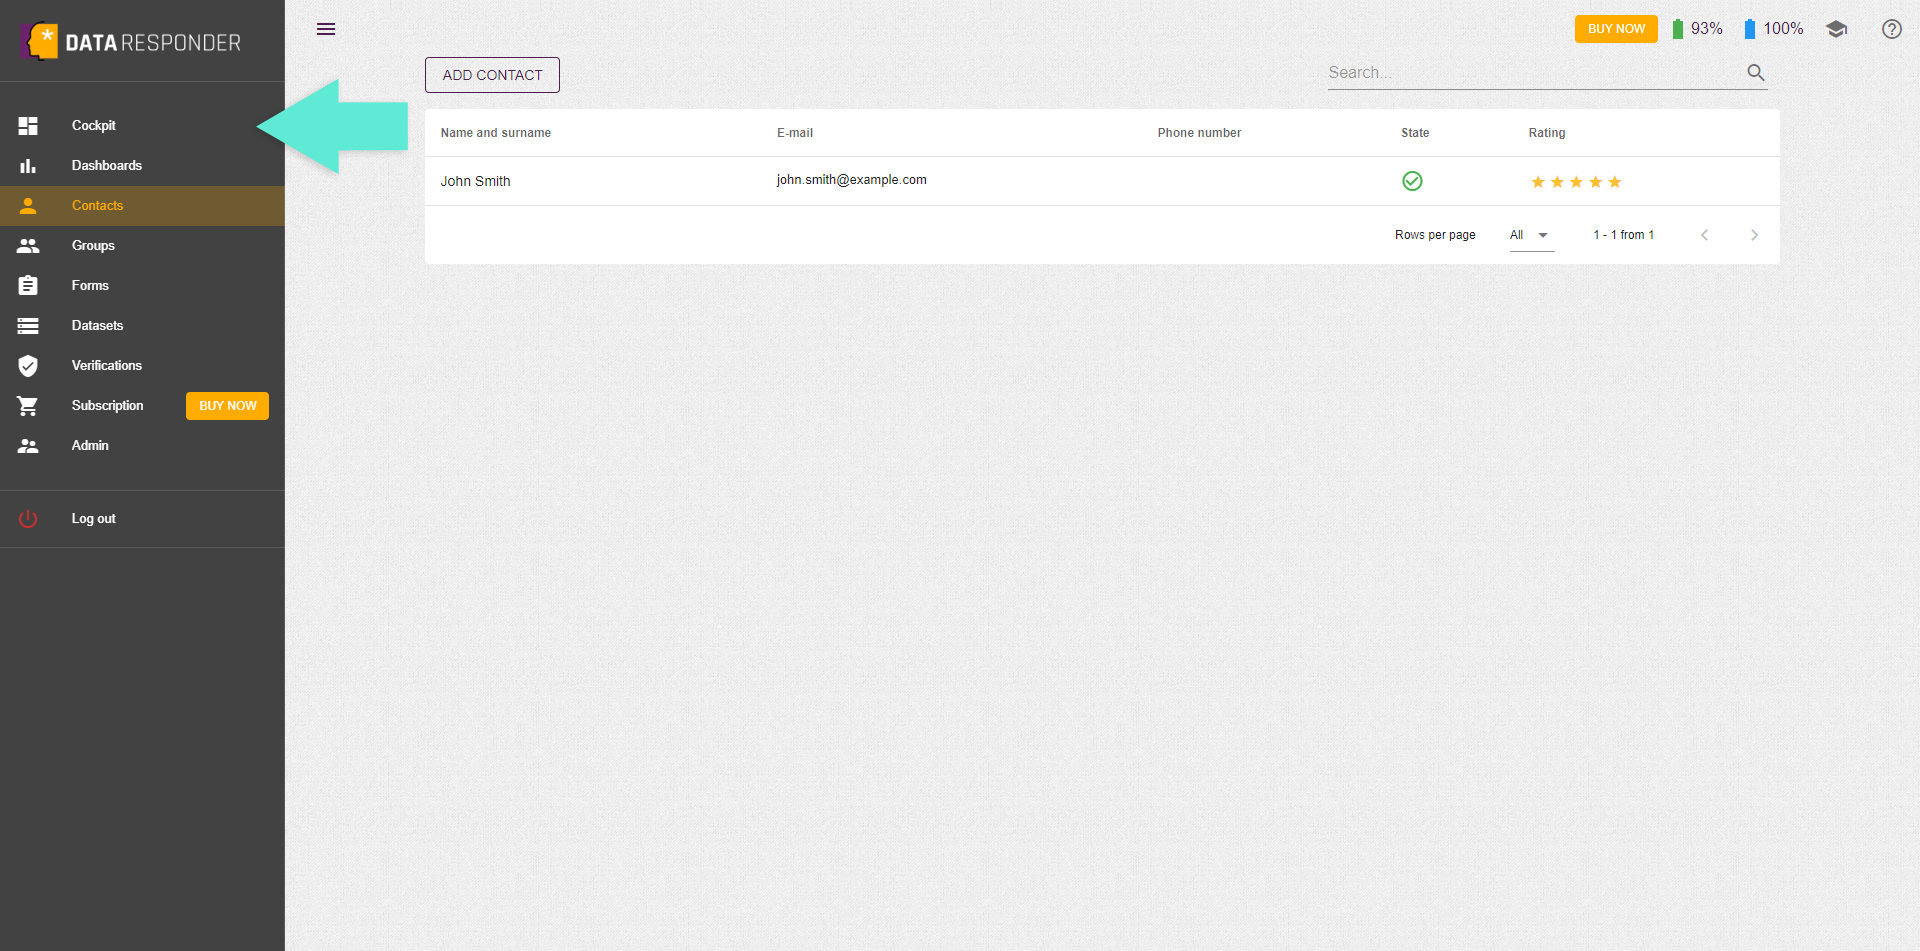
Click the "Add contact" function from the cokpit and complete the form with first data provider details.
2
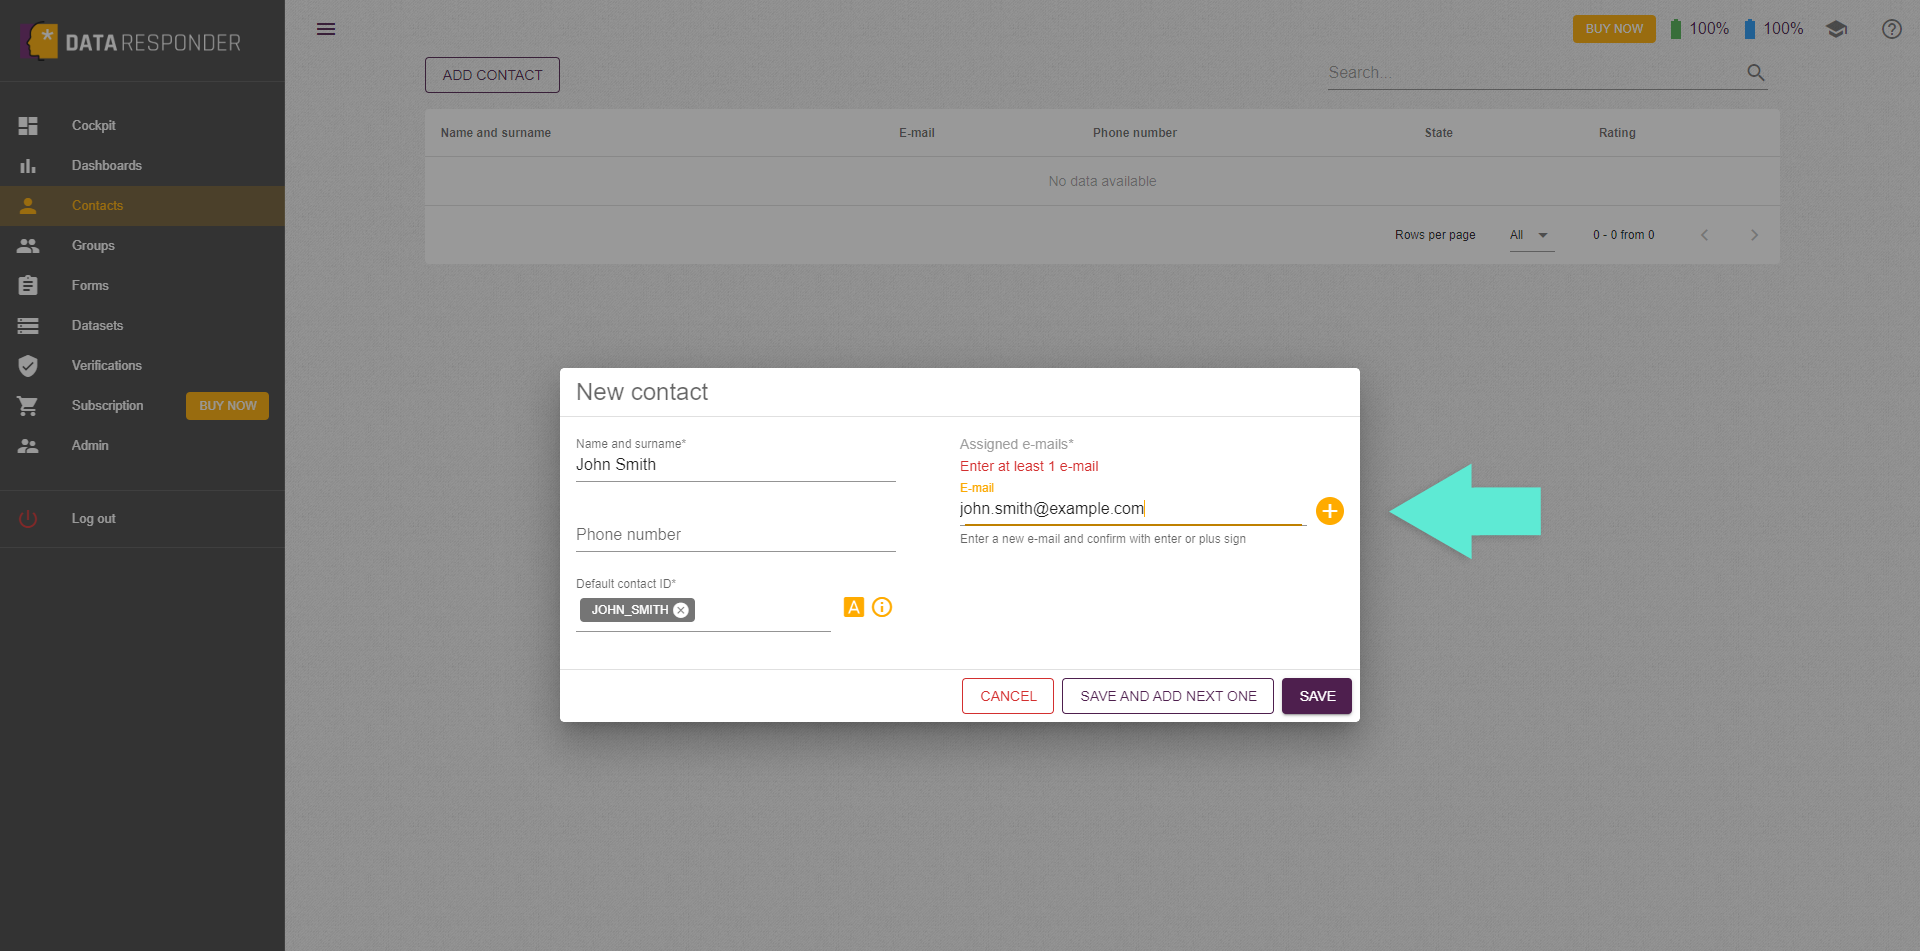
To make it easier, you can use the [A] icon to automatically generate an contact ID. Use the (+) icon to add an email address.
3
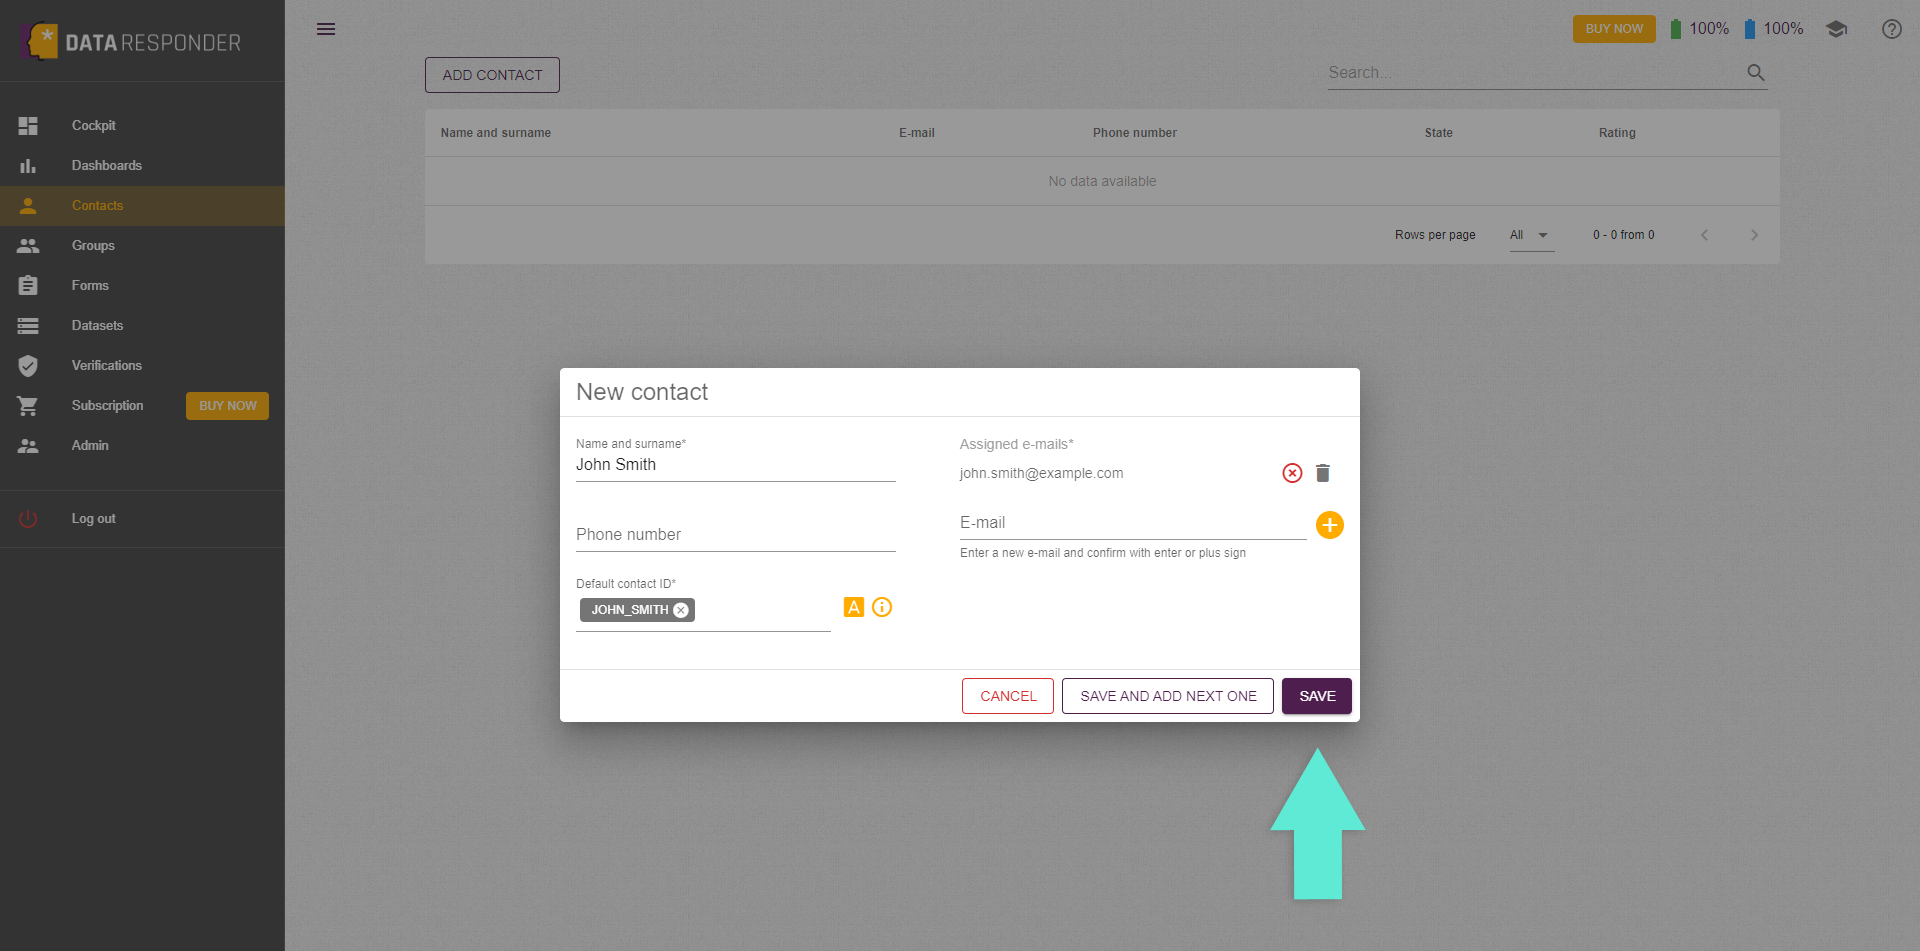
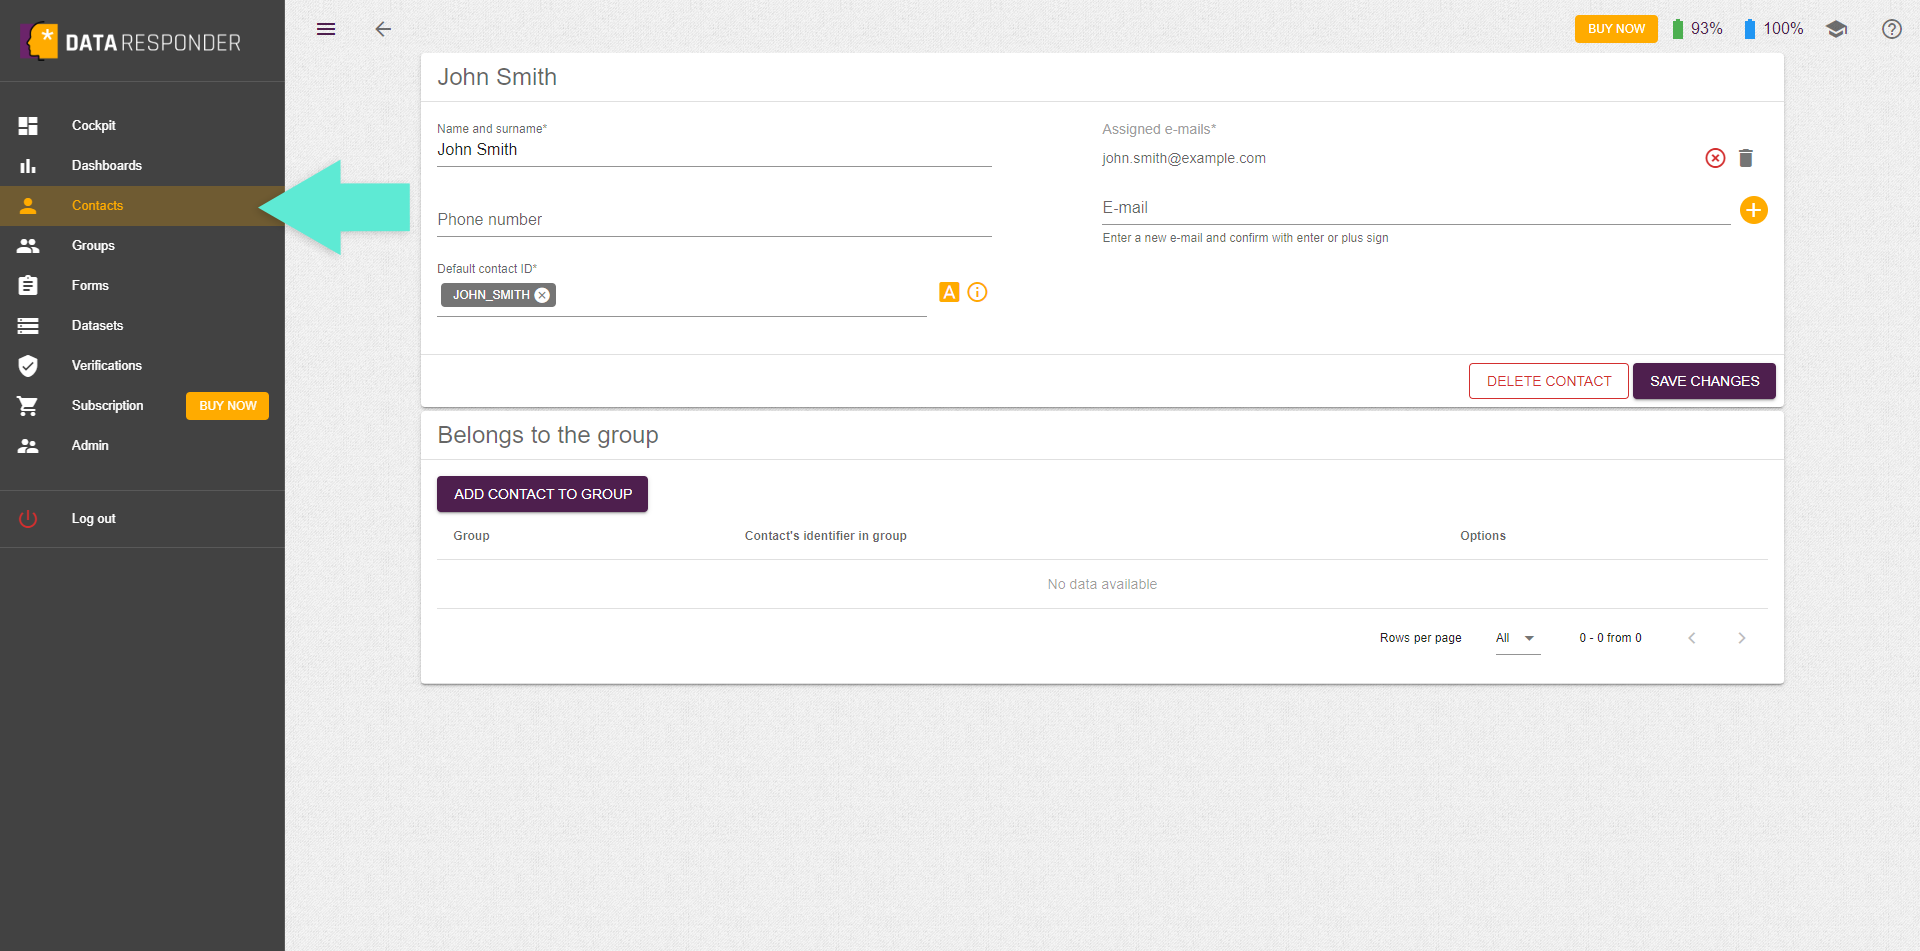
Check your email program for the confirmation email we've sent you. Click on the link provided to verify you as a data provider.
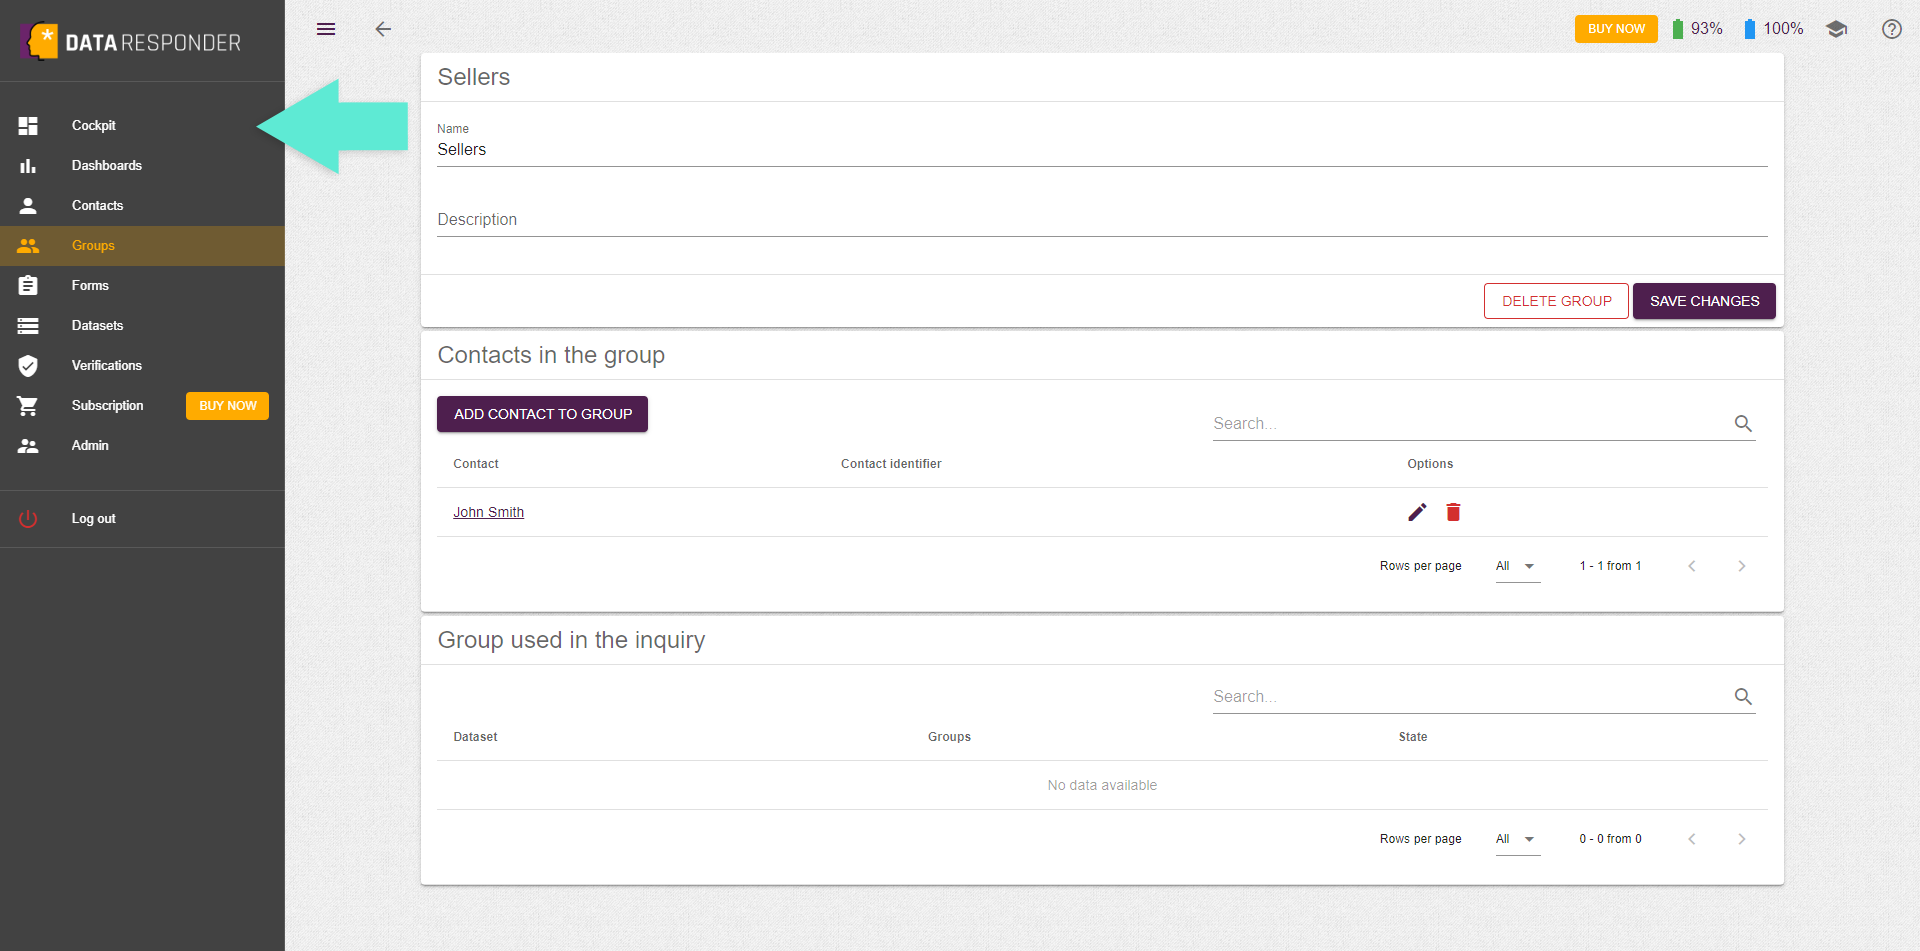
In this chapter, we'll show you how to organize your data providers into groups. Whether you have one or many data providers, grouping enables effective team management in multiple inquiry processes.
1
Note that groups can be equivalent to departments, processes, or tasks in your organization.
2
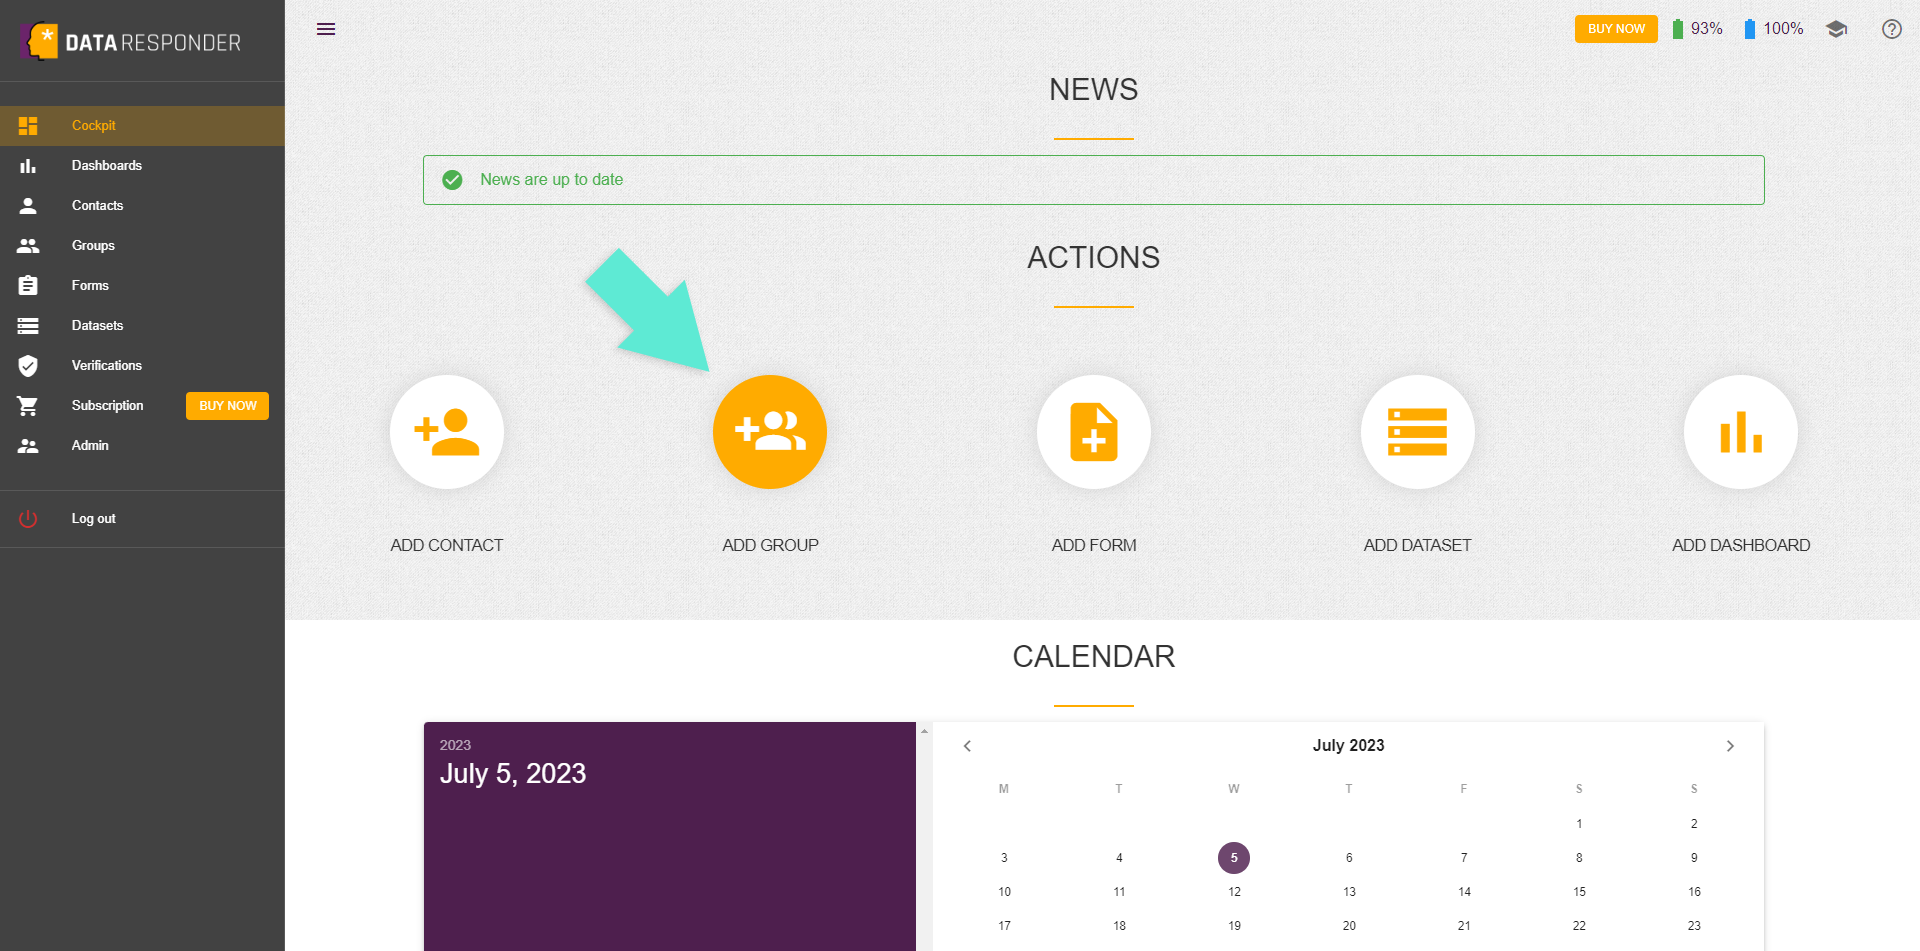
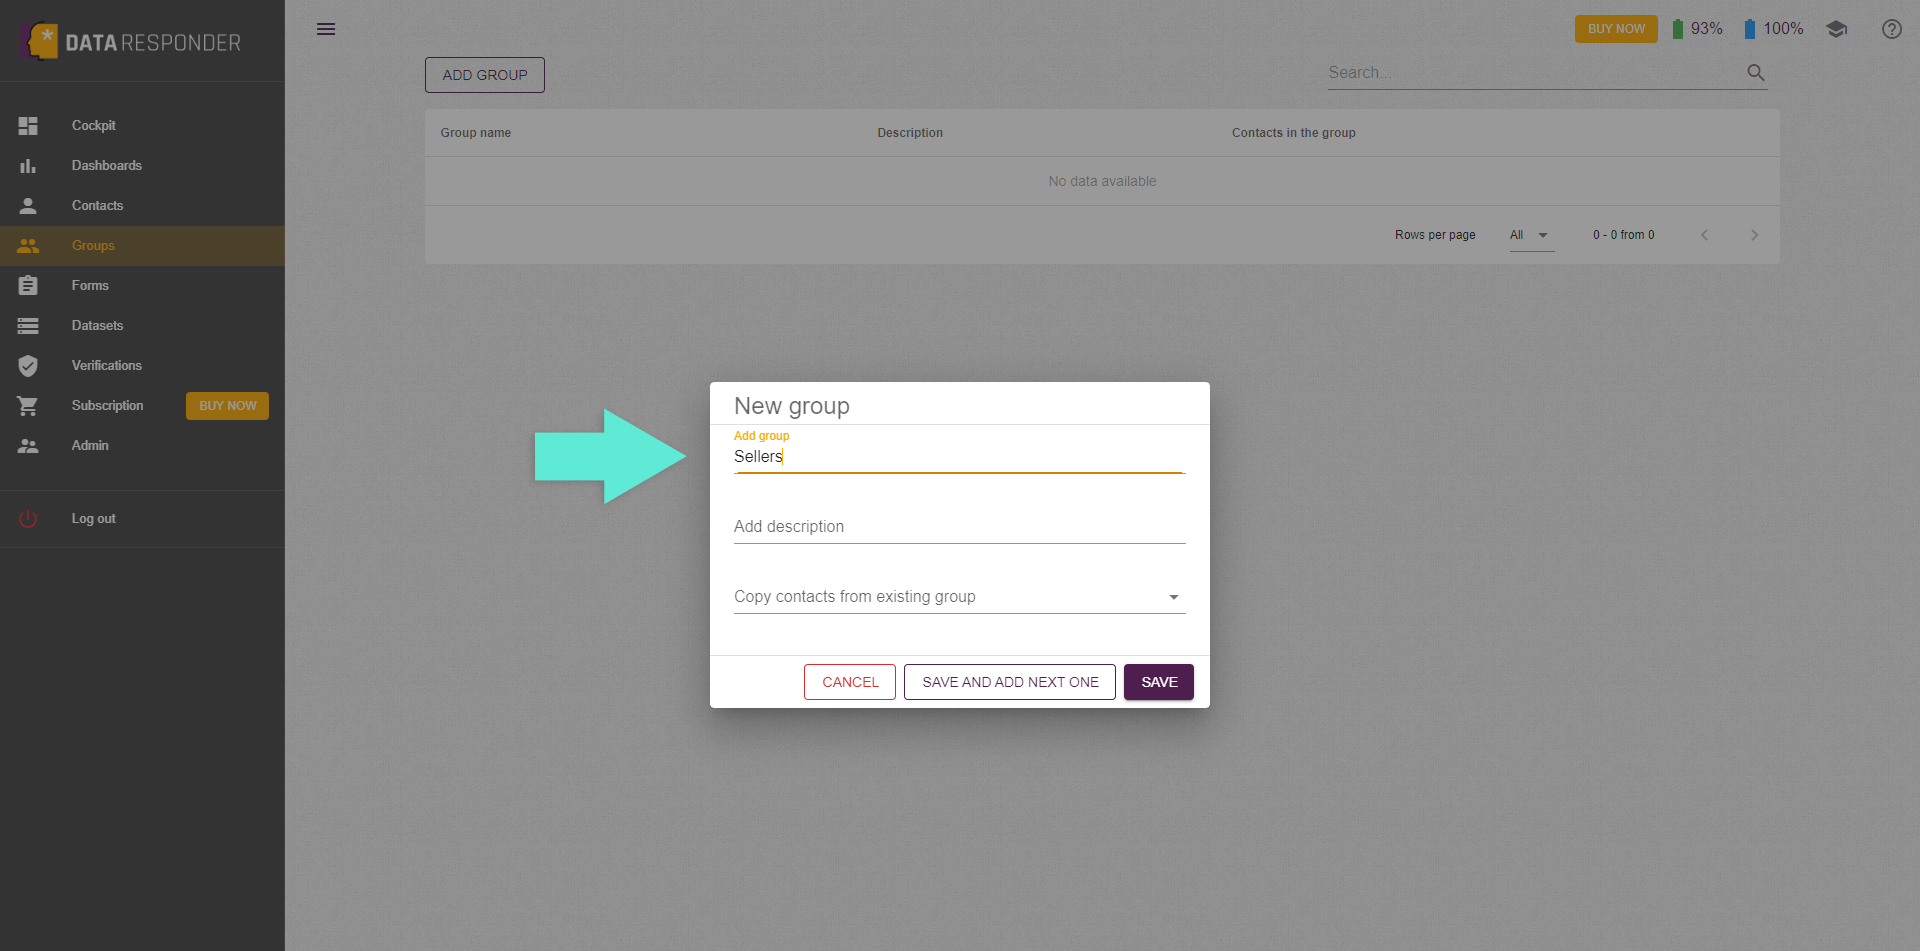
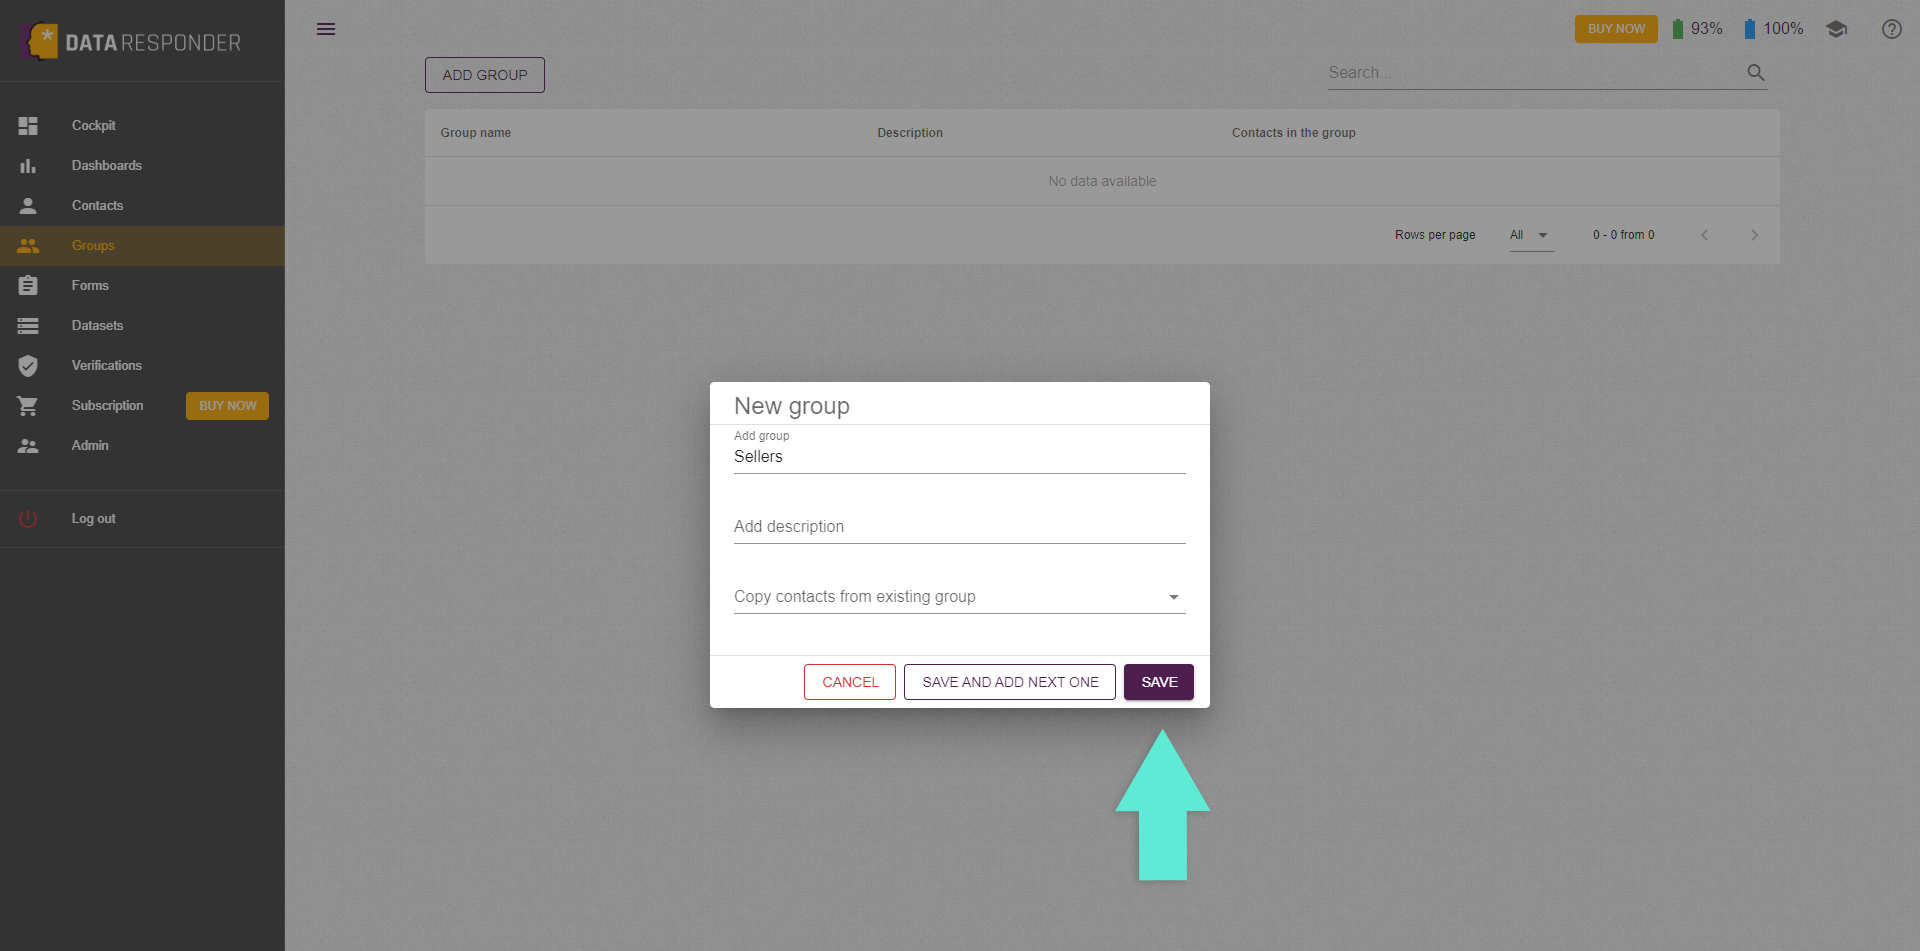
Click the "Add group" function from the cokpit and complete the form with the name of the first data provider group.
3
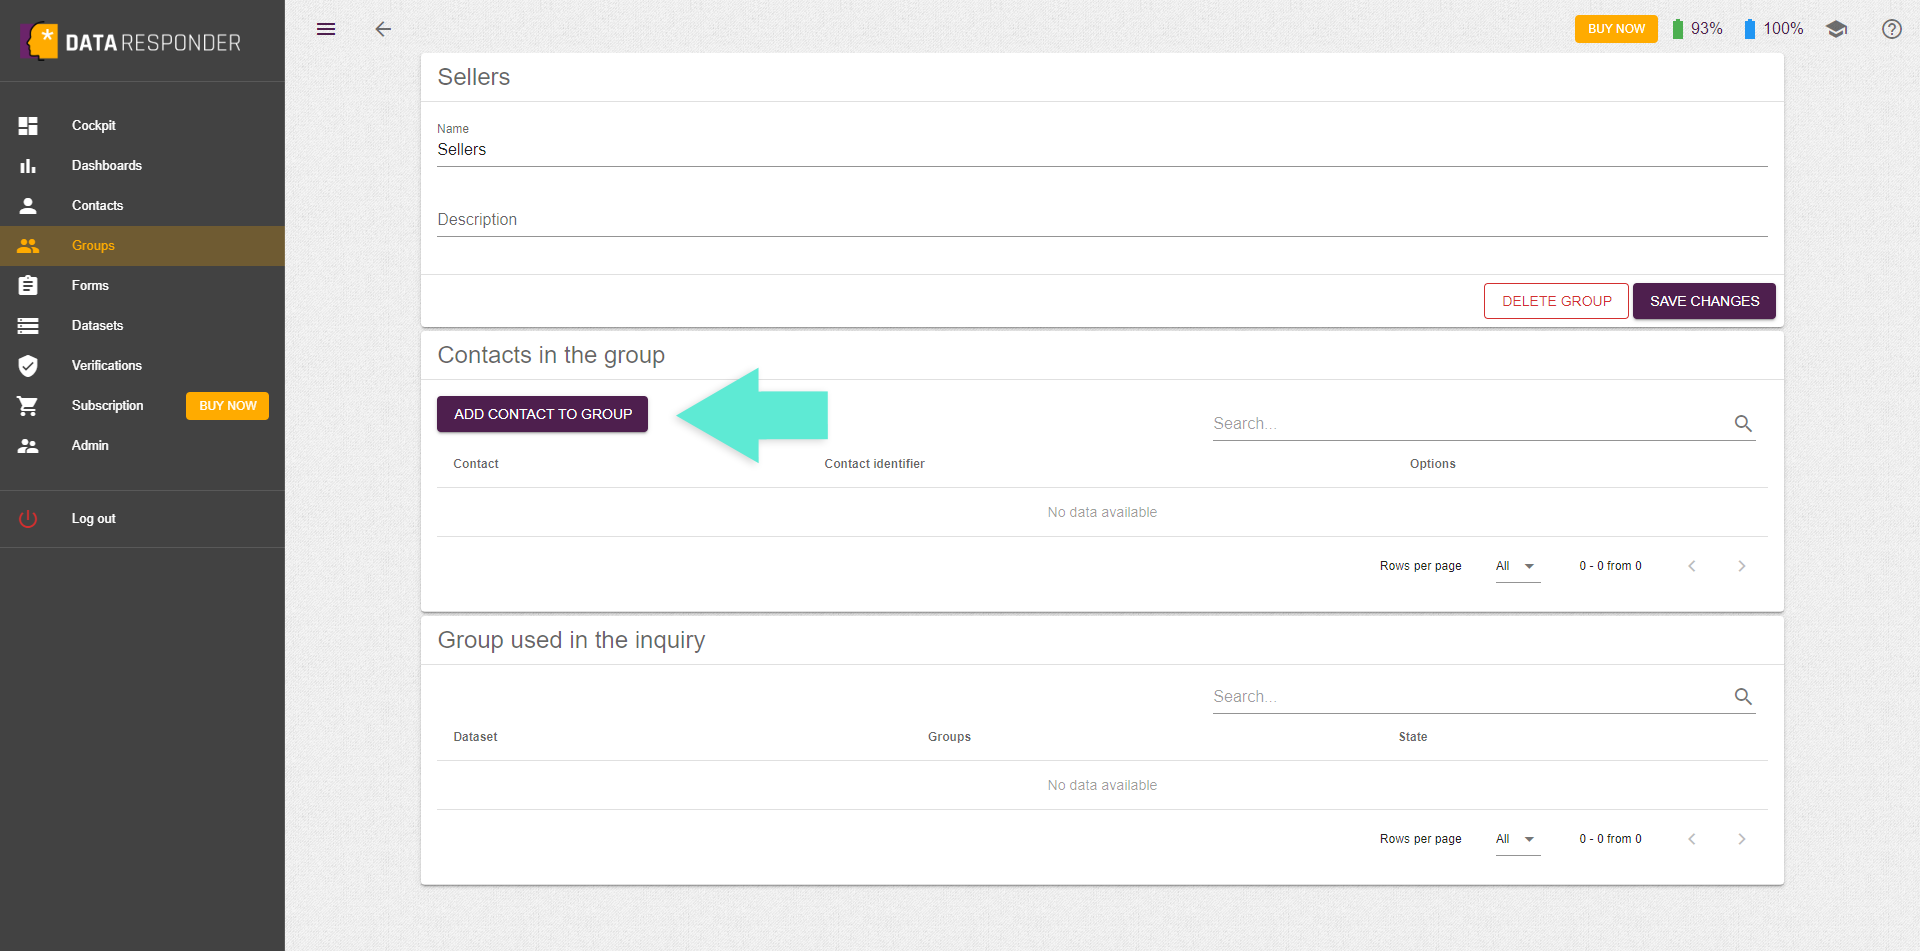
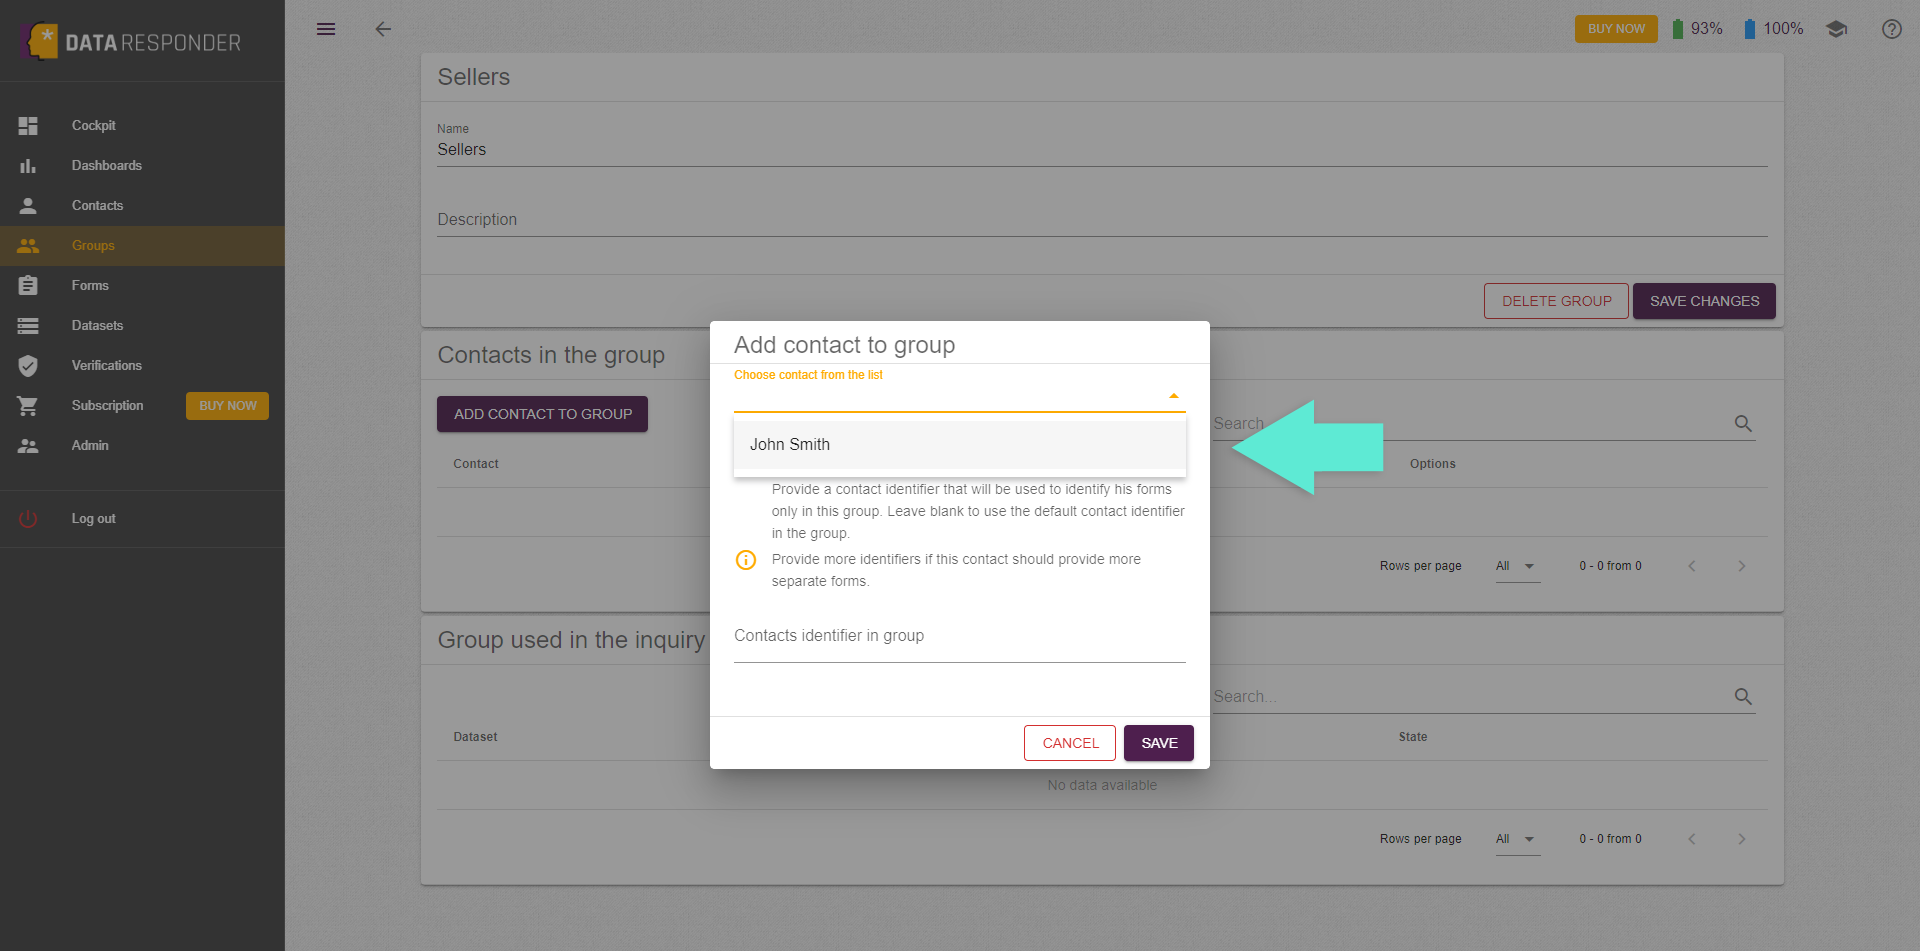
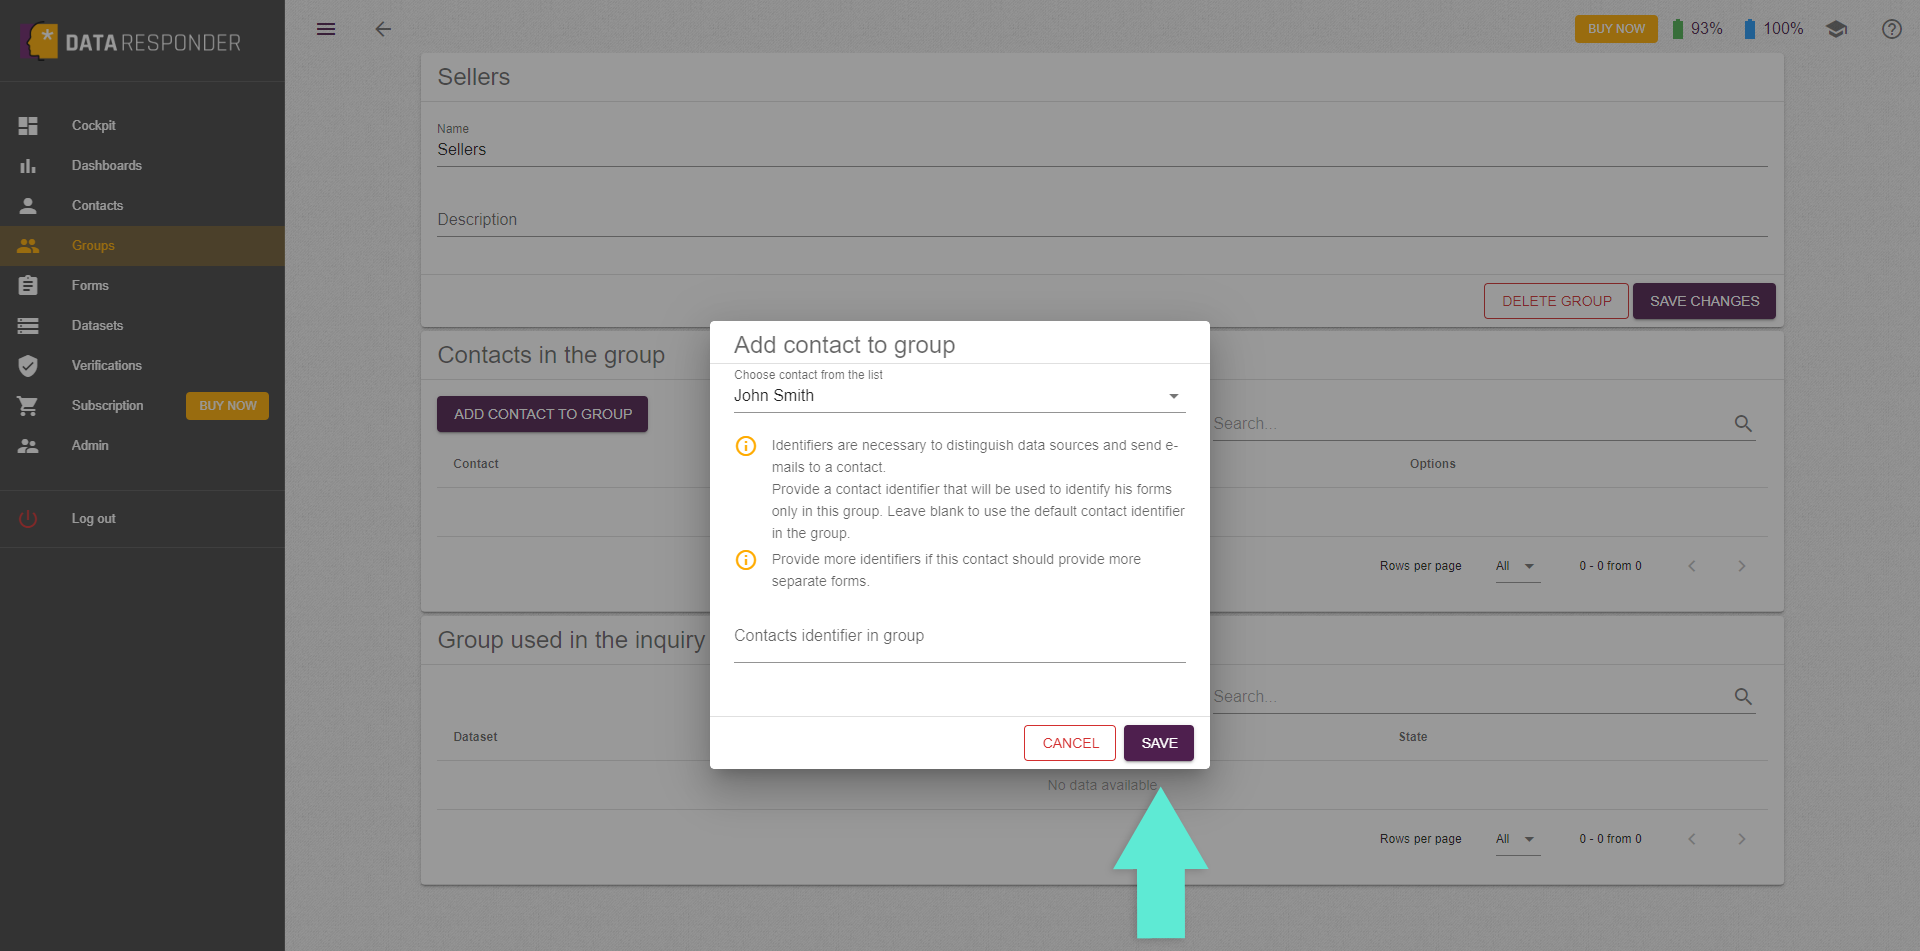
Add data providers to the group by selecting them from the list. If needed, then one contact can be in many groups.
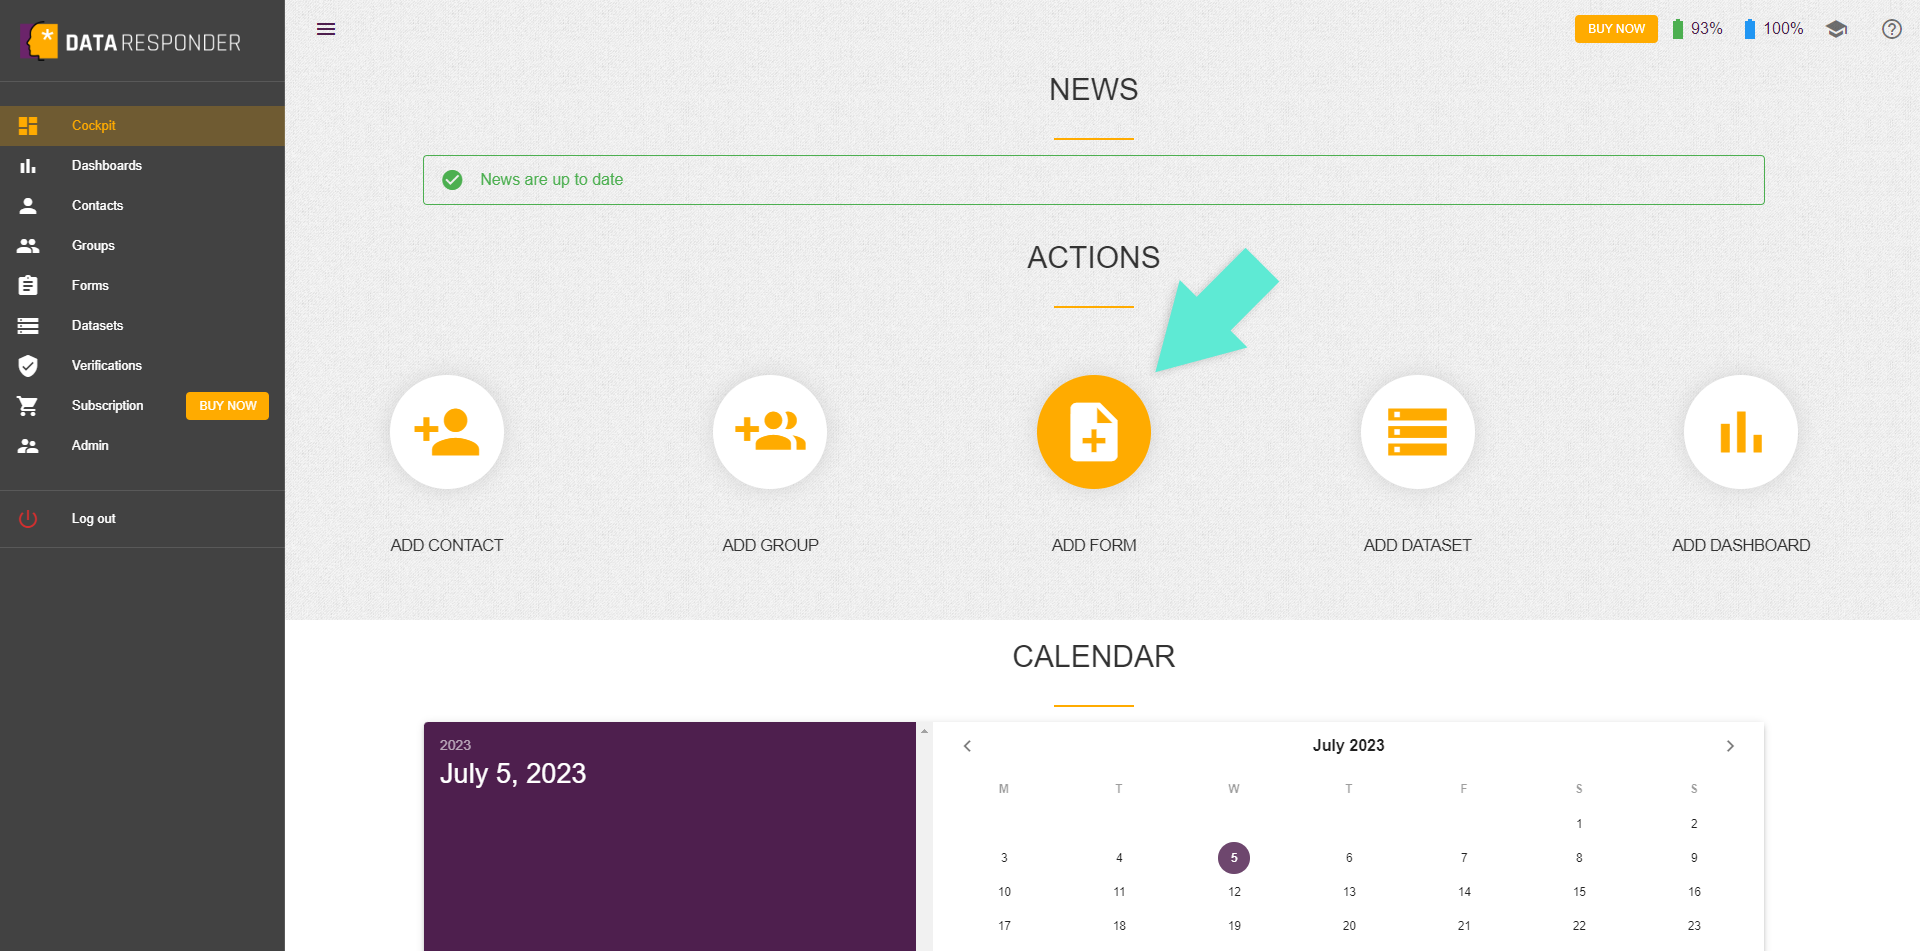
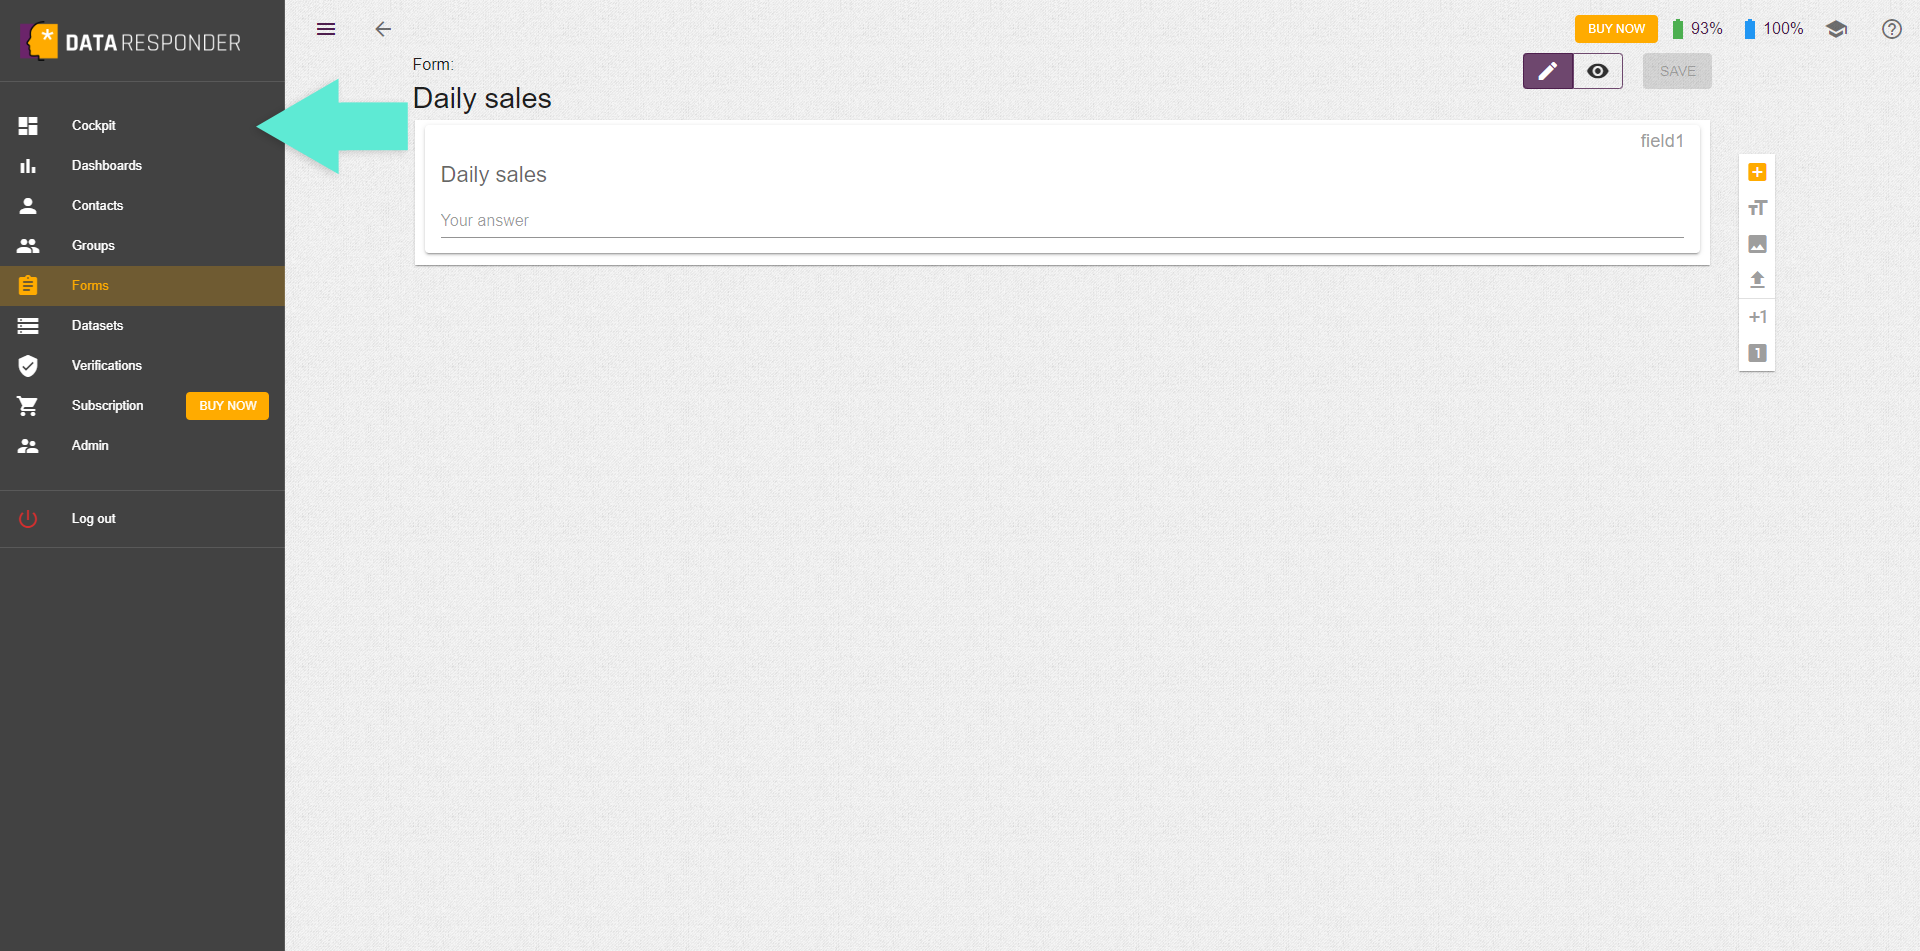
In this chapter, we'll show you how to add your first data form. Begin by considering the data you want to collect. Next, with graphical editing, easily customize the form to your needs!
1
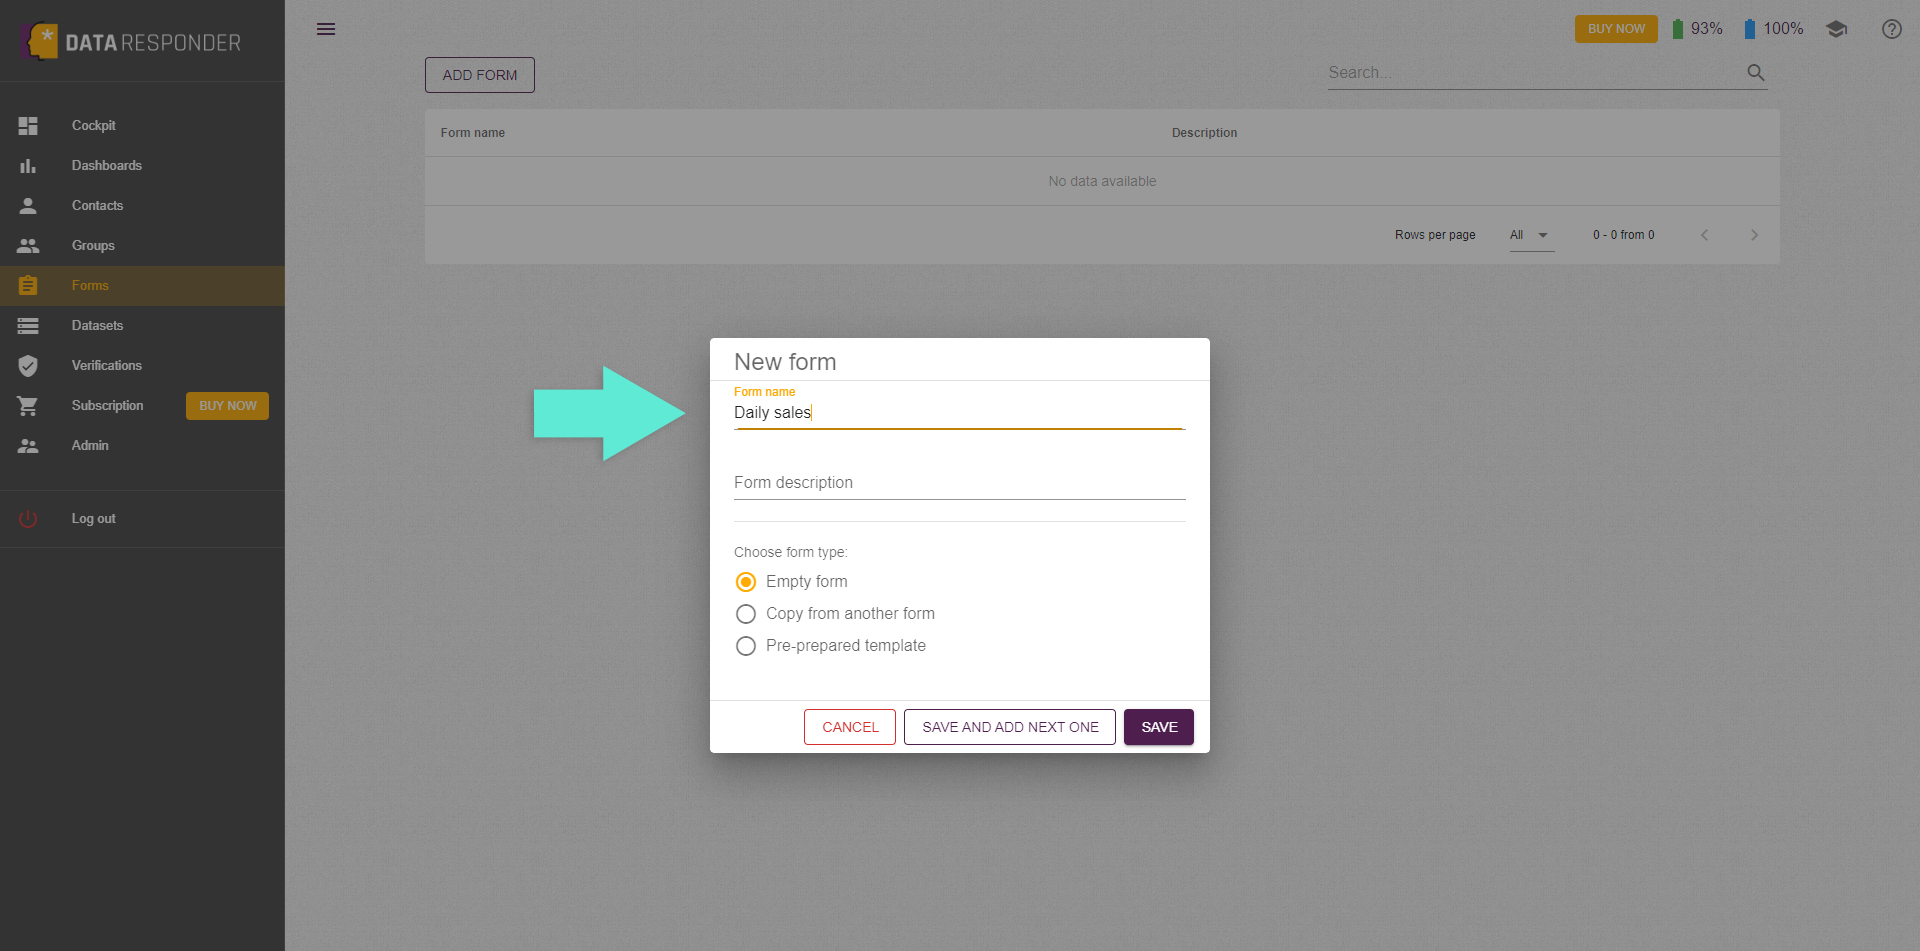
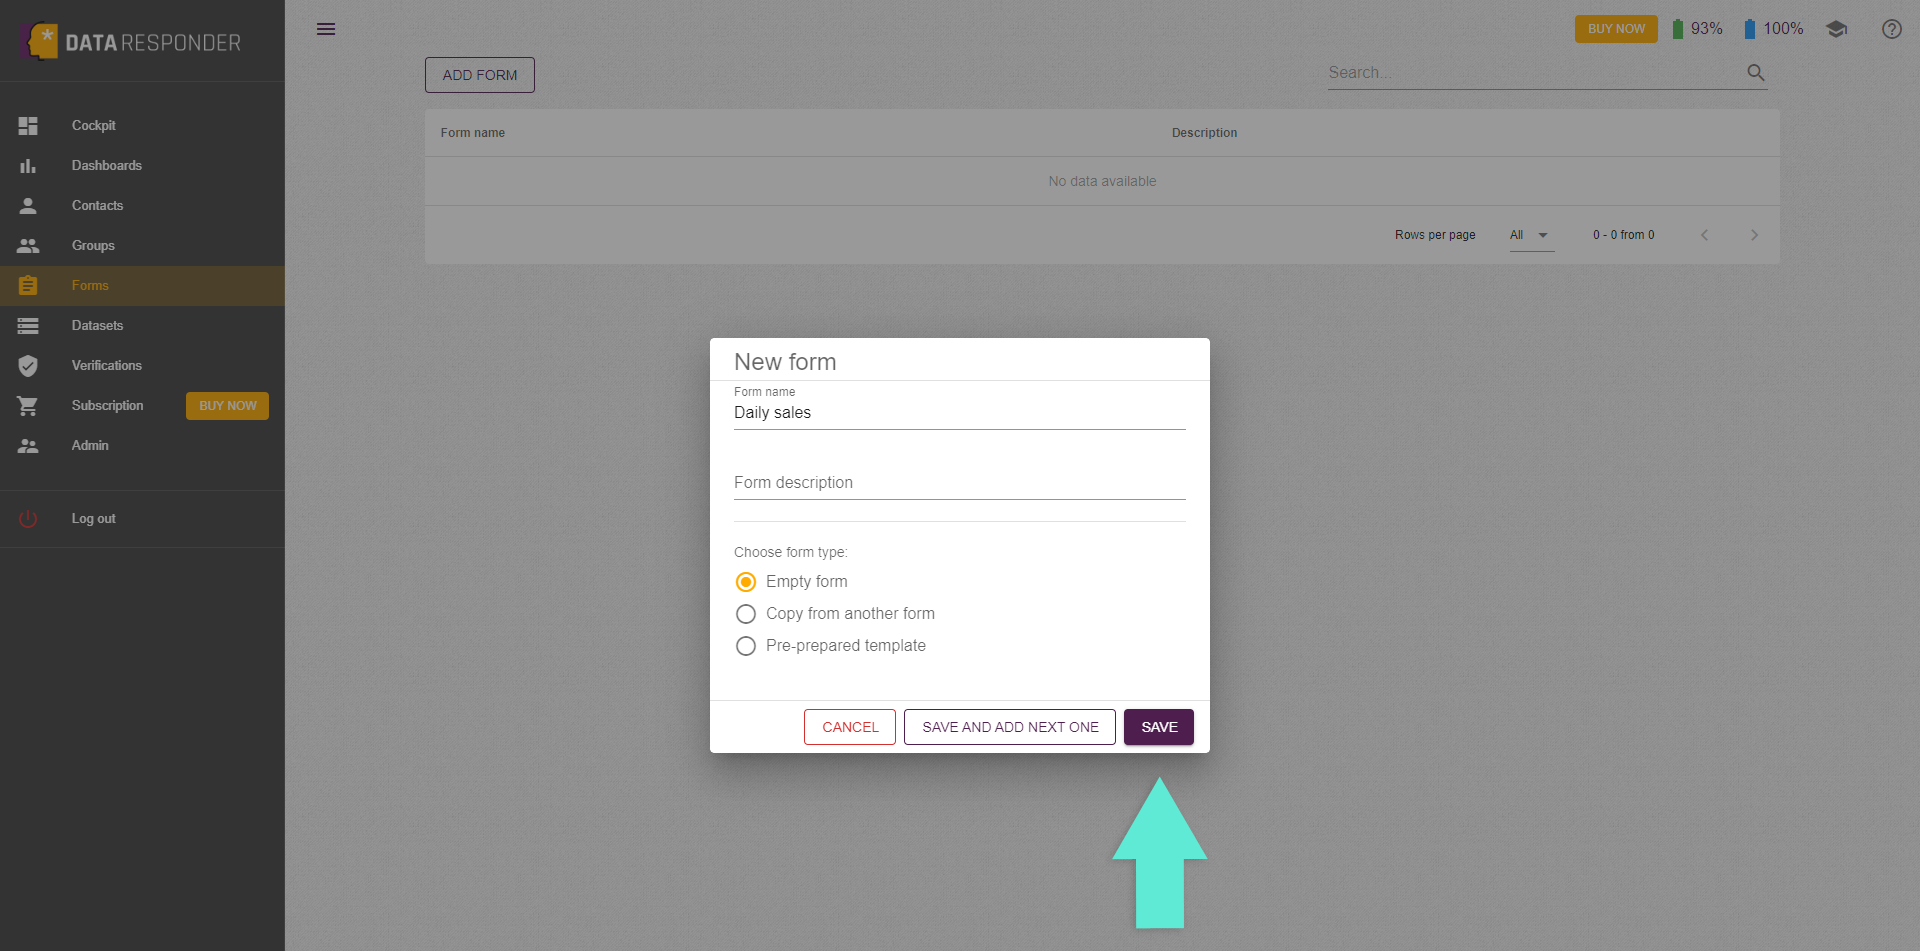
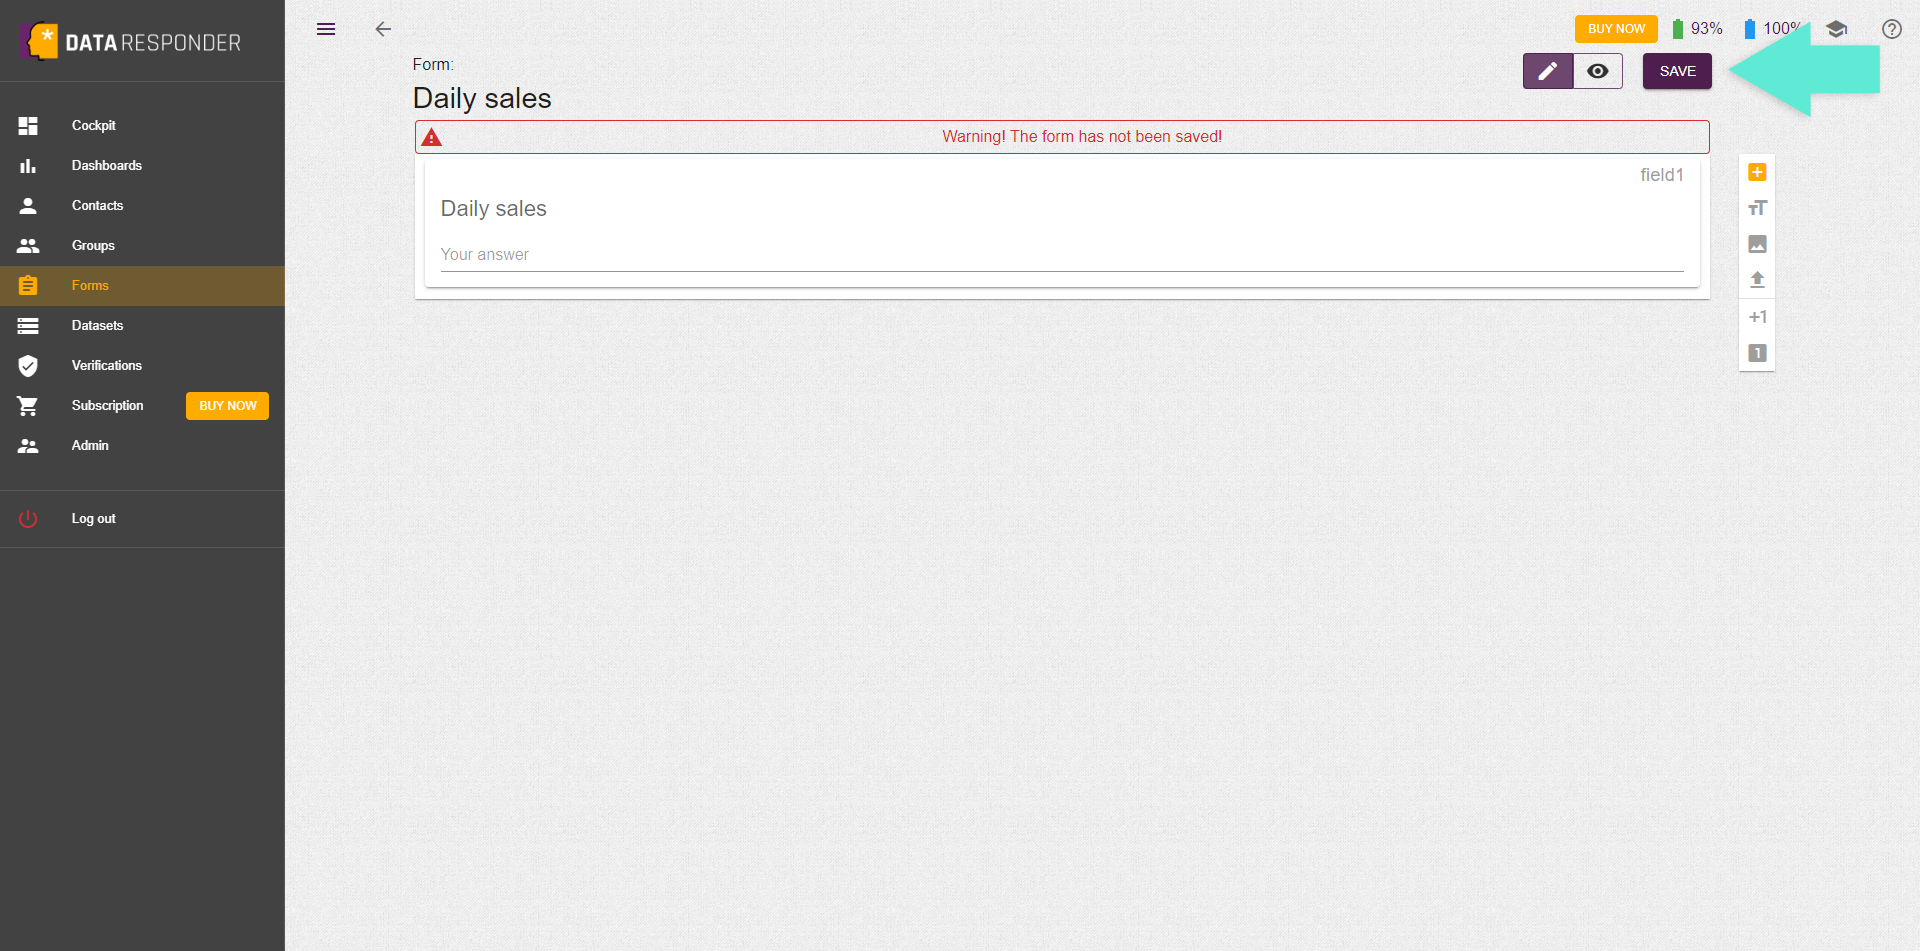
Click the "Add form" function from the cokpit and enter the name of the new data inquiry form.
2
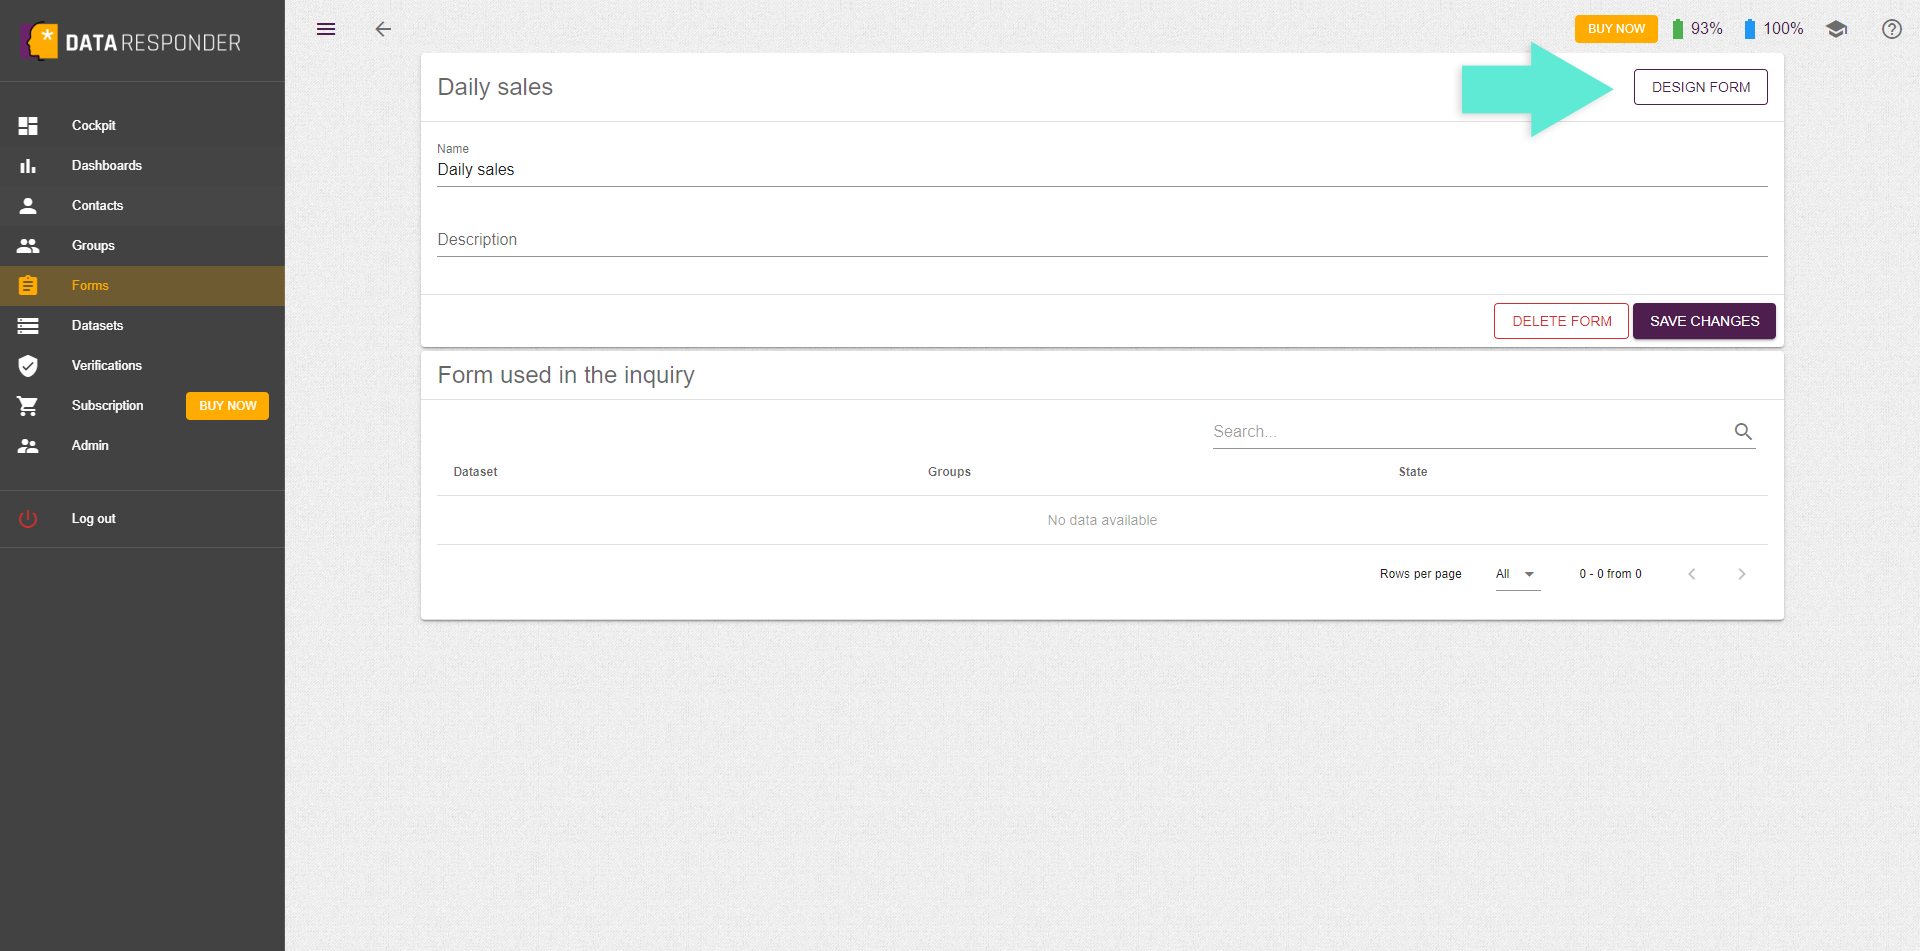
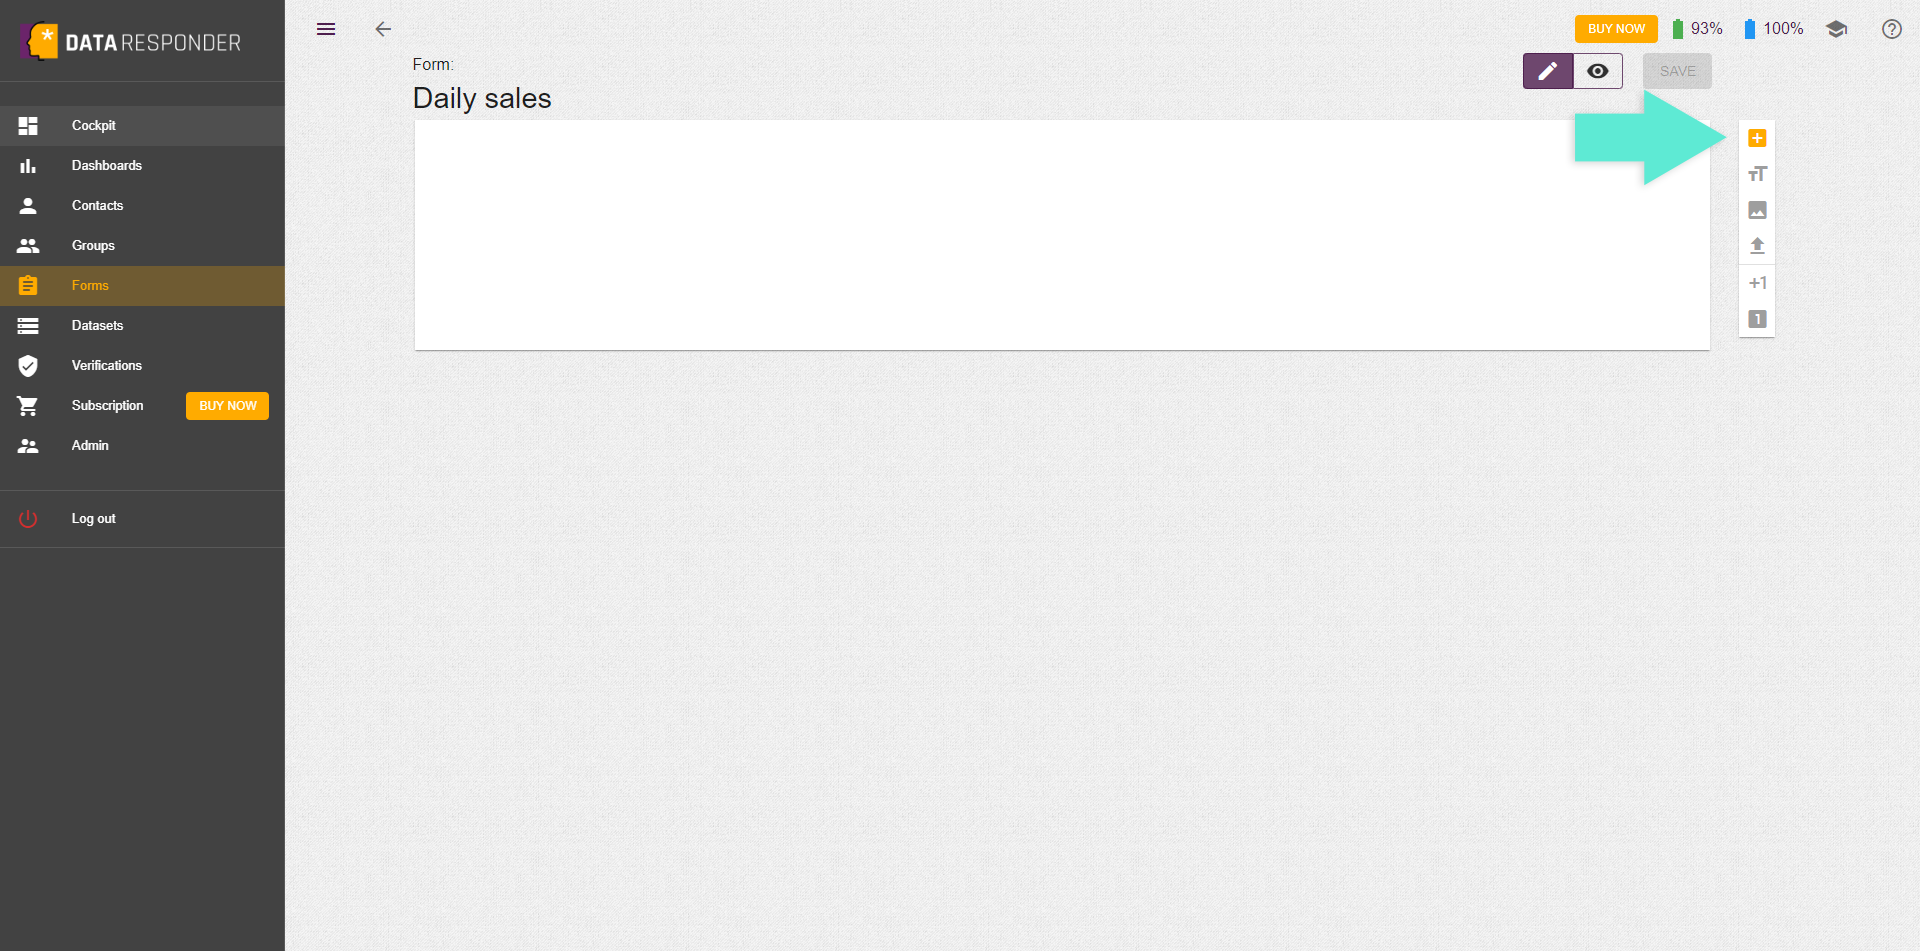
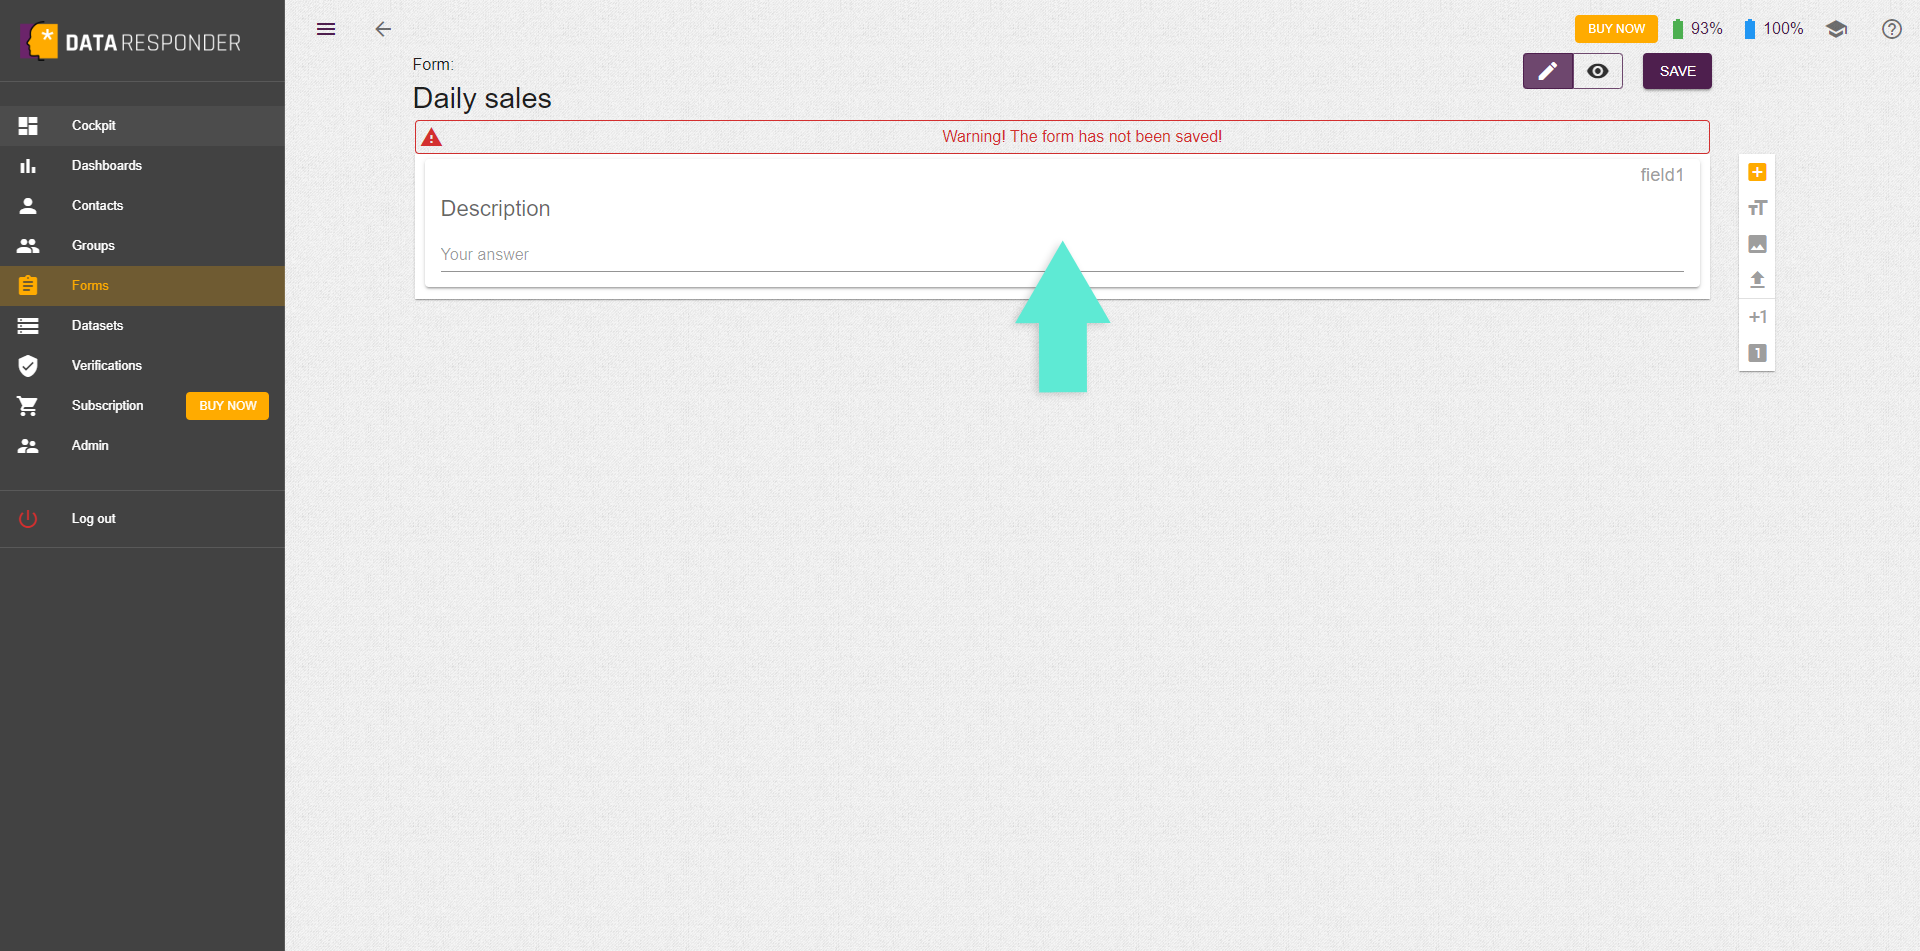
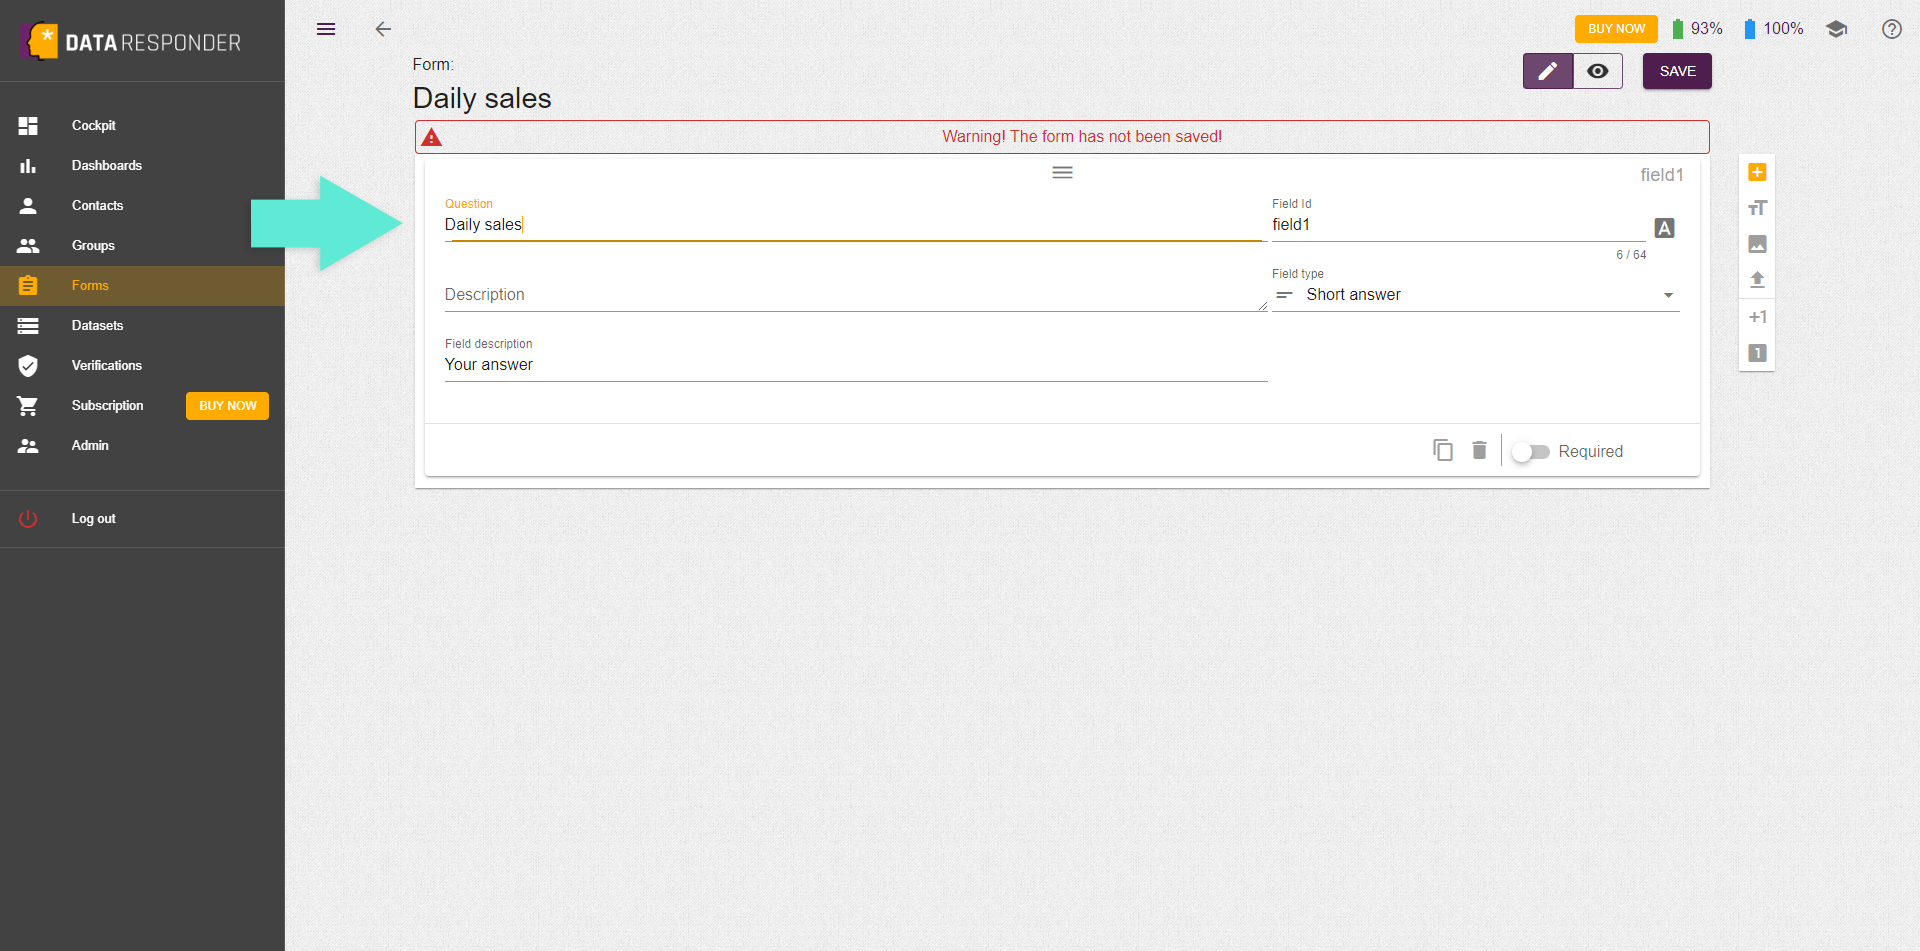
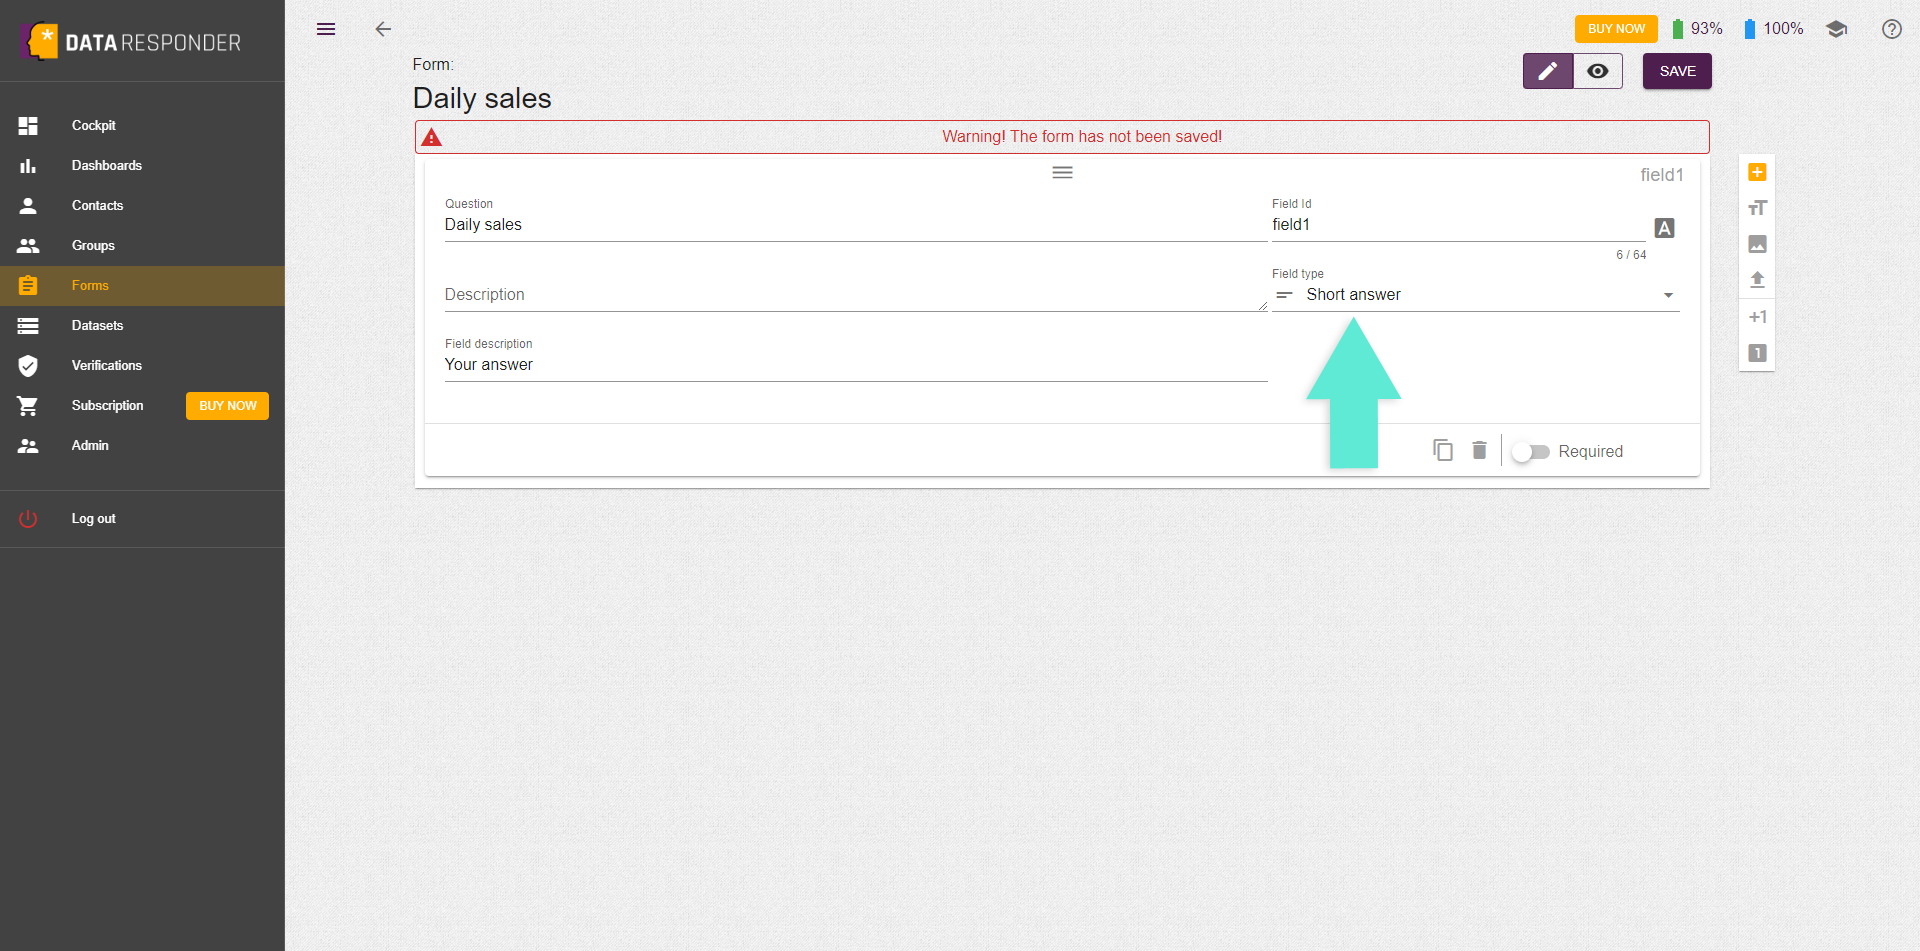
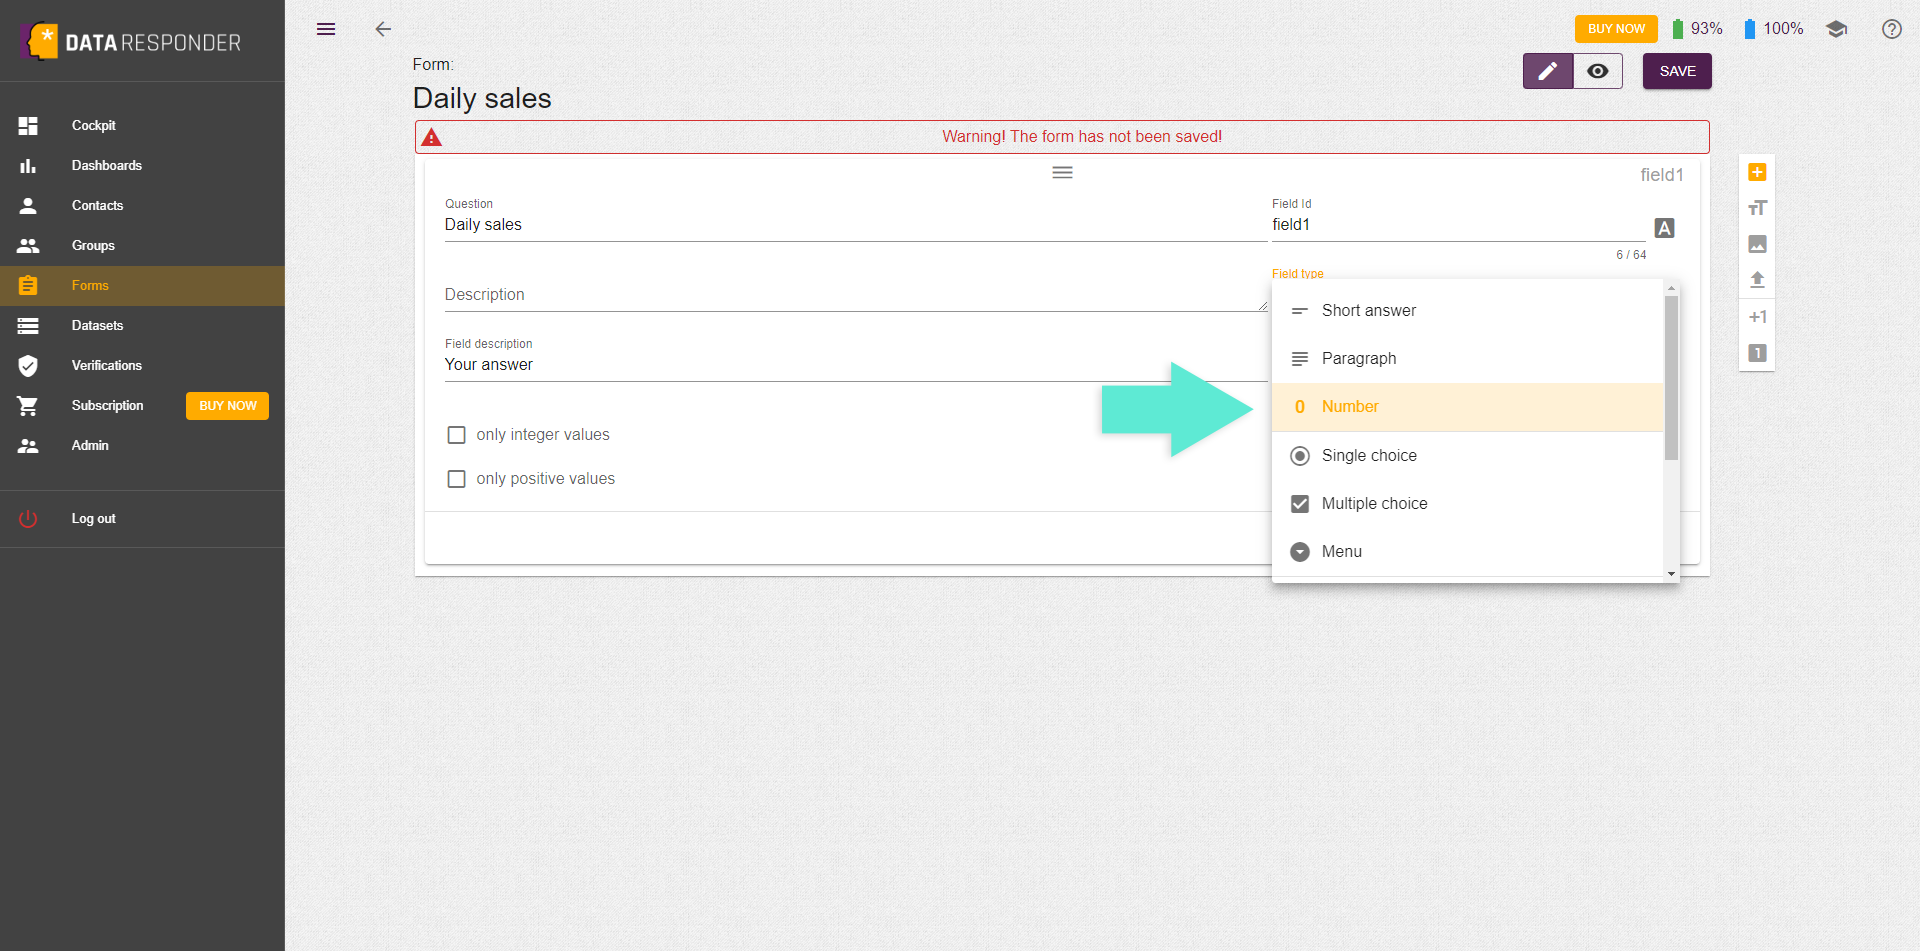
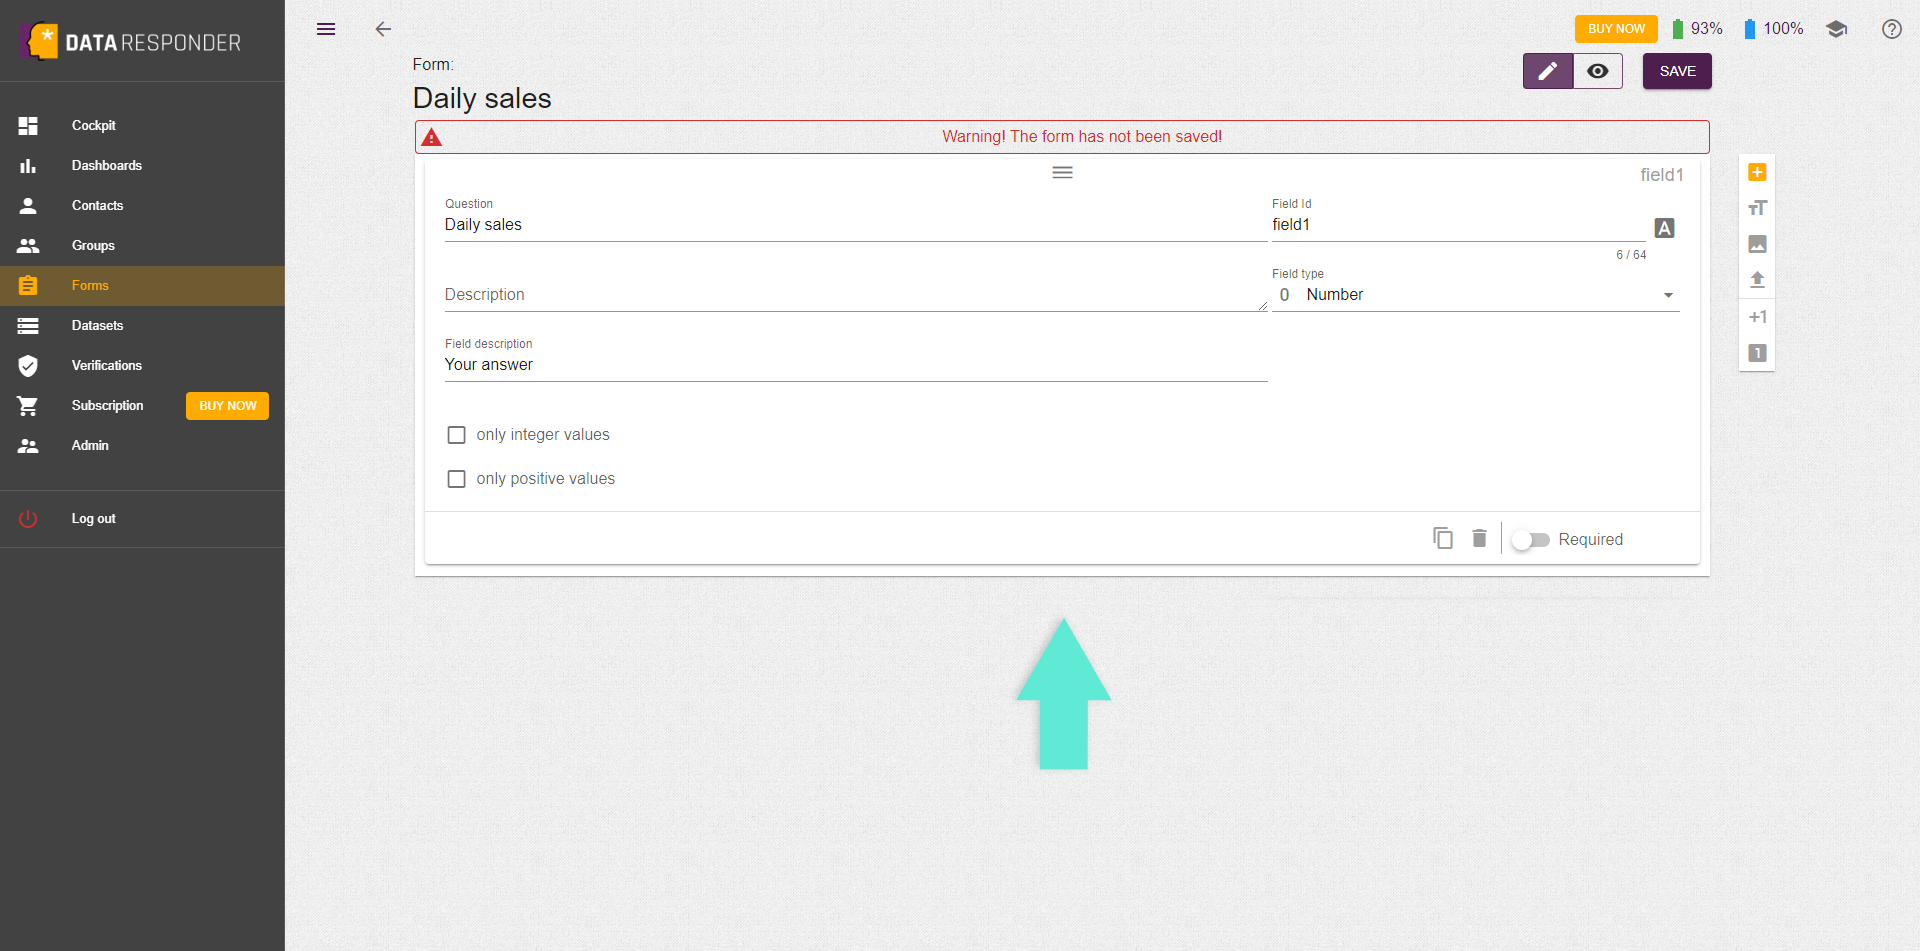
Click the "Design form" function to access the graphical editor, where you can utilize various types of fields and other useful elements.
3
Before saving the form, make sure that all numeric fields you intend to view on the dashboards have the correct numeric type assigned.
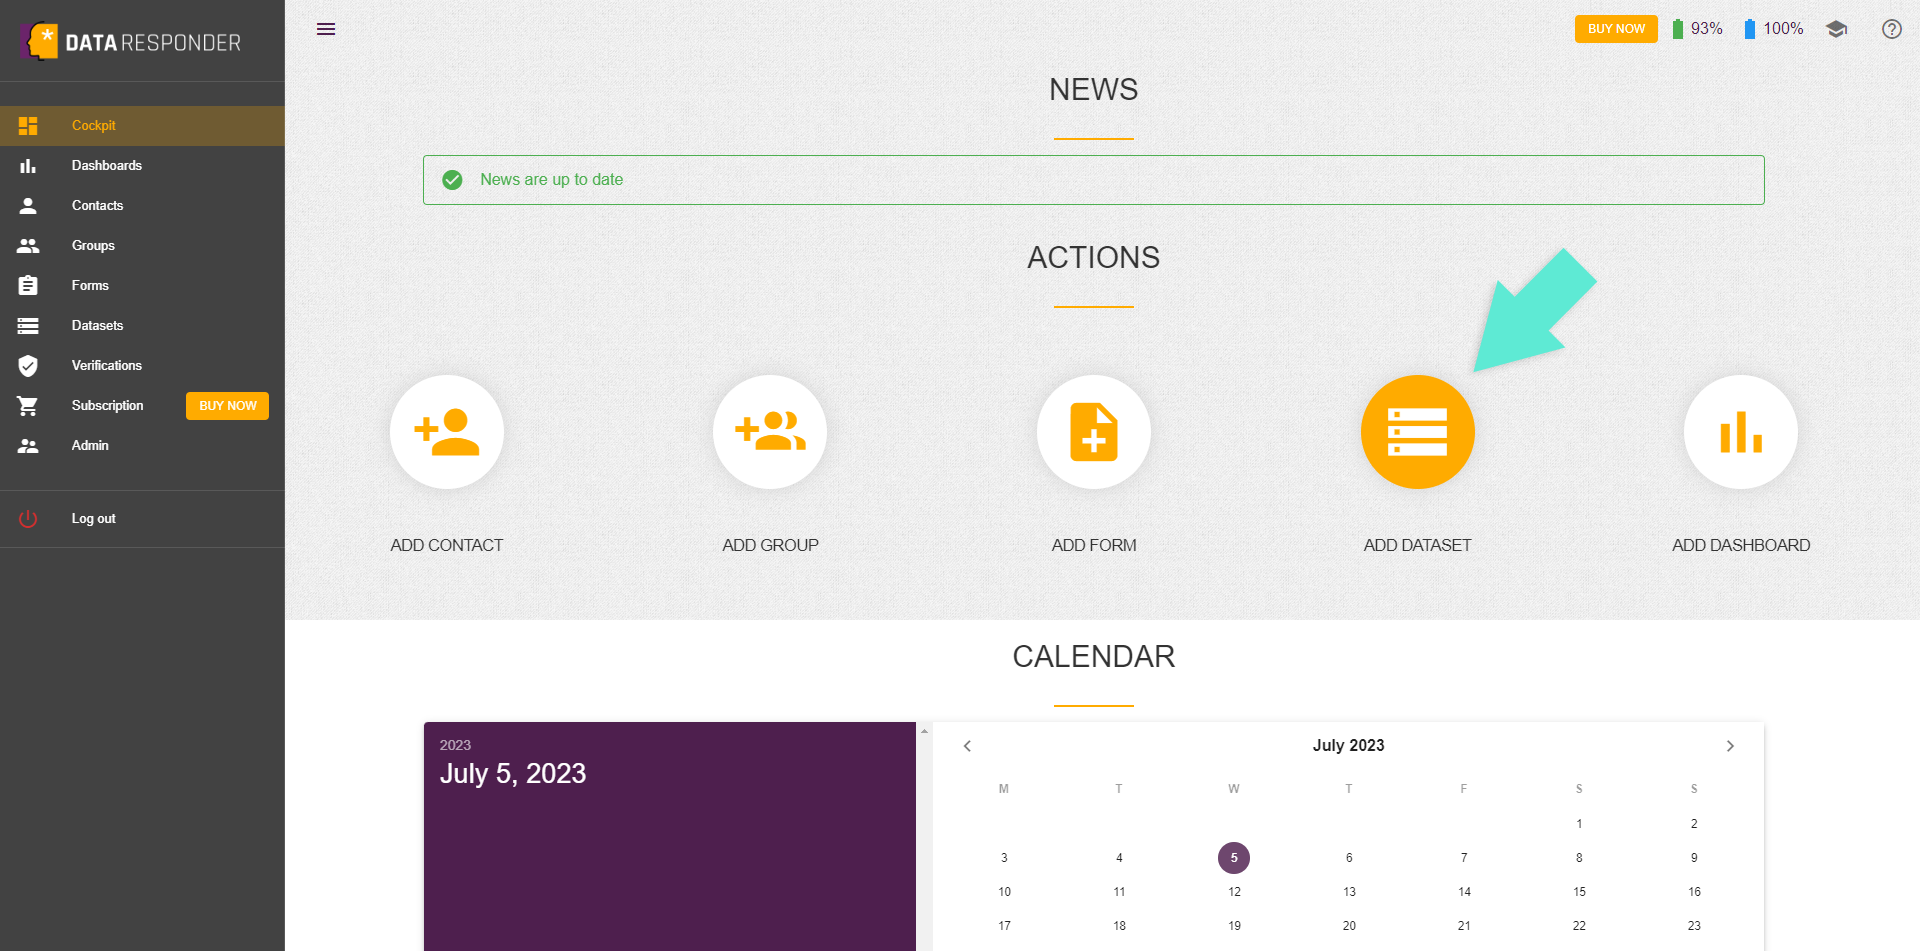
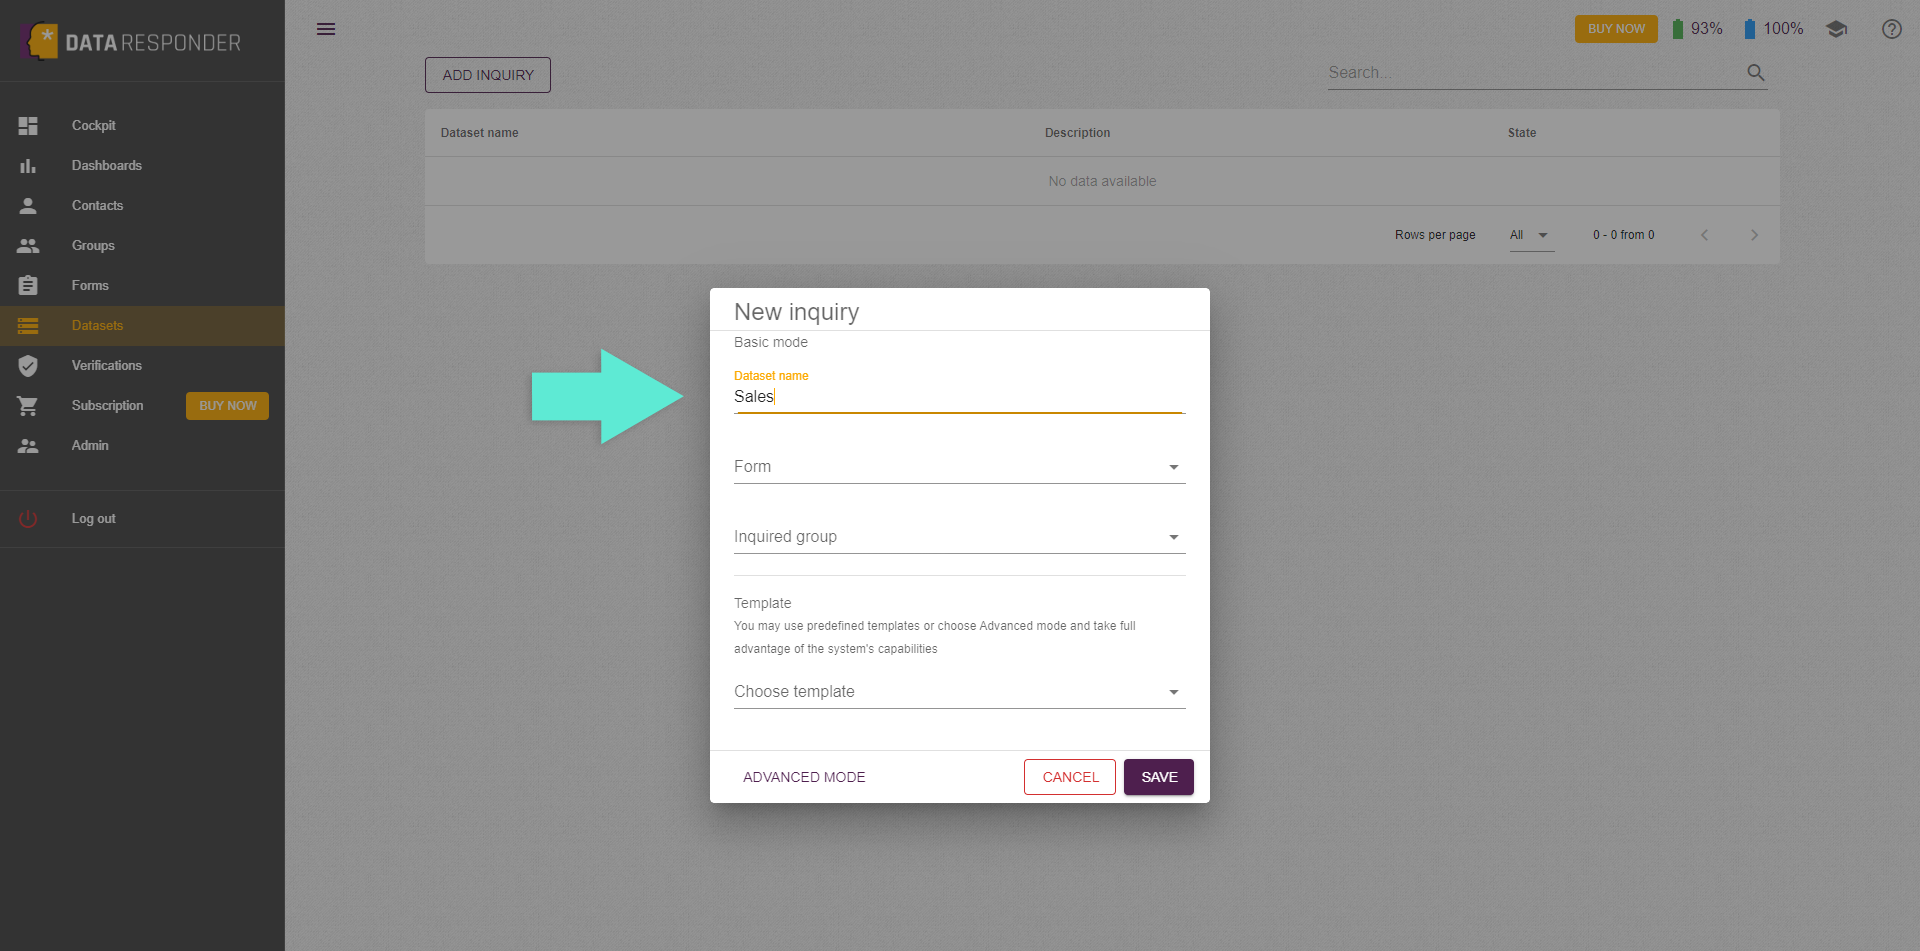
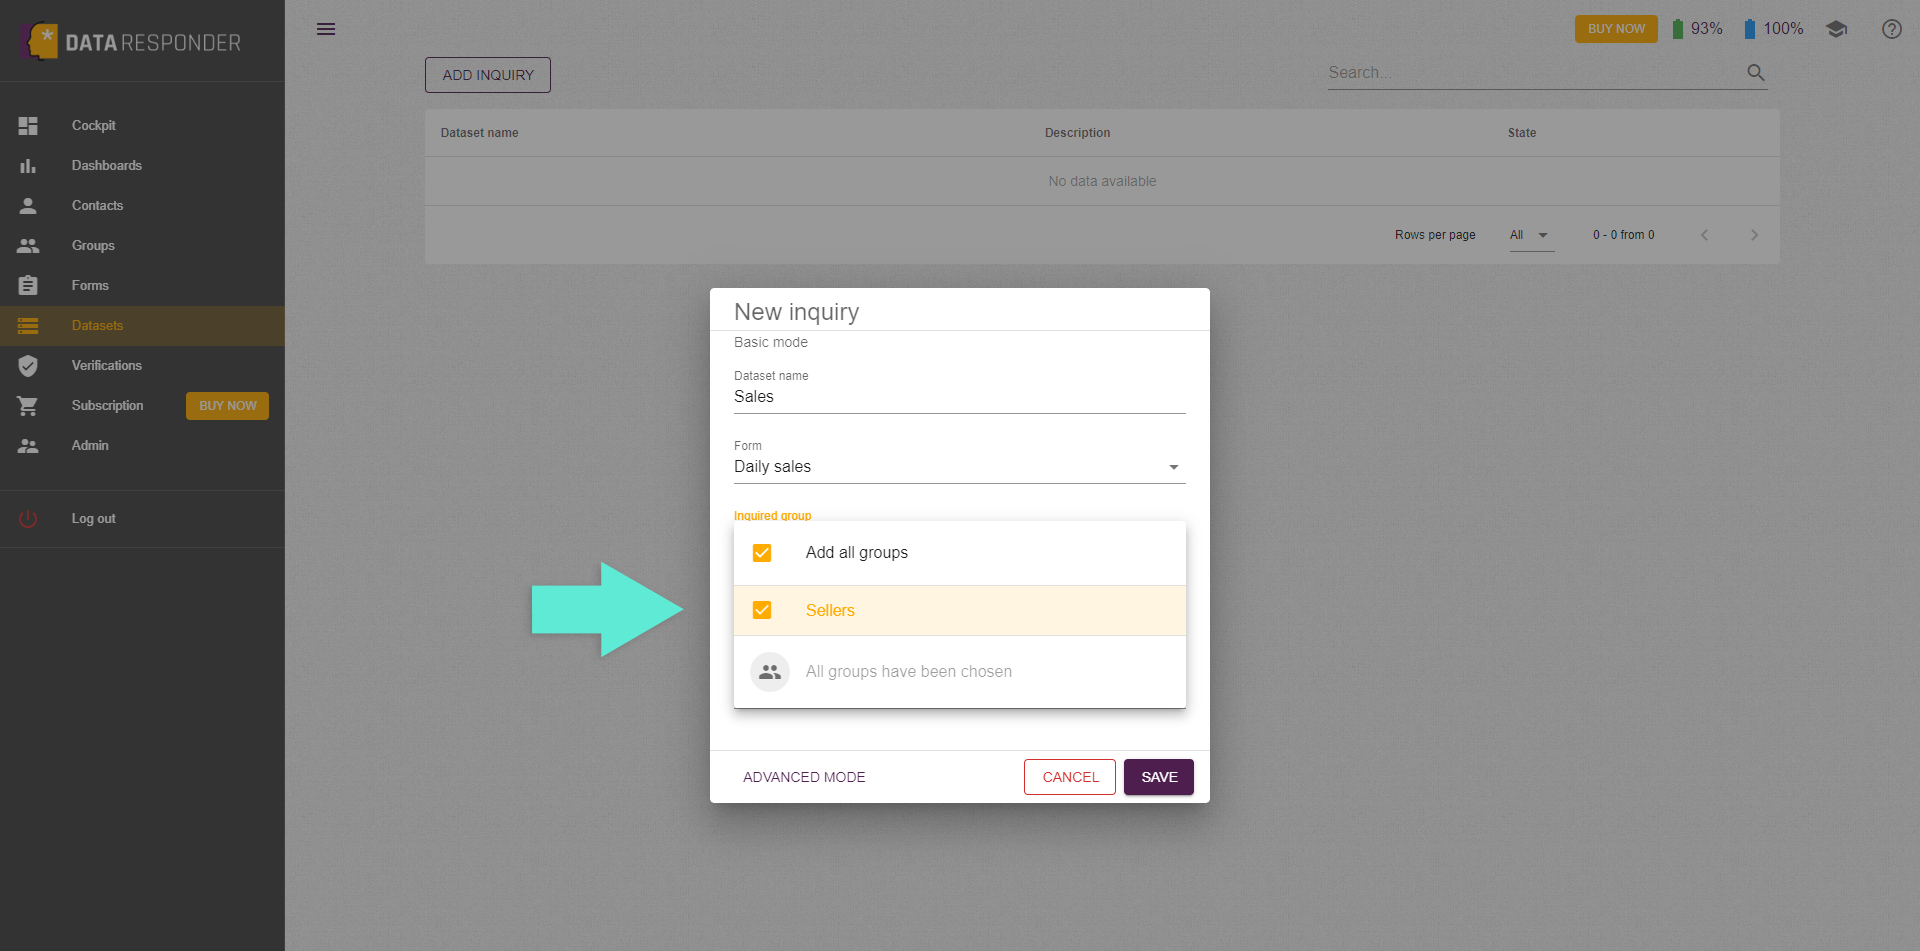
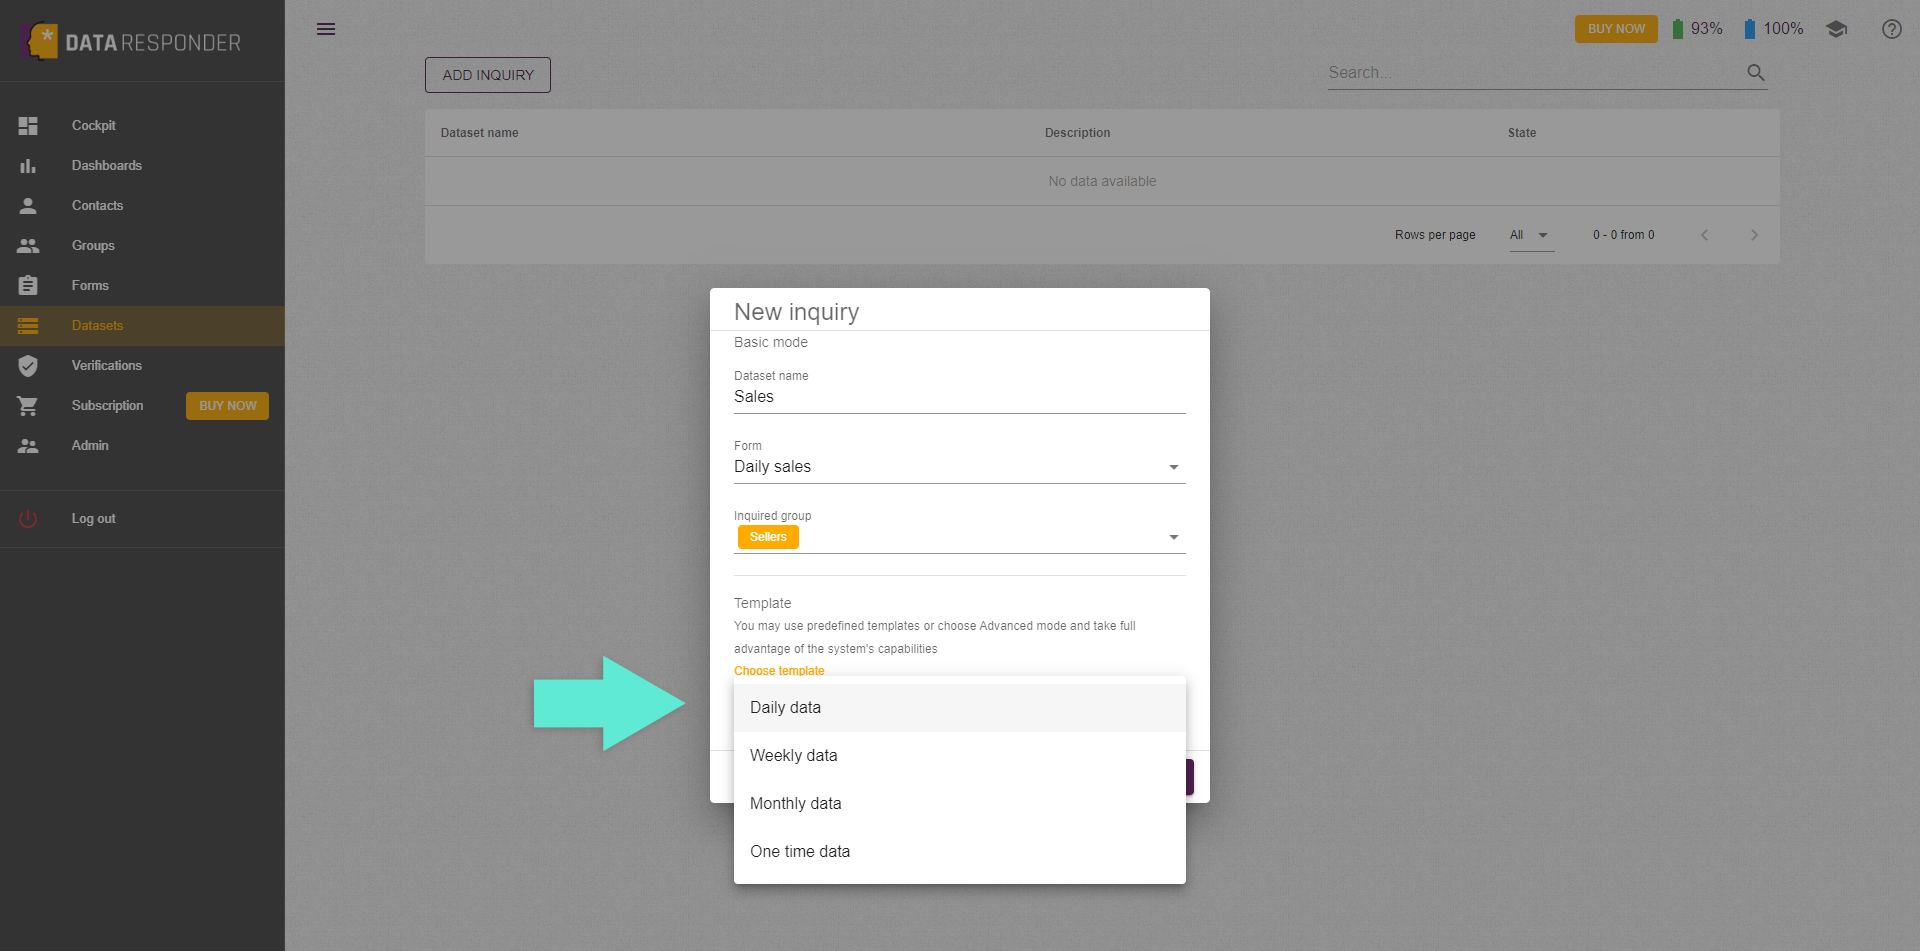
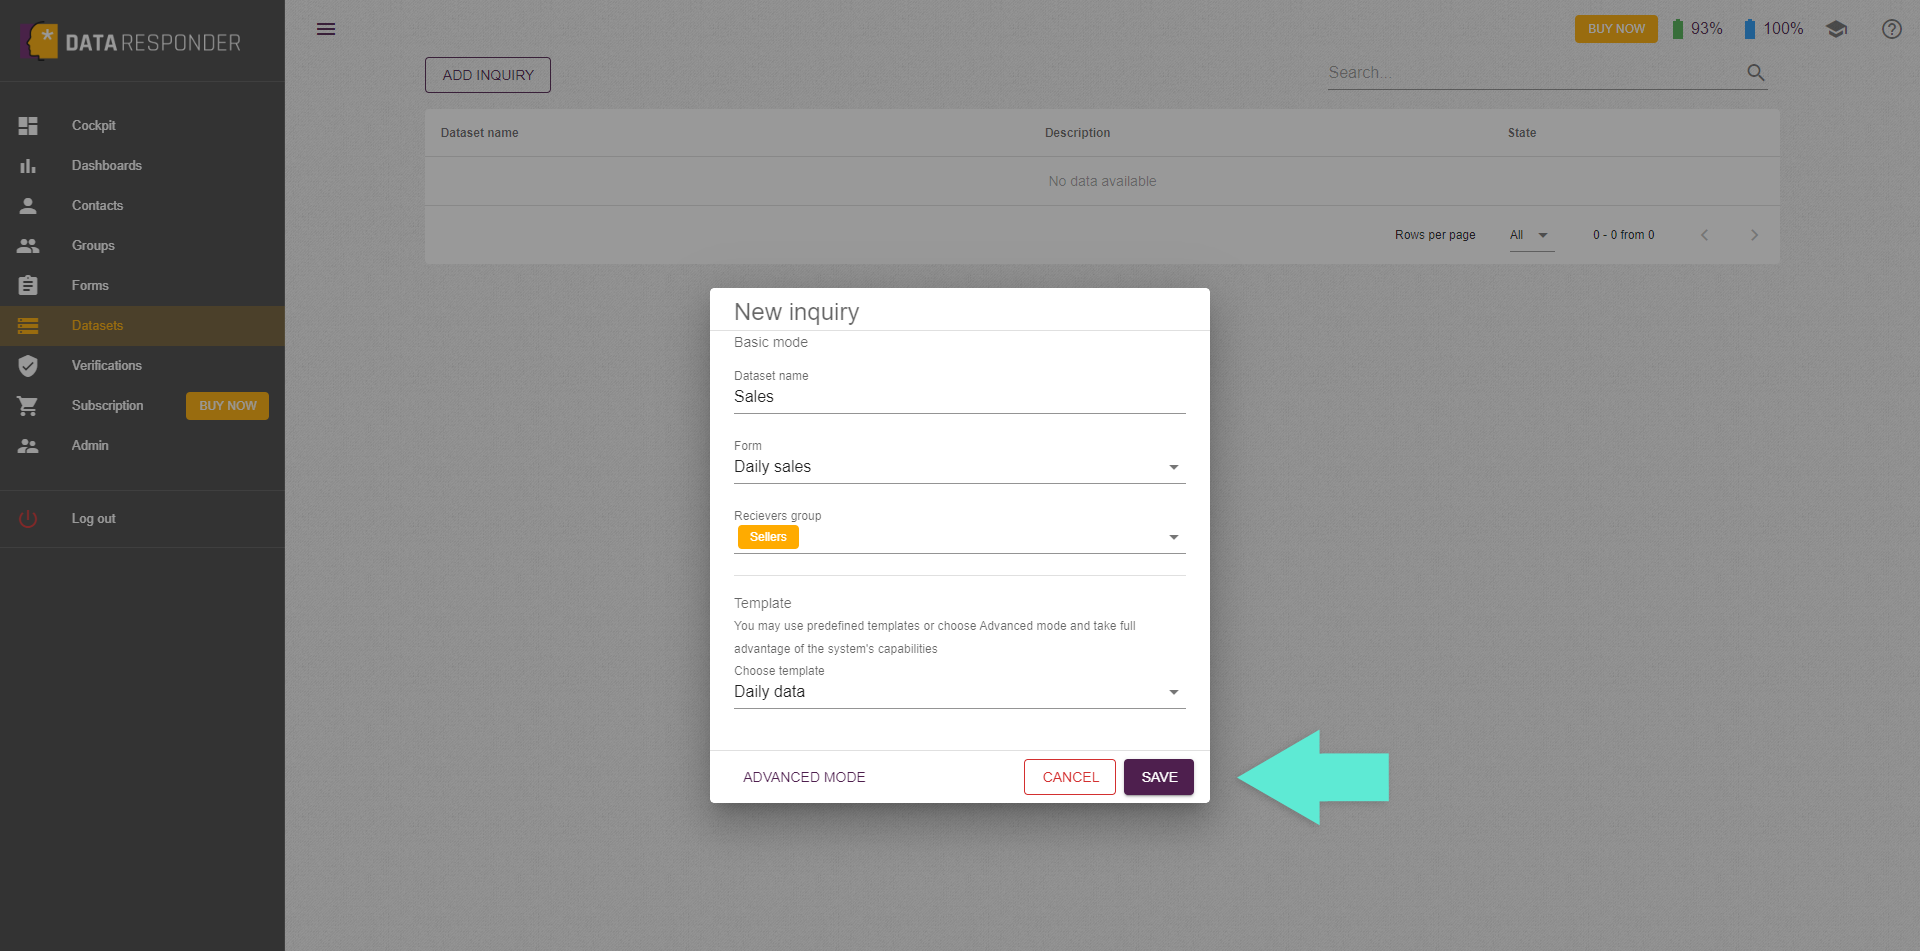
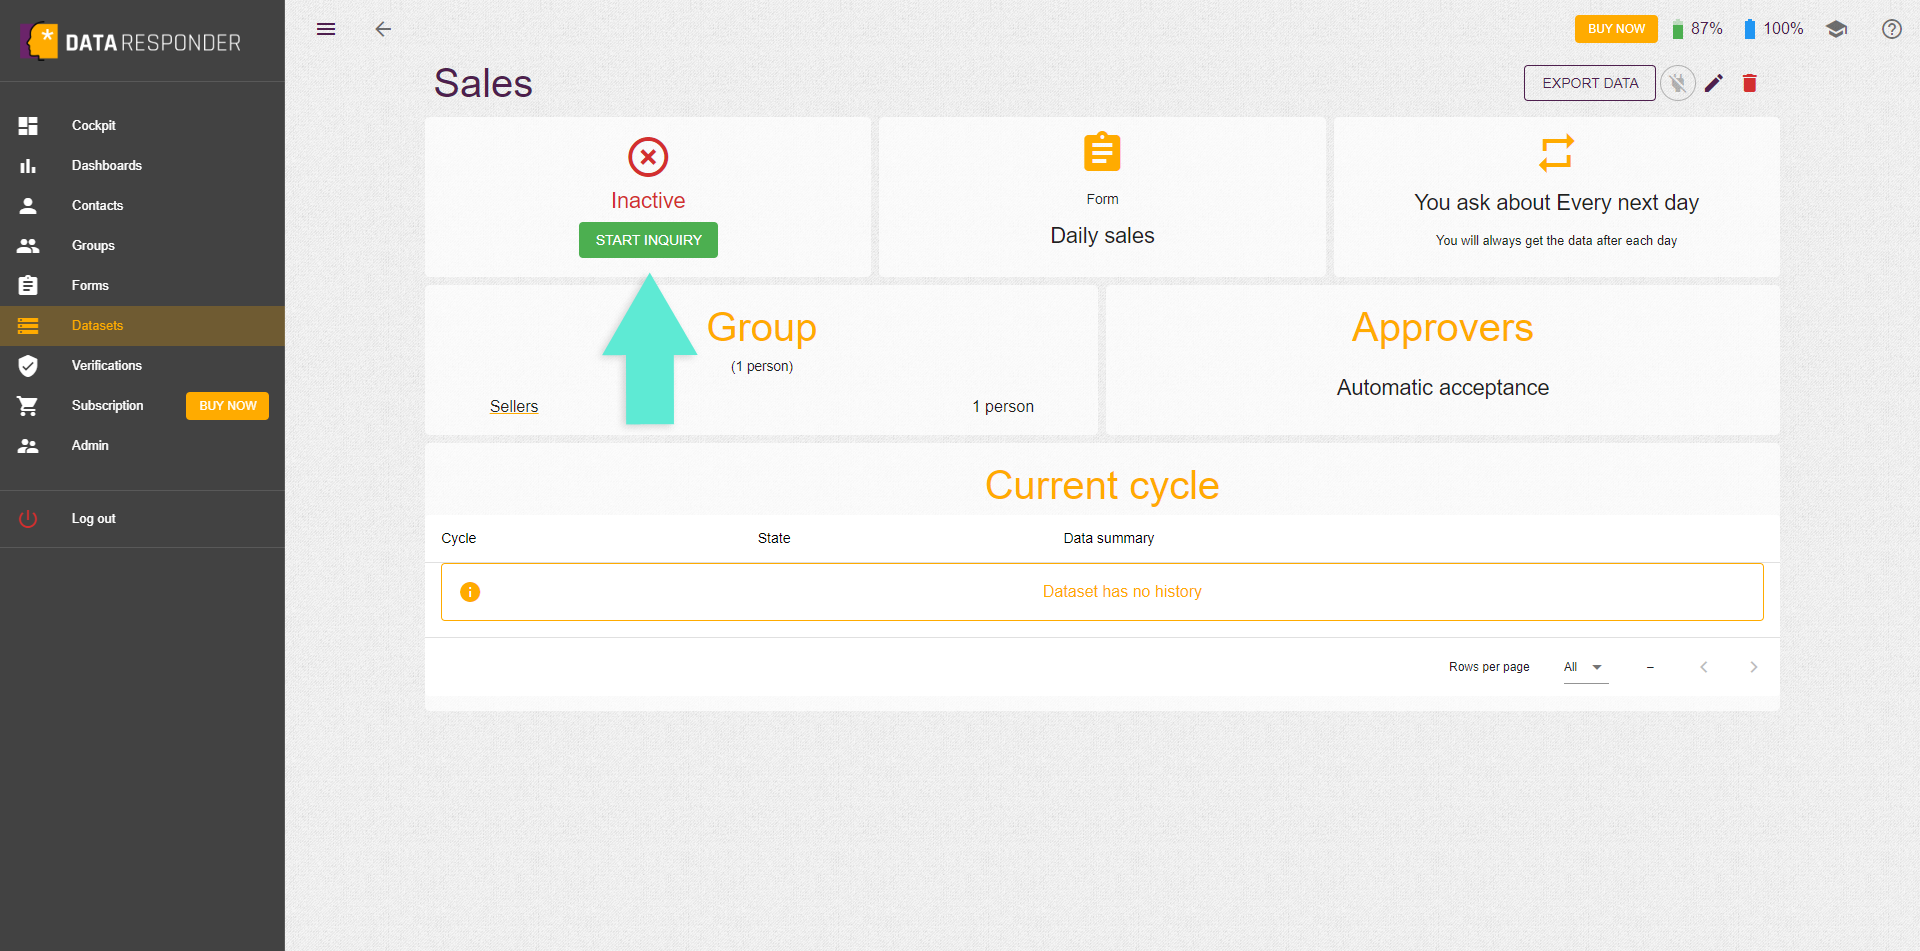
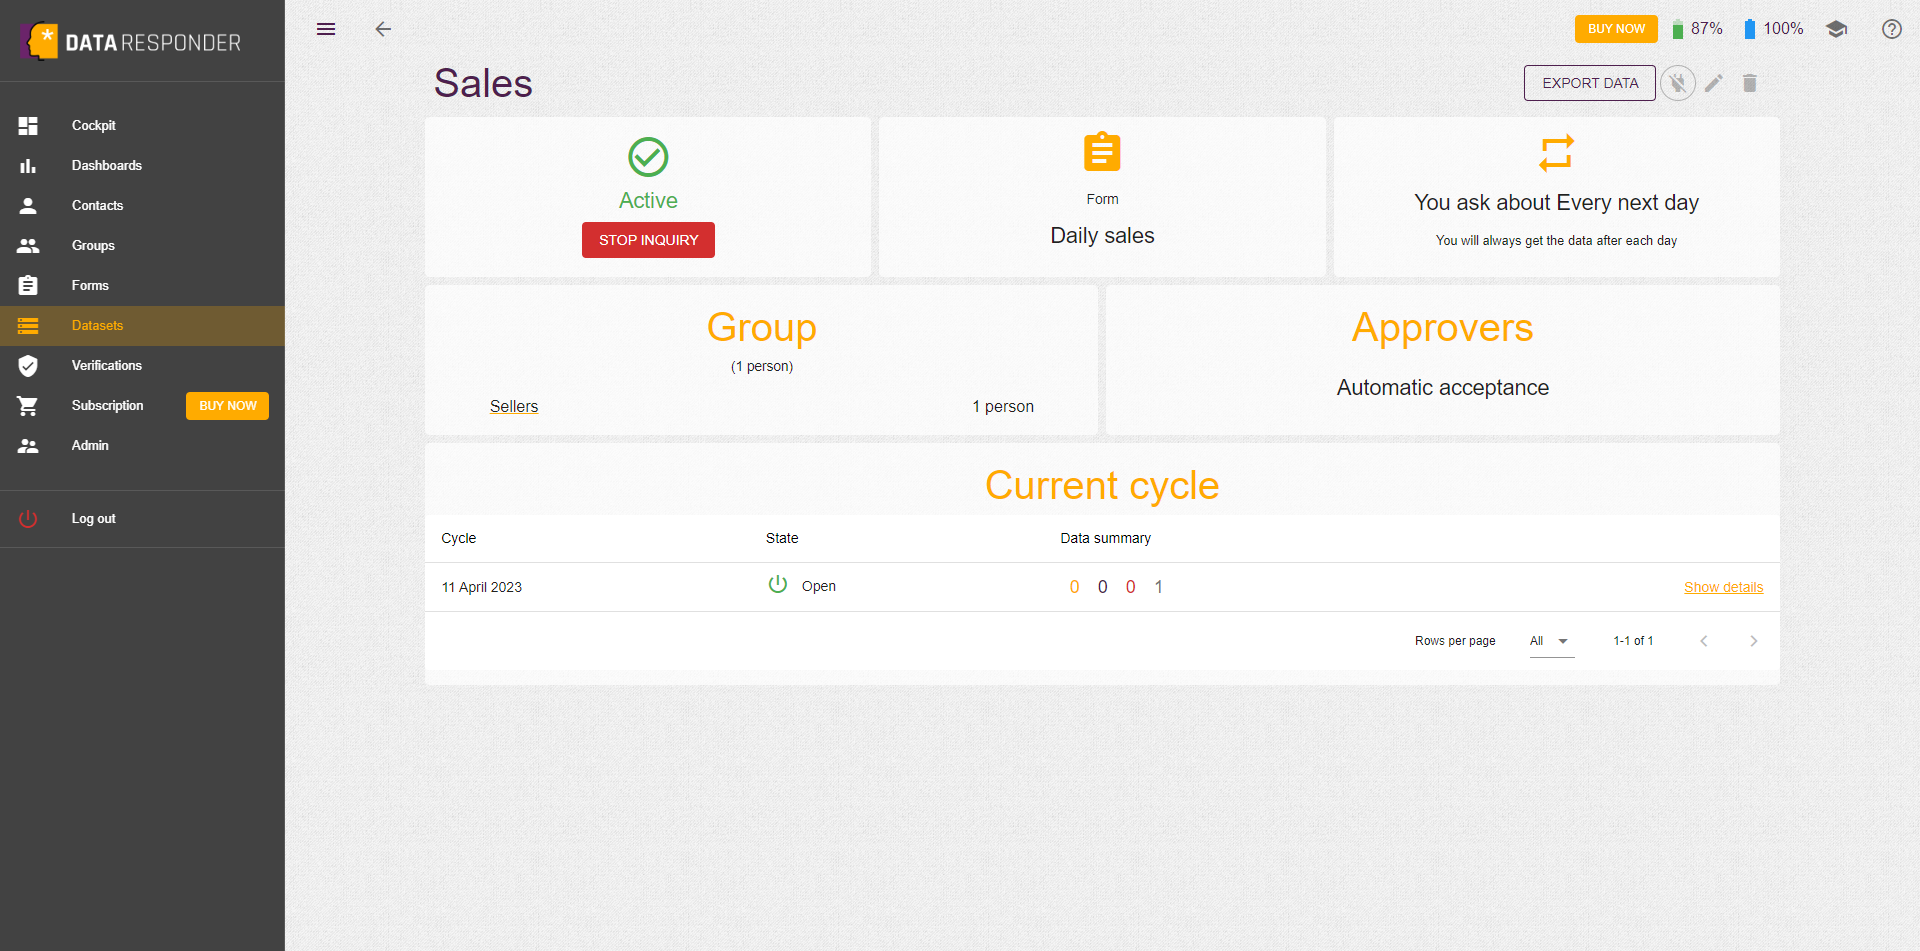
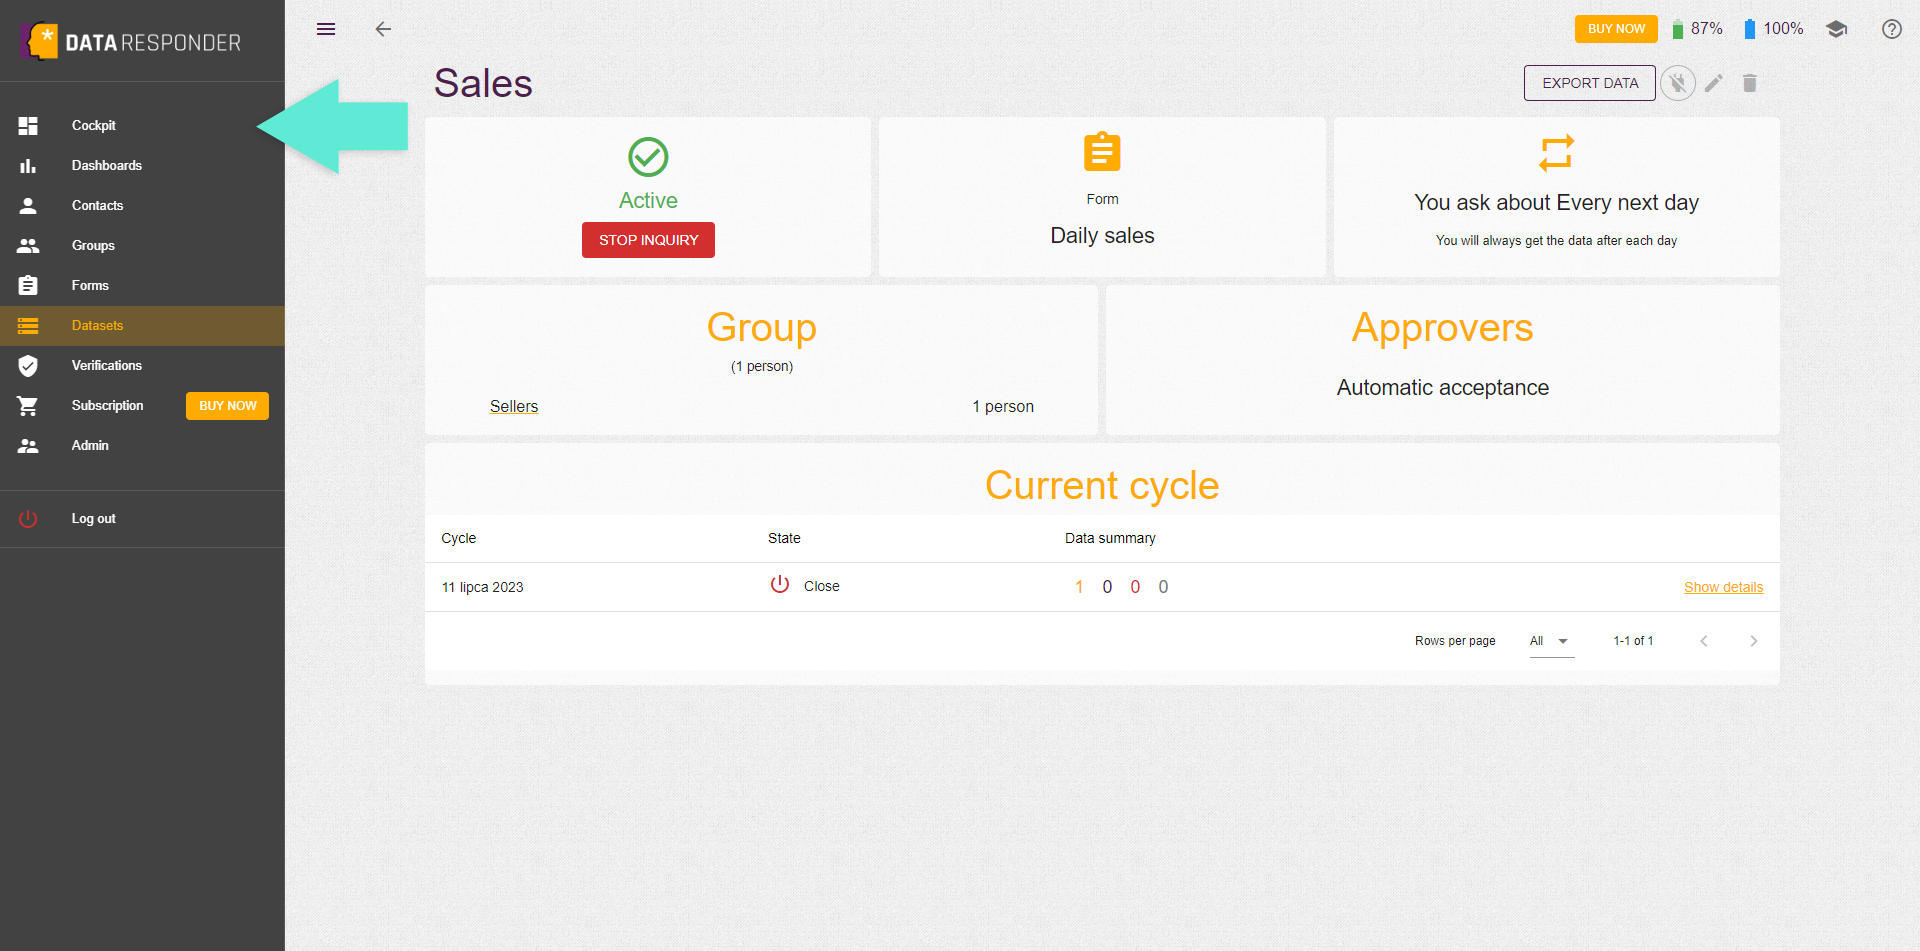
In this chapter, we'll show you how to start your first data inquiry process. Just connect the previously created data providers group, data form, and add scenario settings. It's easy!
1
Click the "Add dataset" function from the cokpit and complete the form with data inquiry process details.
2
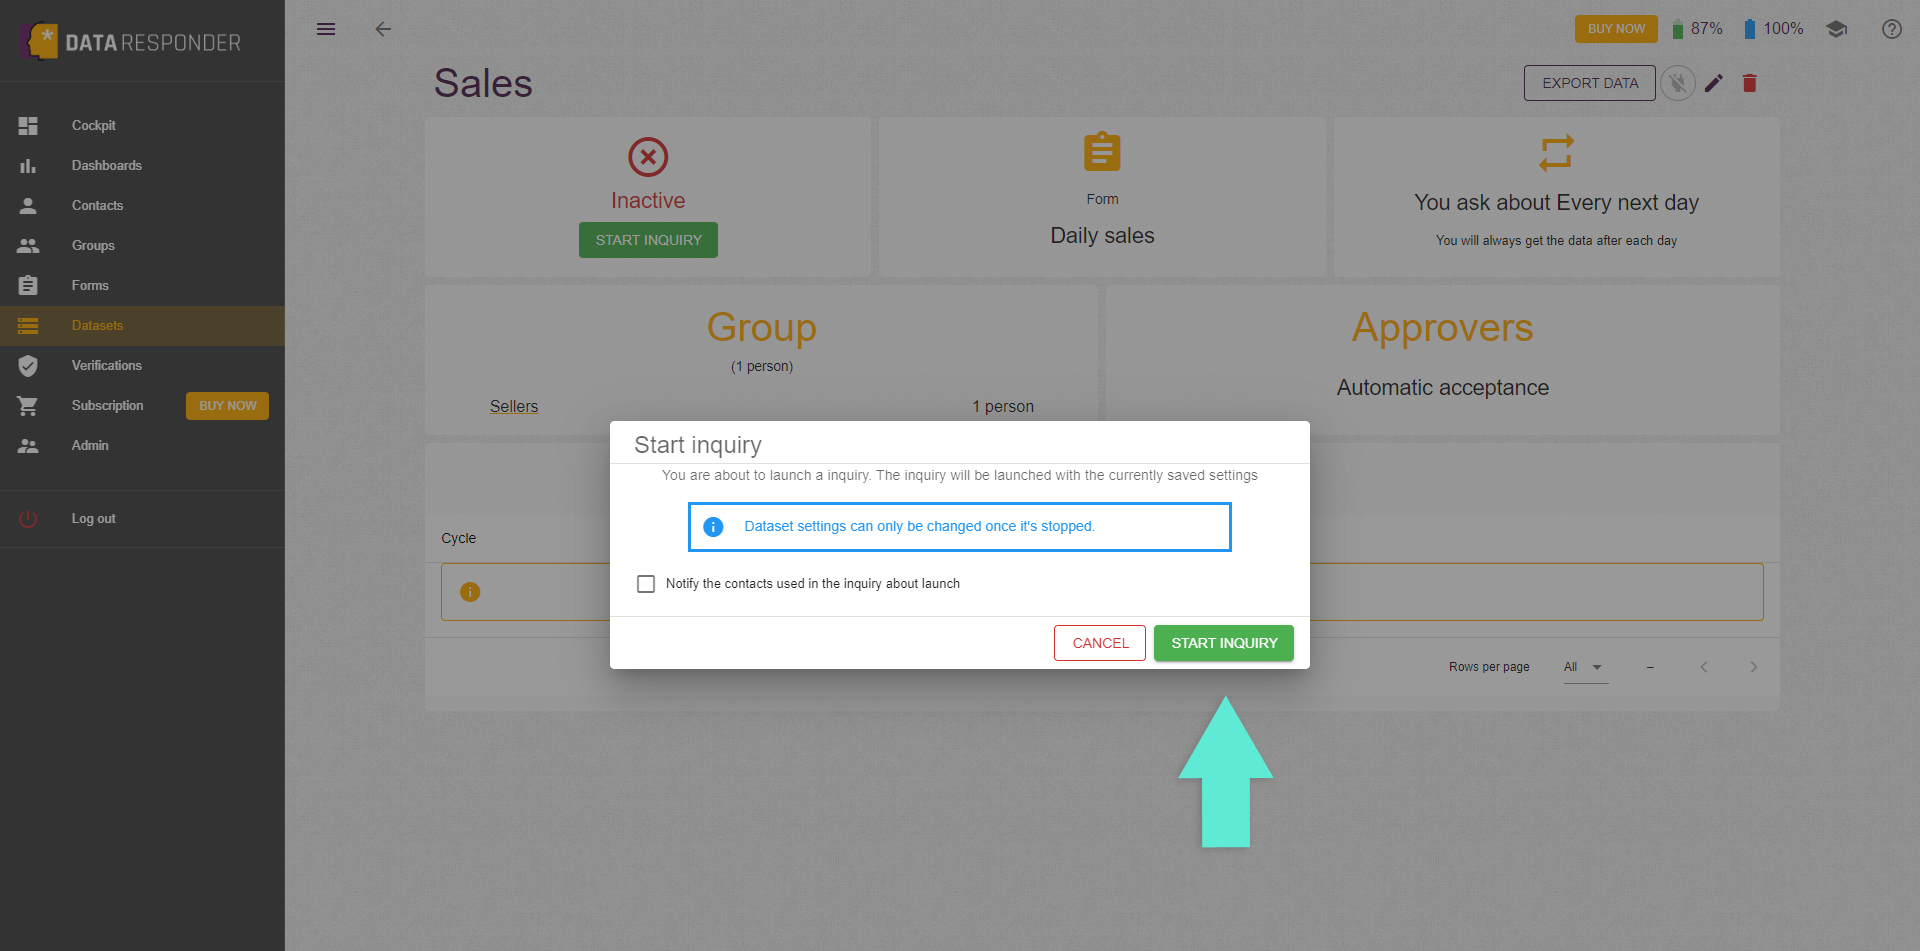
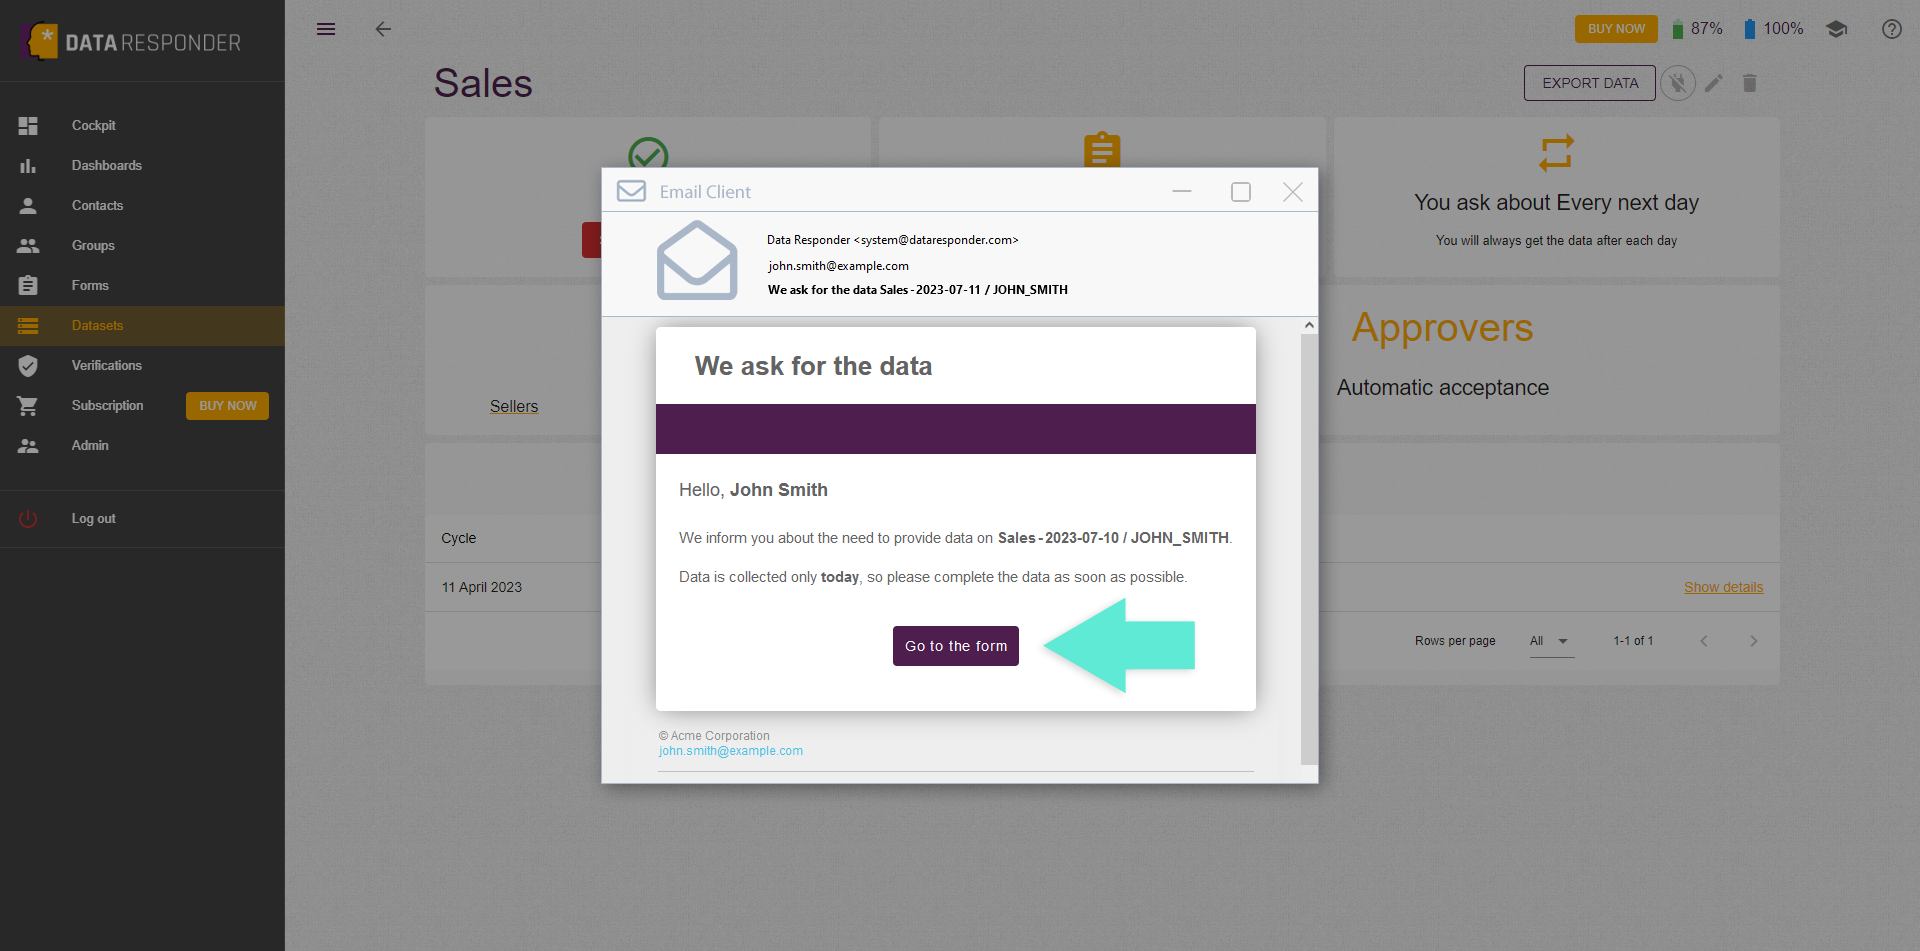
Click the "Start inquiry" function to start the process. Select daily data cycles, then system will begin working for you immediately.
3
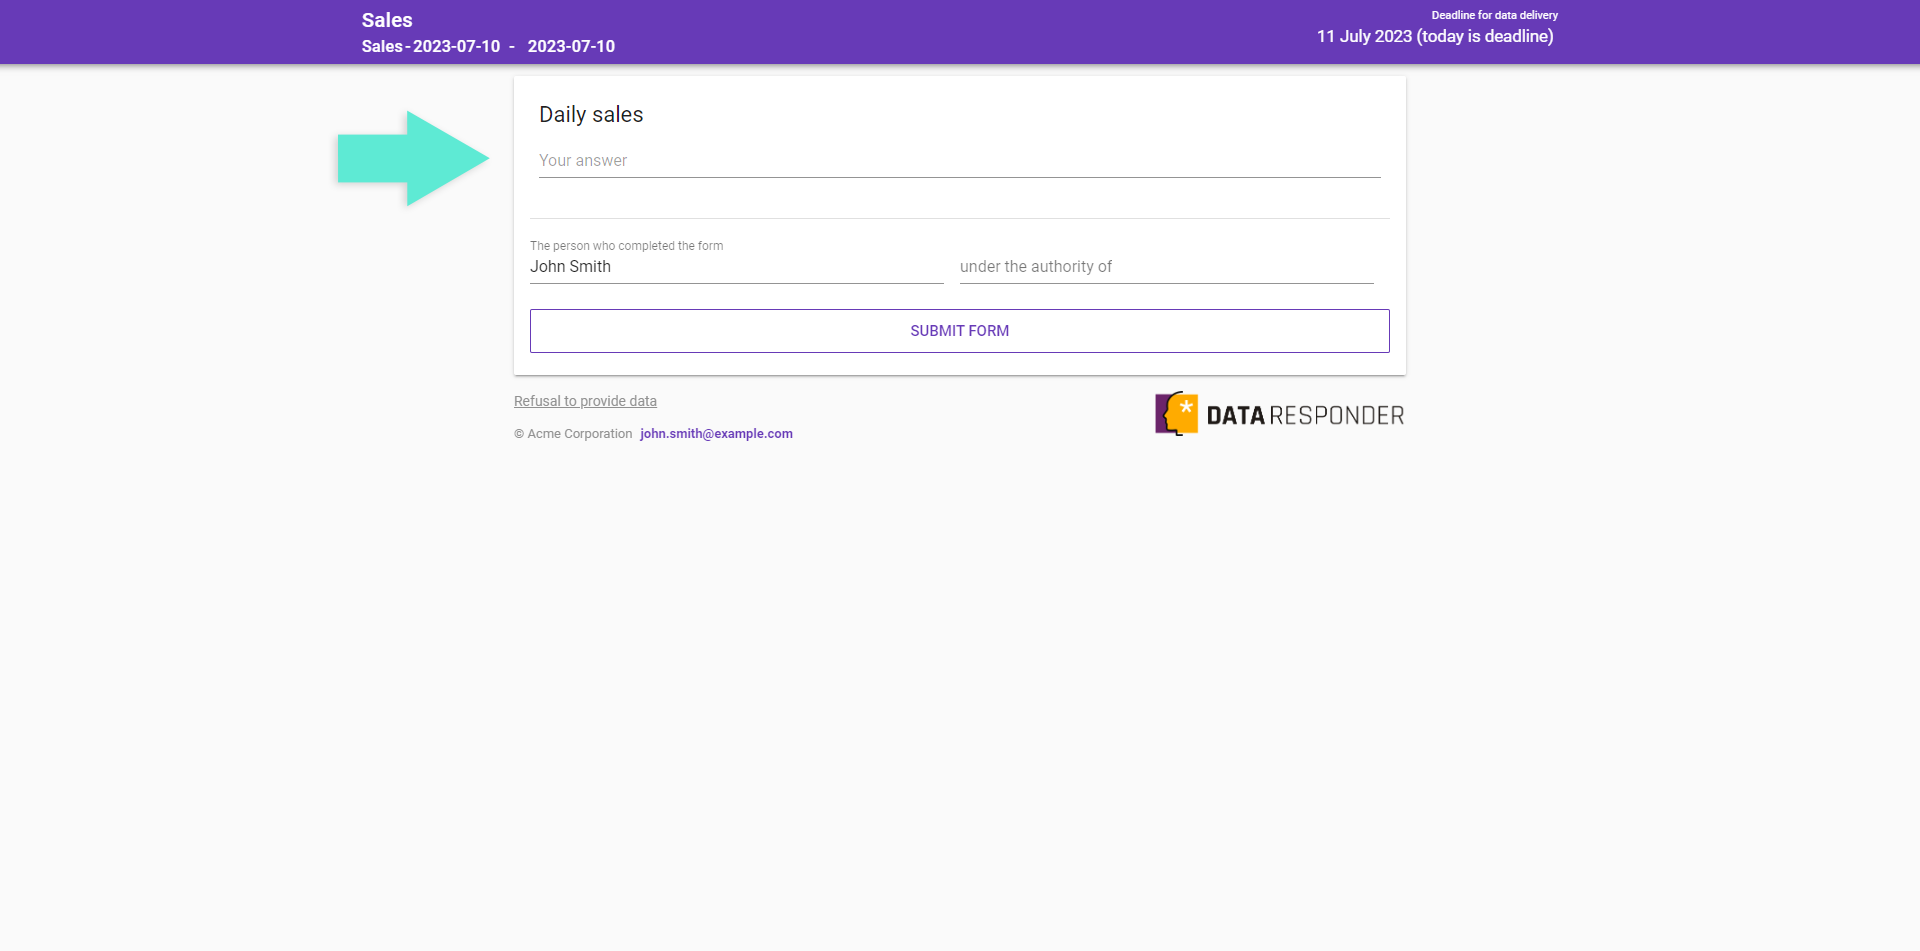
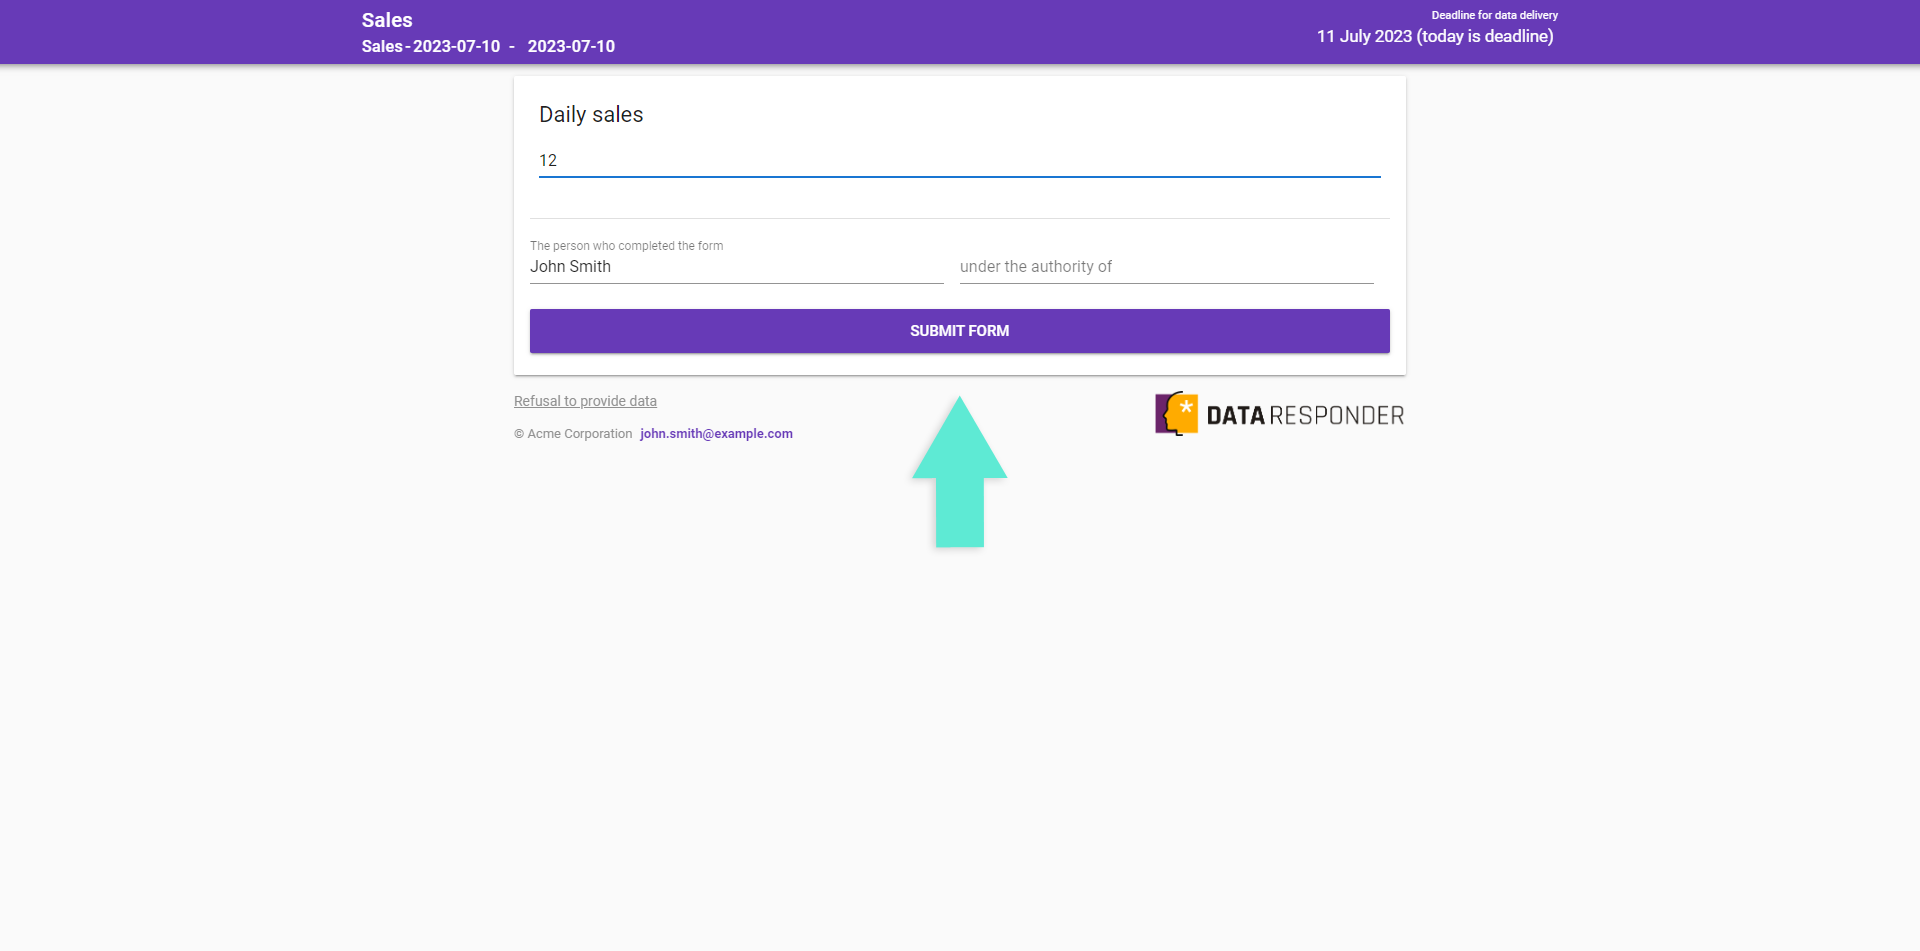
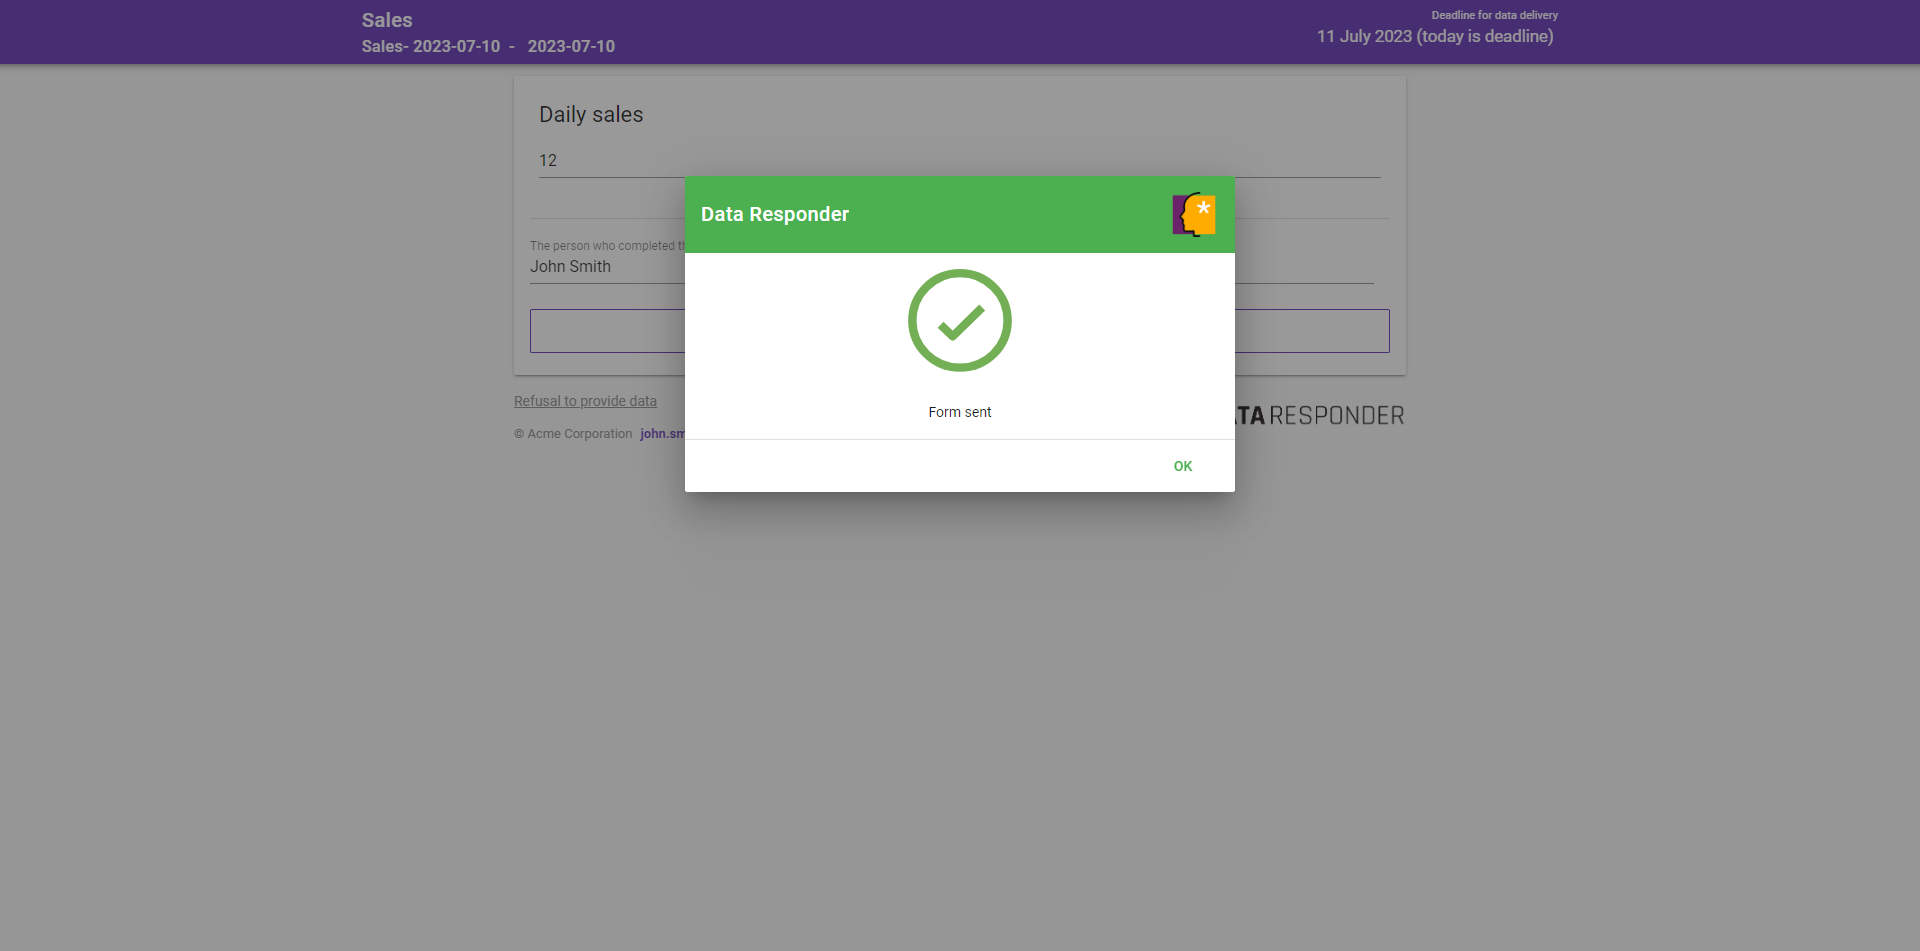
Check your email program for the inquiry email we've sent you. Click on the link provided to complete the workable data form.
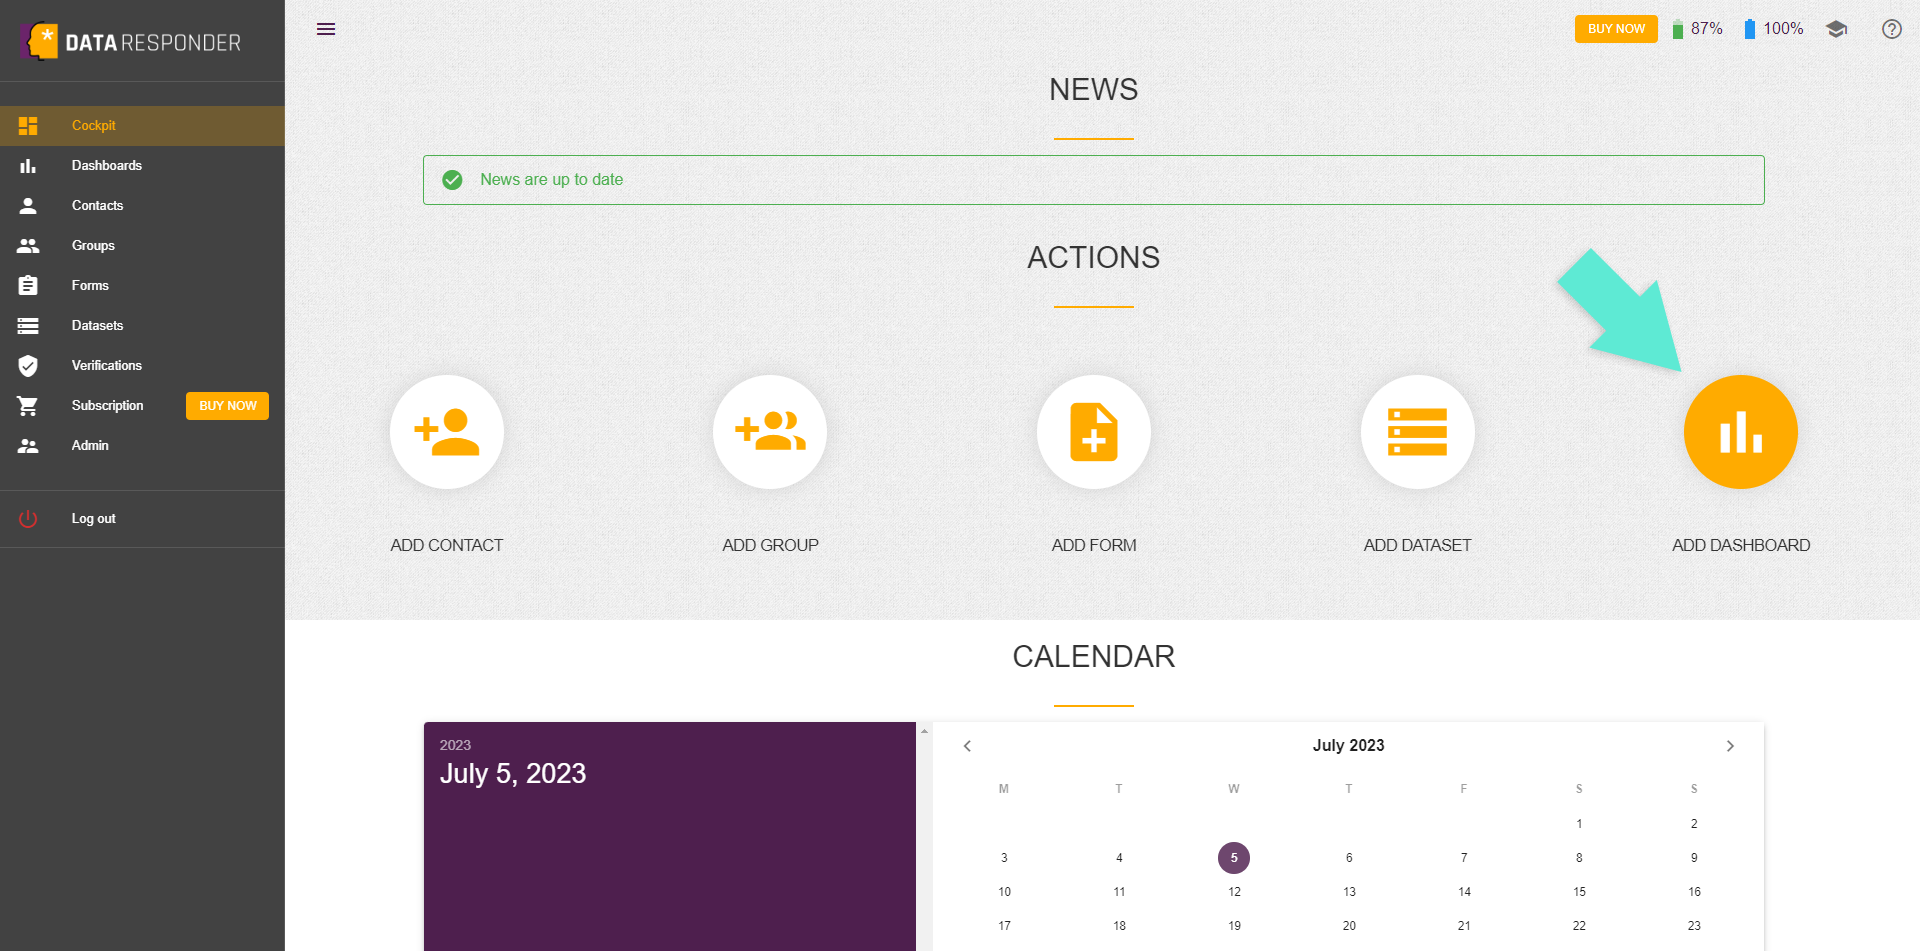
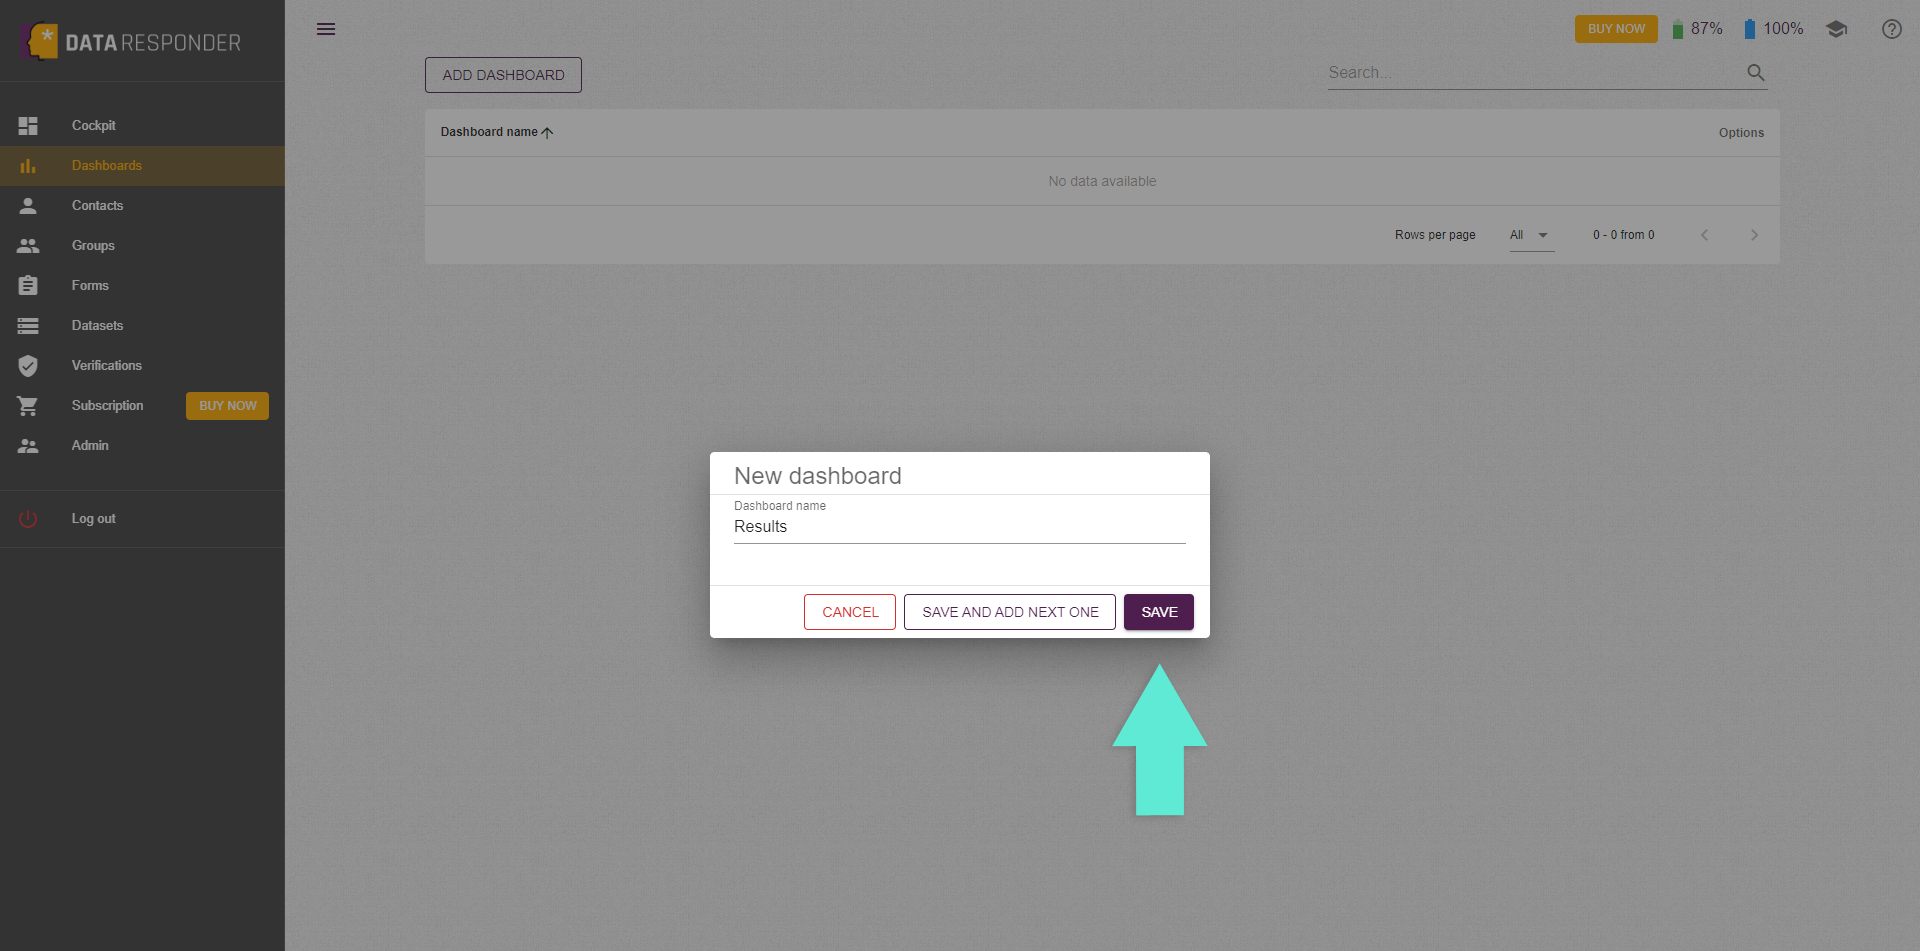
In this chapter, we'll show you how to add your first management dashboard. Here, you have access to numerous customizable visualization widgets that you can use according to your business needs!
1
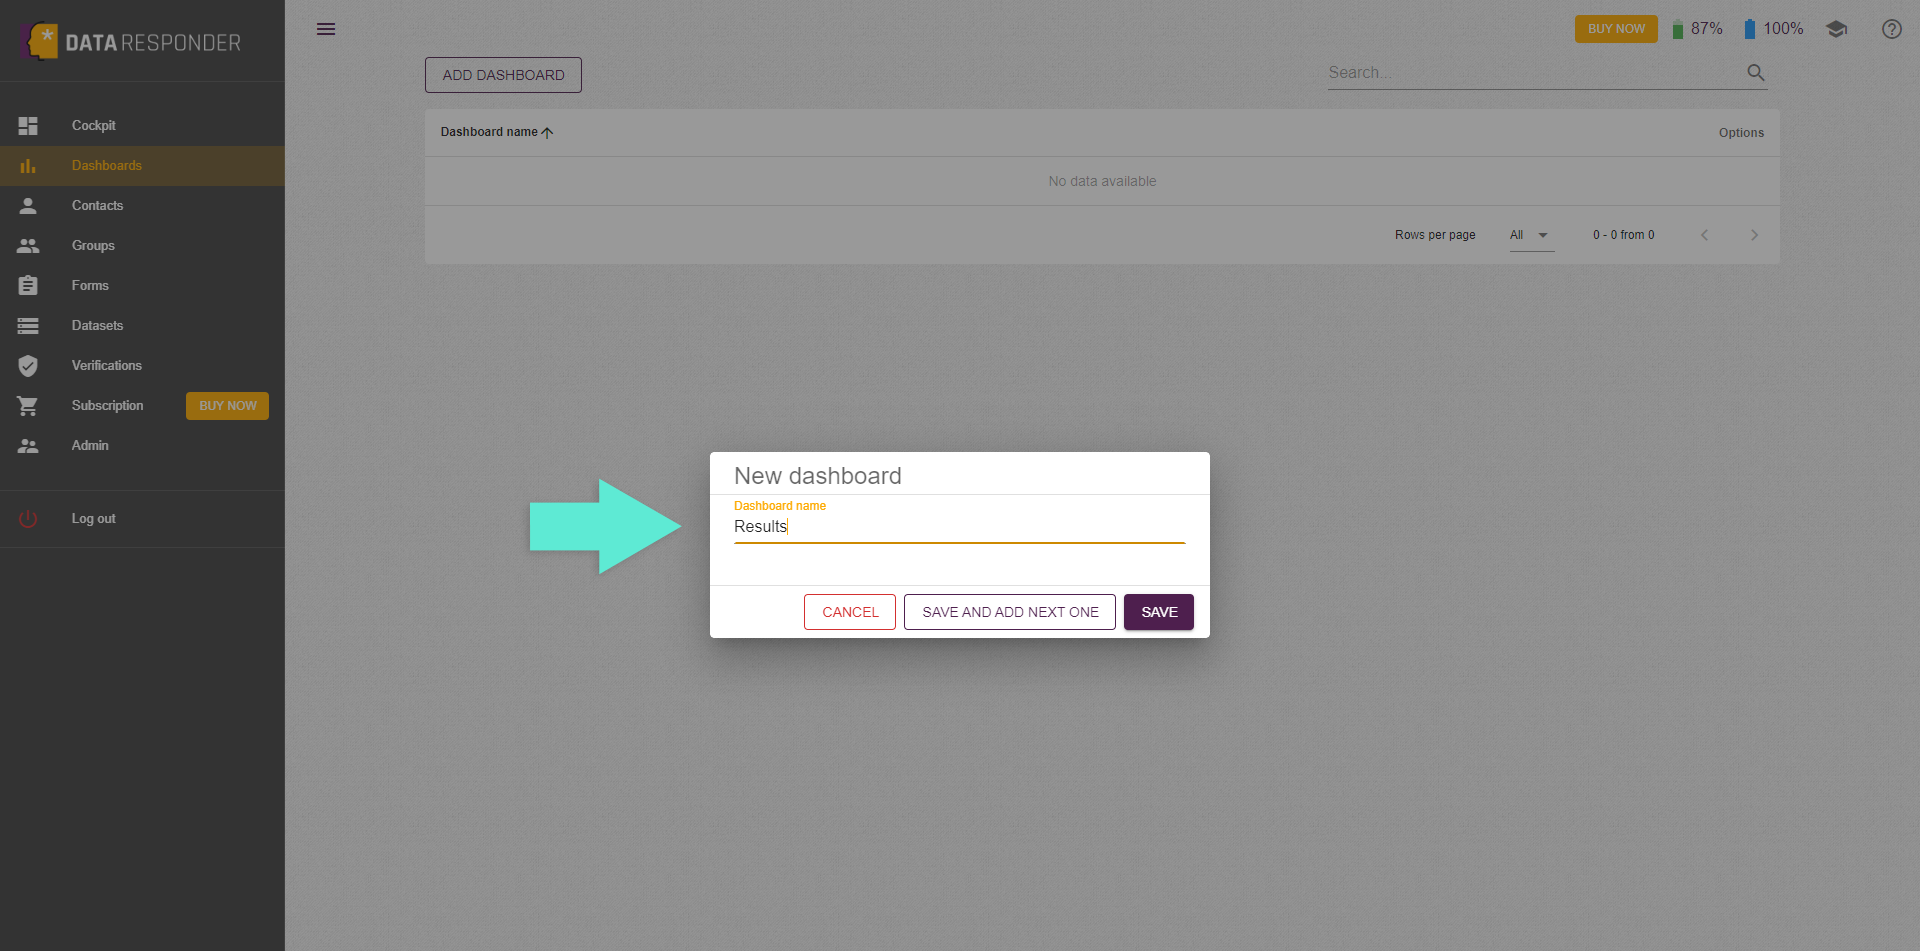
Click the "Add dashboard" function from the cokpit and complete the form with the name of the first dashboard.
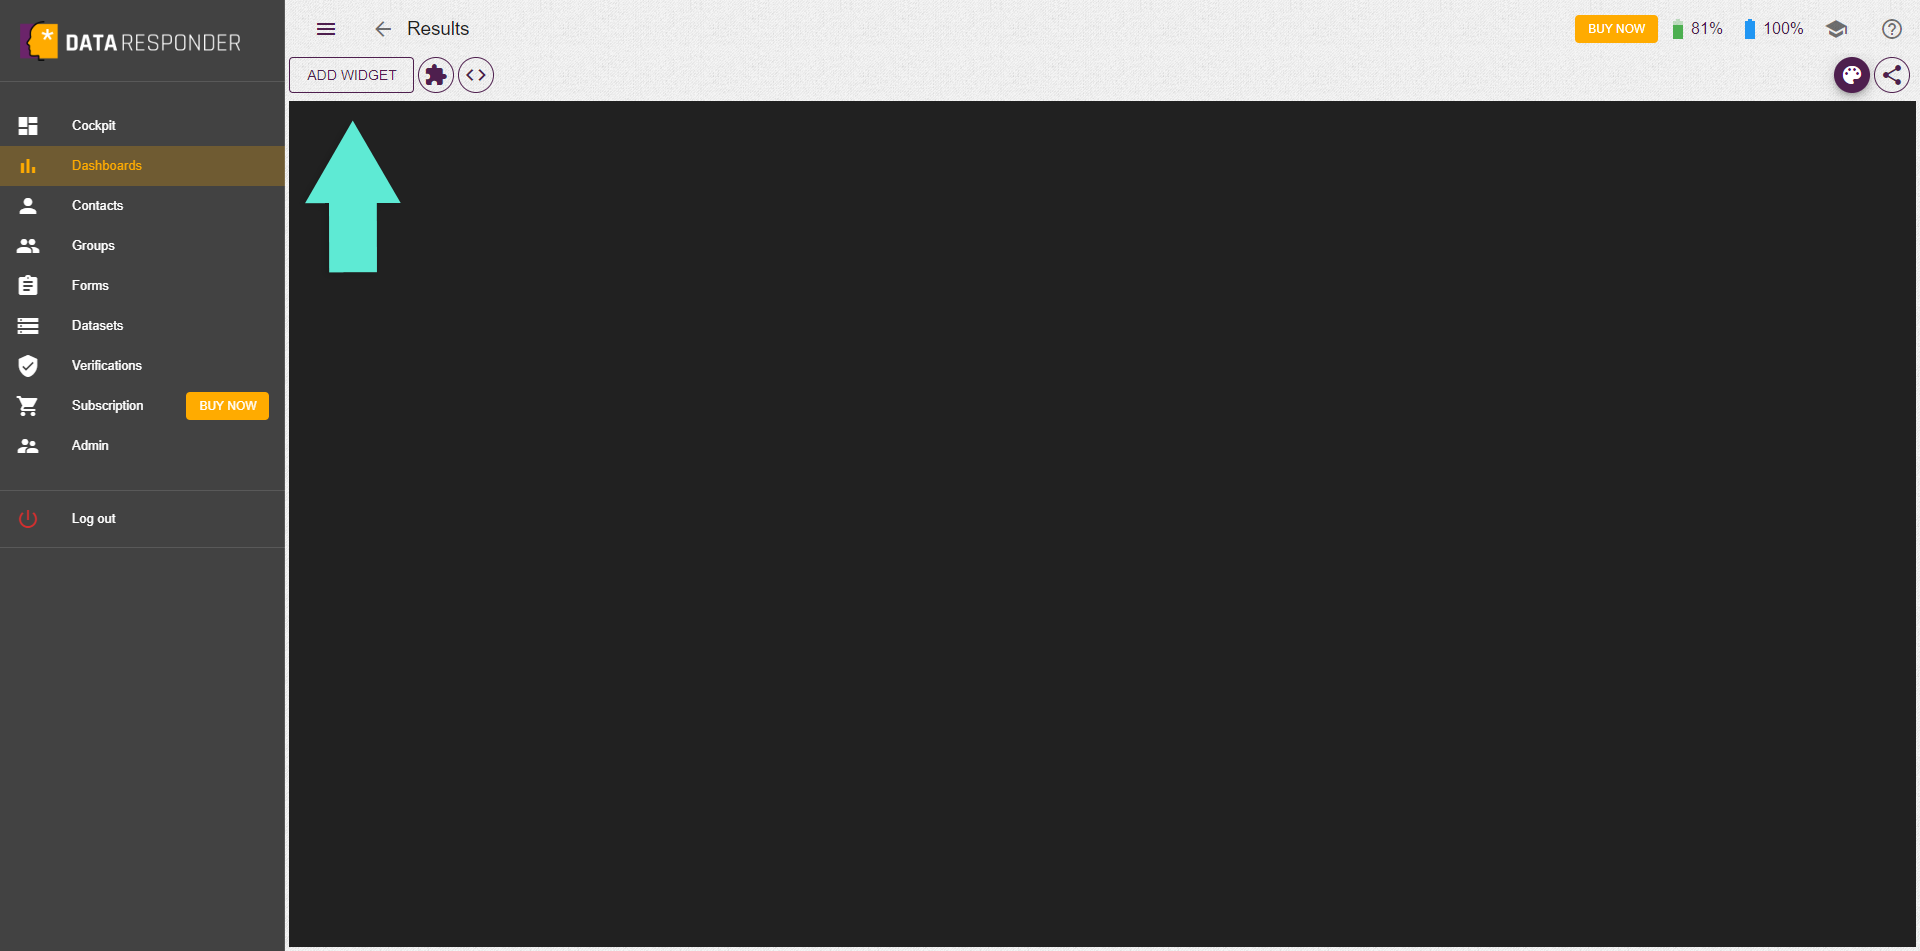
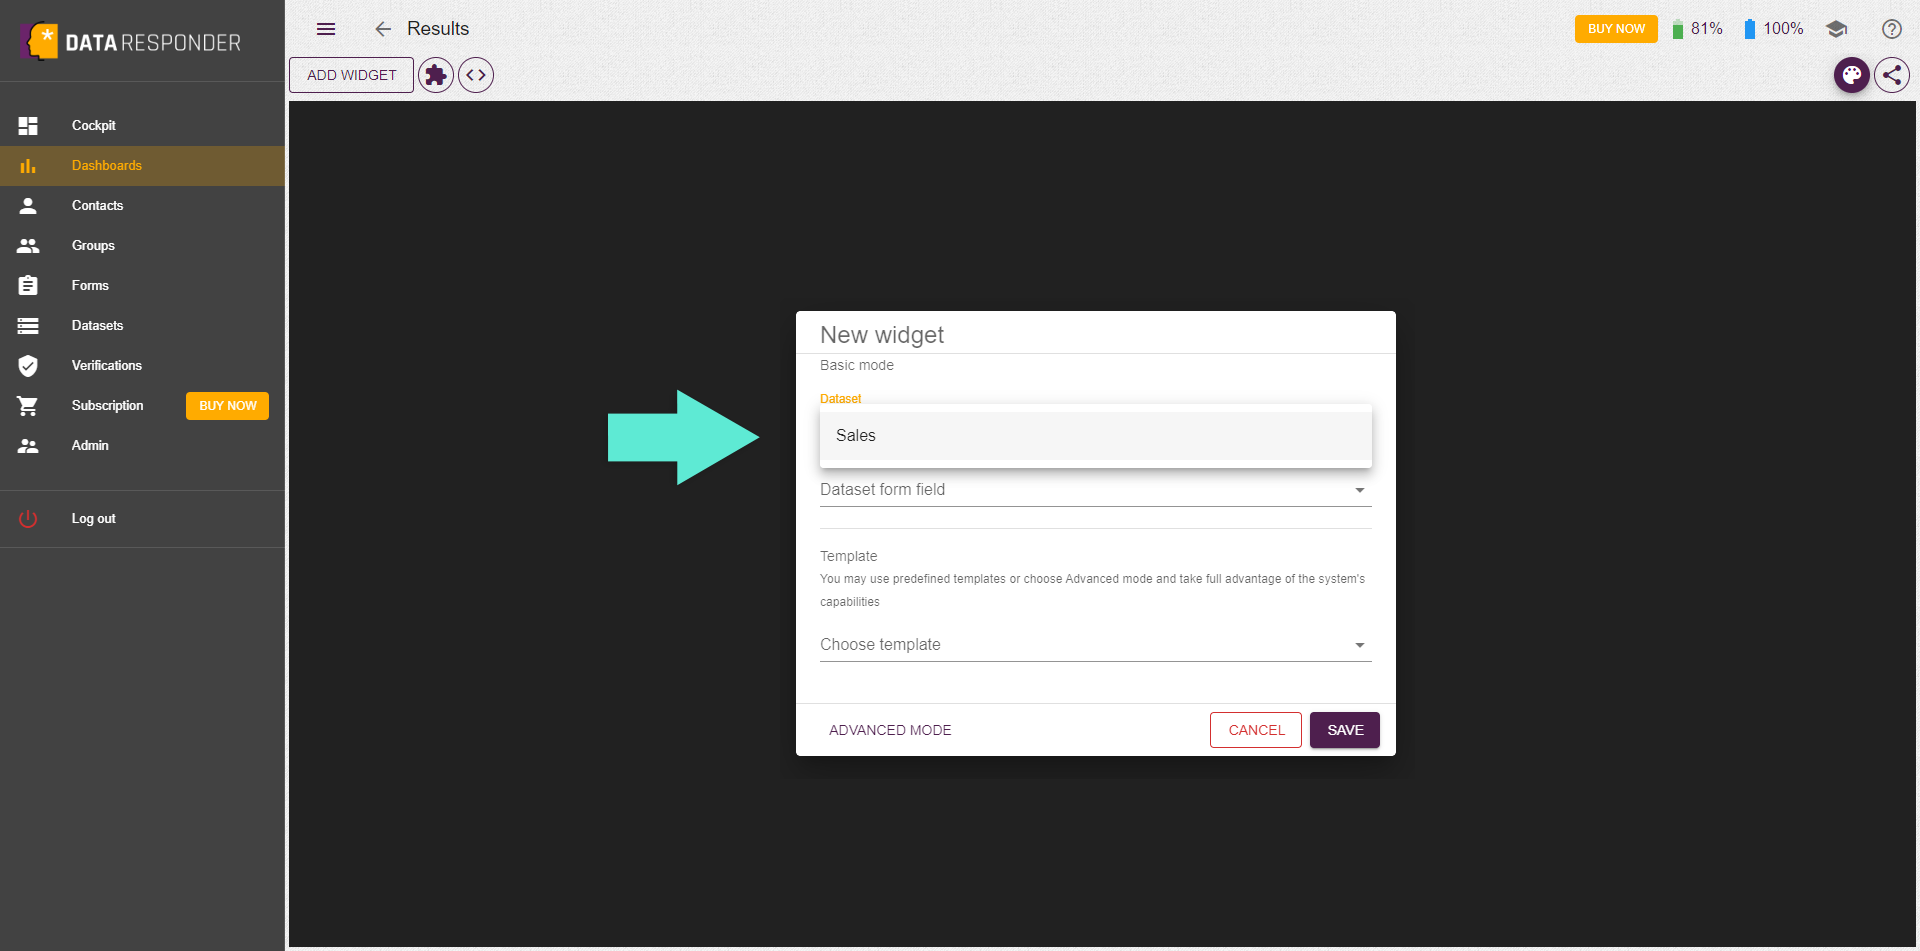
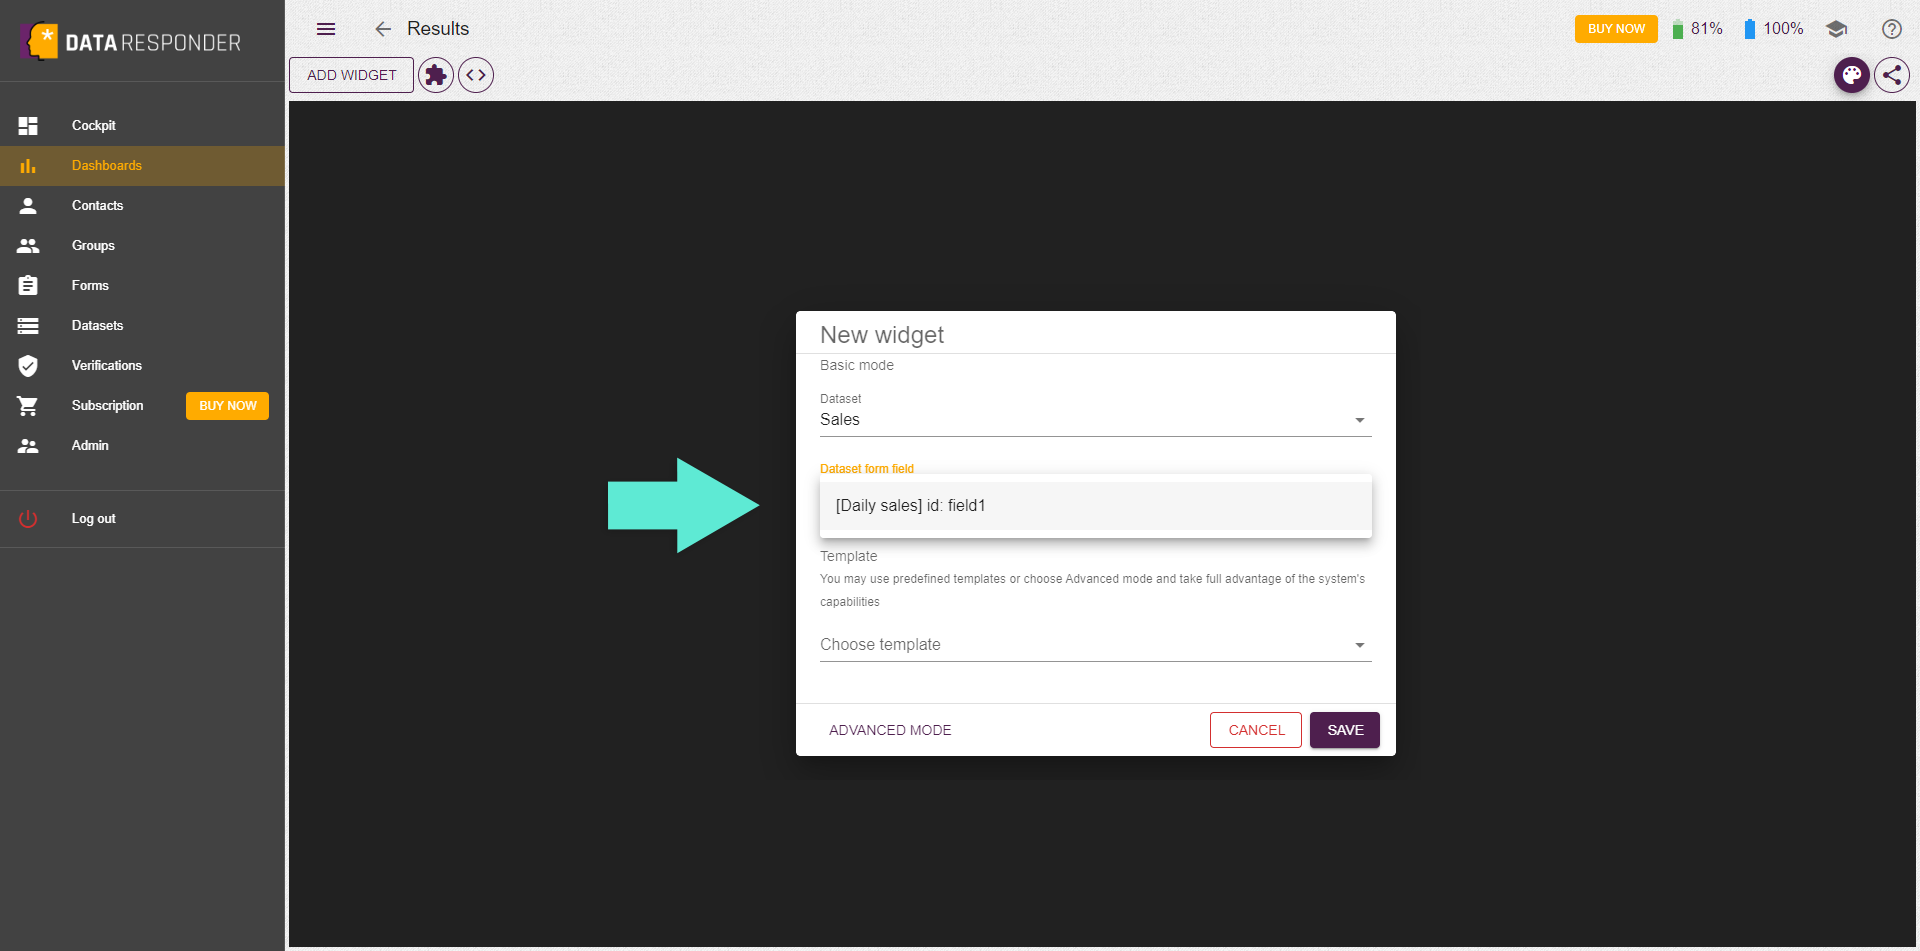
2
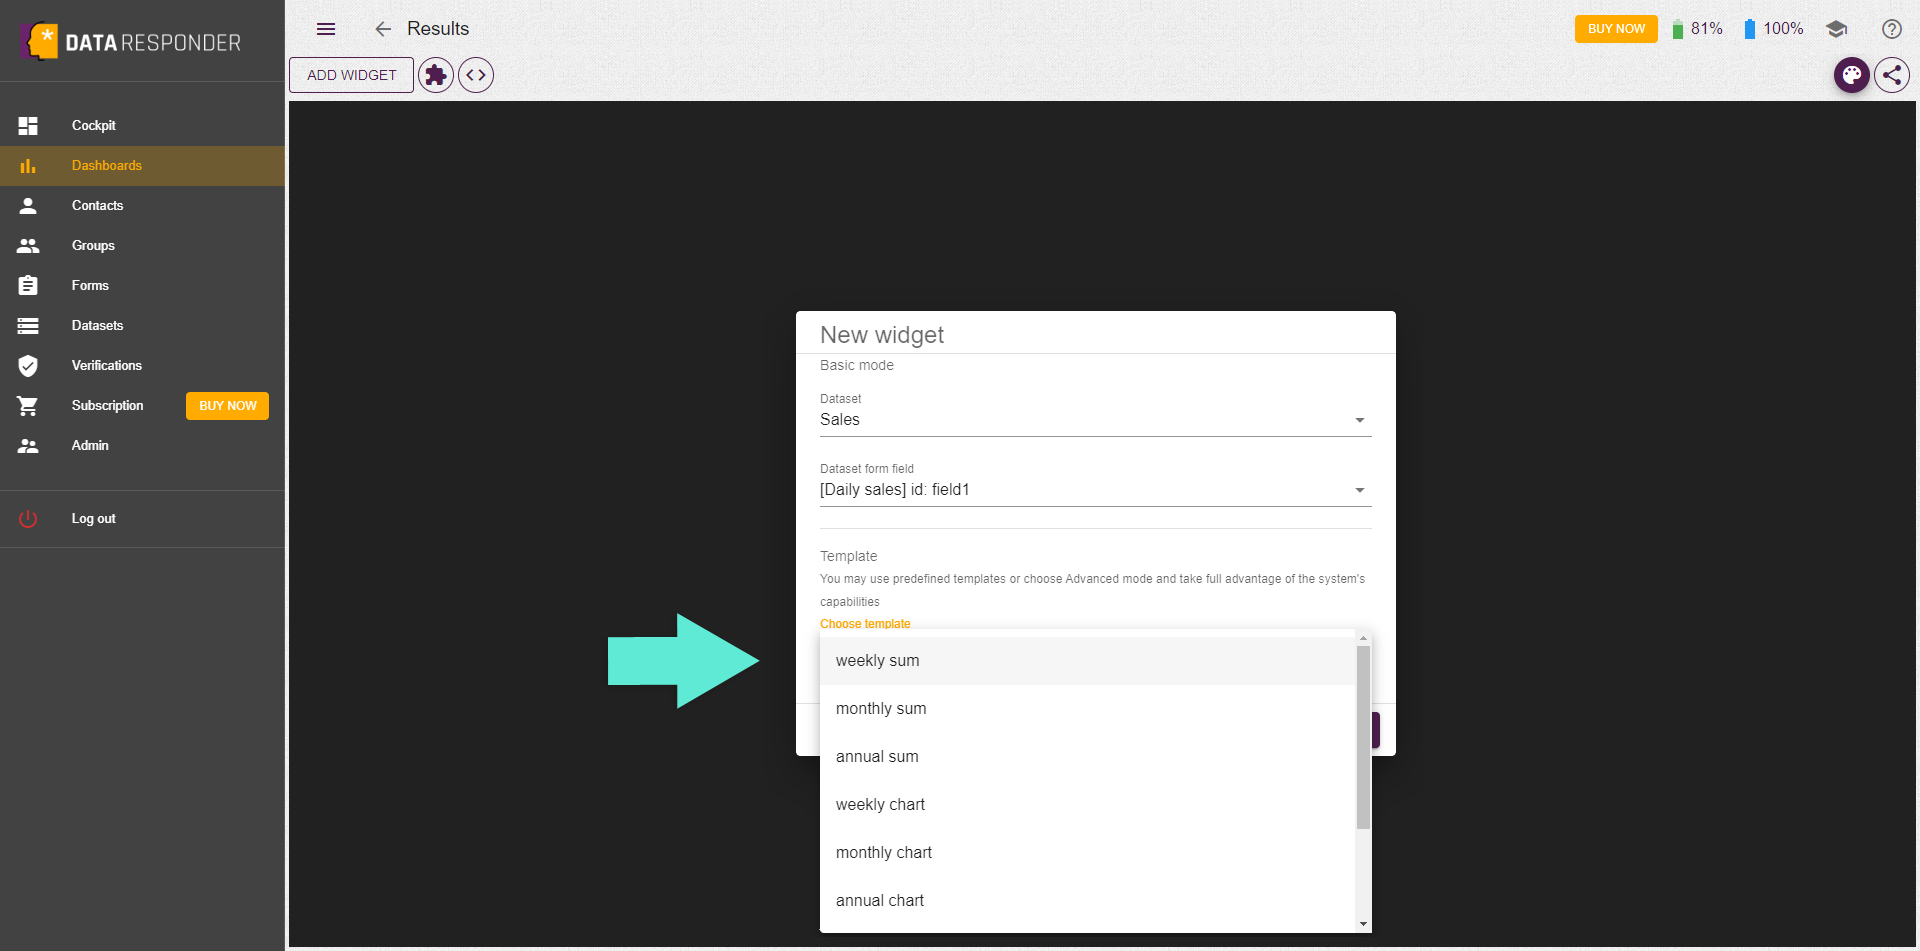
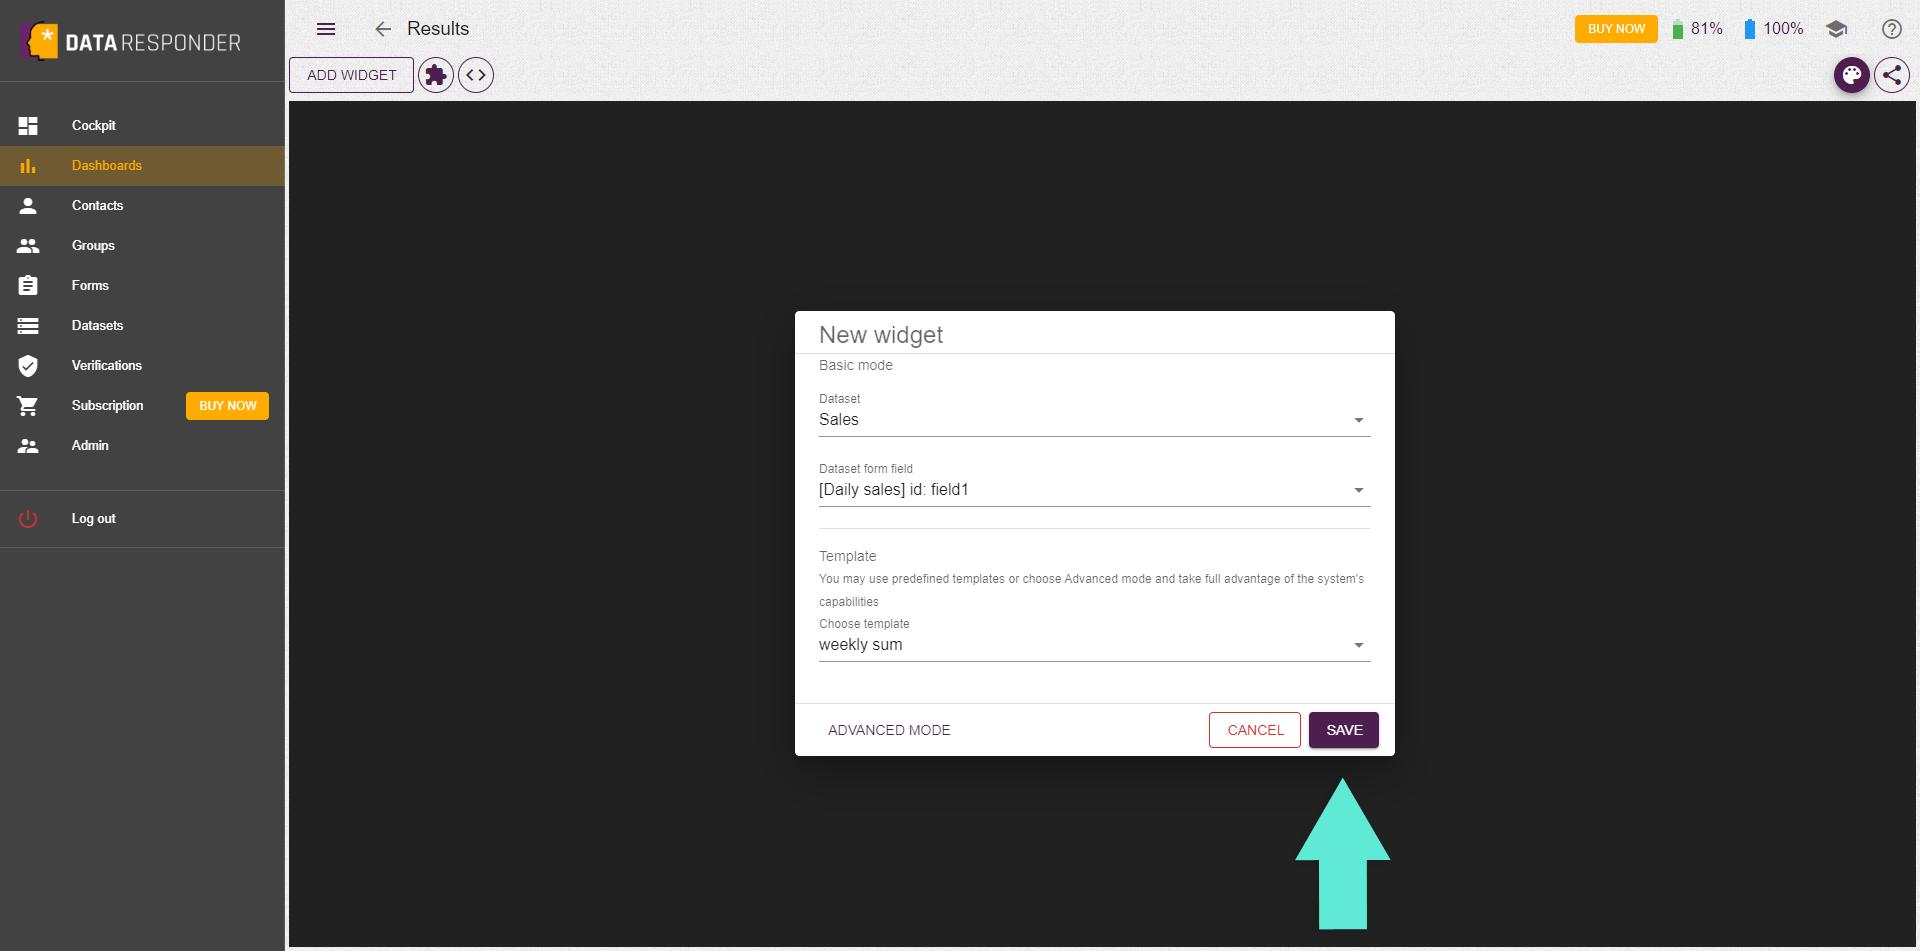
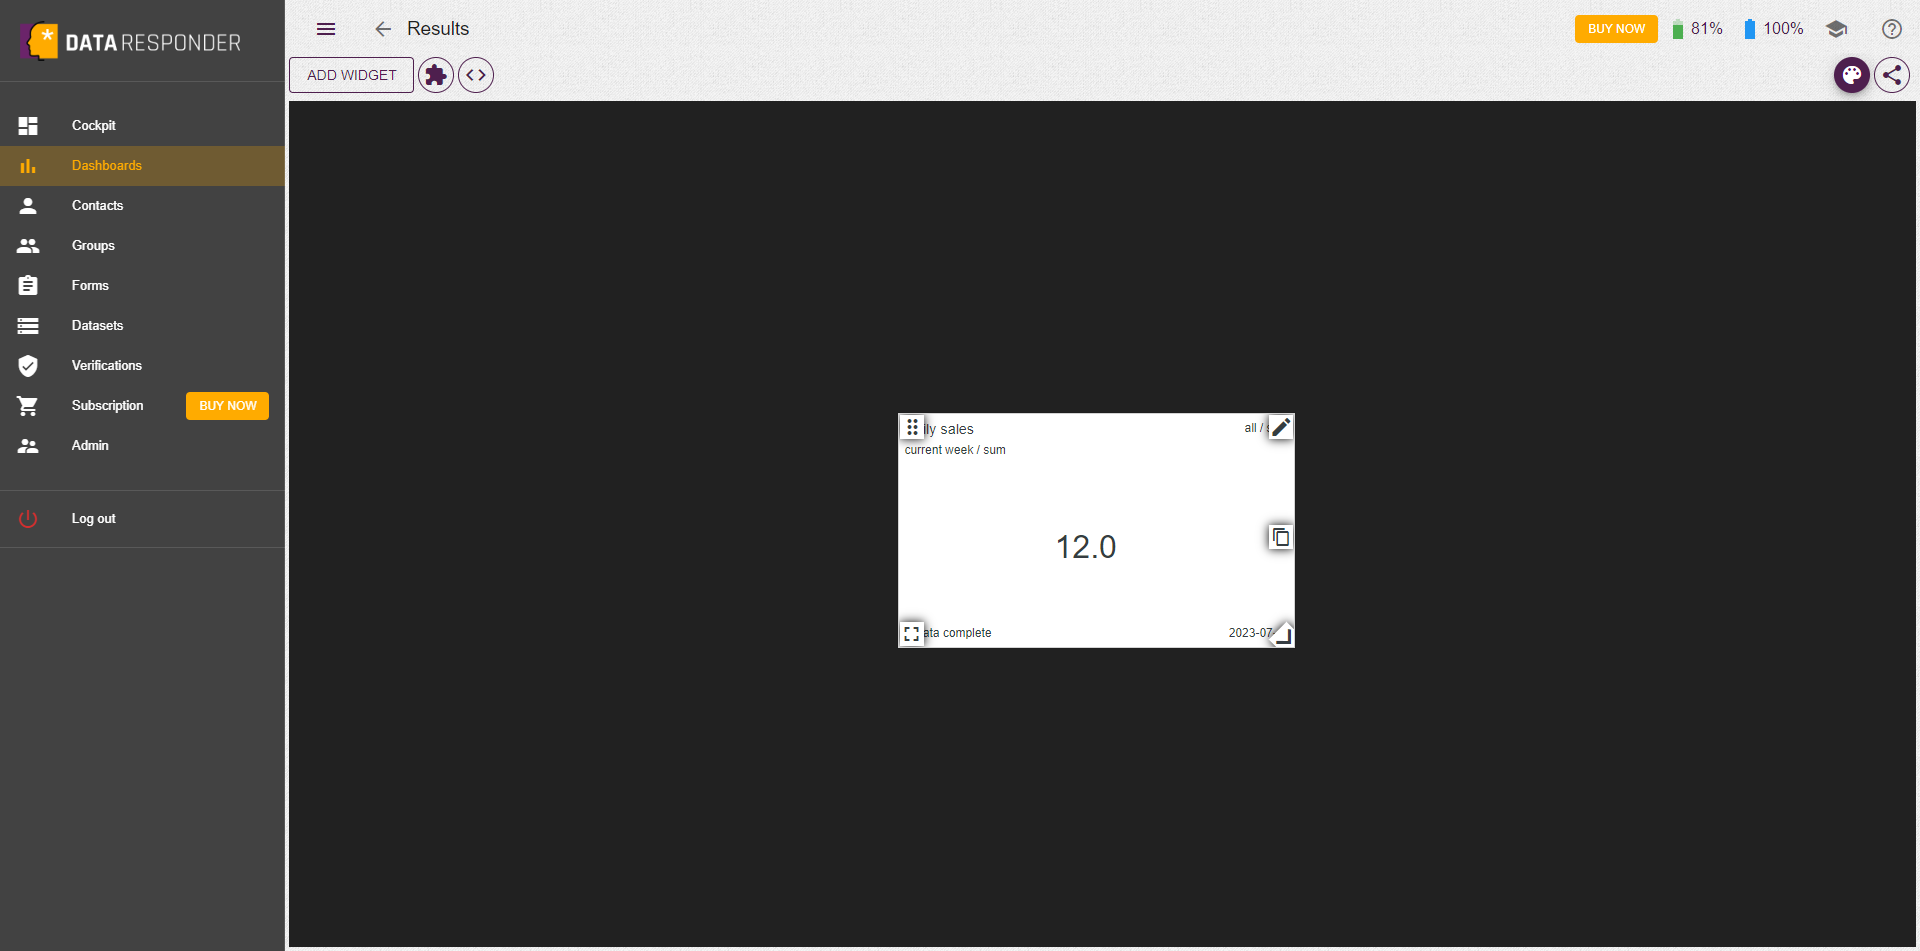
Click the "Add widget" function and complete the form with assigned dataset, numeric field, and type of the data visualisation.
3
Note that widget location, size, and wide customization are available by hovering over and clicking the icon [/] on the widget.
Free Basic plan with 14 days of full Standard access, no credit card required.
This website uses cookies. By continuing to browse the site without changing your browser settings, you are agreeing to our use of cookies to facilitate the use of the website.